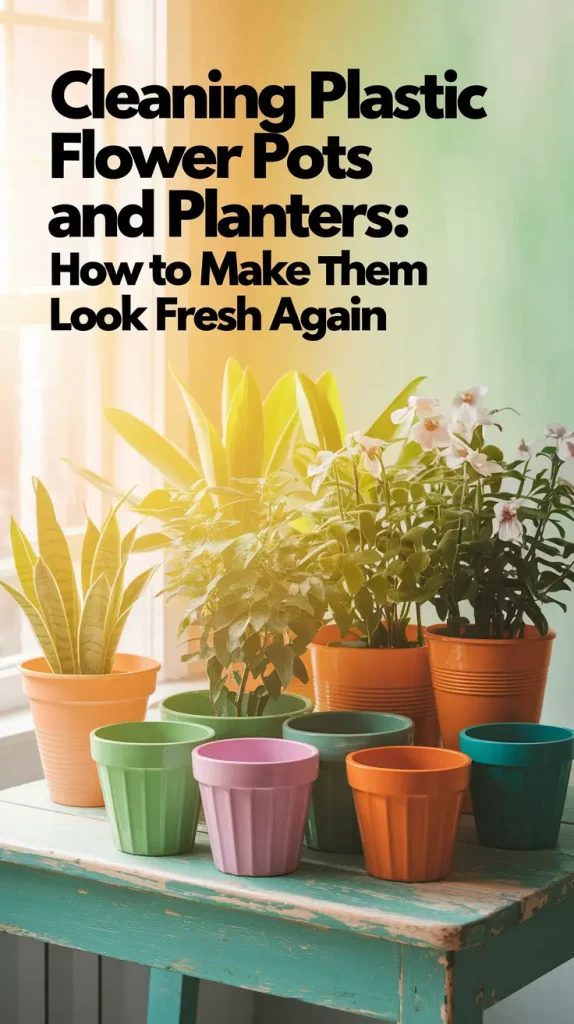
Have you ever gone out to your patio or balcony and noticed that something about your plants seemed a bit strange? That happened to me last spring. While the flowers were in bloom and the air was filled with mint and rosemary, I could only notice the old, worn-out plastic pots that looked dull and a bit sad.
Plastic planters are supposed to be low-maintenance, right? That’s what makes them so appealing. After using them for a while, you see mineral stains, algae rings, and the grayish color caused by too much sun. Sound familiar?
I’ll explain in this post how I was able to revive my old planters without buying any new ones. I created this guide by trying out different ideas and using some Pinterest tricks that turned out well. Let’s dive in.
Why Plastic Planters Look So Worn Out So Quickly
Here’s the part I didn’t expect: even if you water carefully and wipe them occasionally, plastic pots still seem to age faster than your plants.
Common Reasons They Deteriorate
Over time, hard water leaves behind a salty residue. Fertilizers spill and dry into the surface. The color of the fabric is bleached by the UV rays, and moisture encourages the growth of algae or mold. Some pots even absorb smells.
I once found a pot that had been forgotten behind the shed, and it looked very strange — its edges were brittle, there were lime stains, and something green was hiding in the corners.
So yes, plastic is durable, but not invincible.
What You Need Before You Start Cleaning
I began by trying to clean one pot with only half an effort in the sink. That’s when I realized I needed a better setup.
Grab These Supplies First:
- Soft-bristled brush or old toothbrush
- Mild dish soap
- White vinegar
- Baking soda
- A basin or tub for soaking
- Gloves (trust me on this one)
Mistakes I Used to Make
I tried cleaning with the tough side of a sponge, and ended up scratching the finish so much that the pot looked even dirtier. I’ll also mention how forgetting to dry them after washing is a big problem. Mold loves moisture.
How I Clean My Plastic Planters Step-by-Step
This is where it all shifted. On a peaceful Saturday morning, I decided to really give it a shot. Here’s what I did:
My 5-Step Refresh Routine:
- Remove leftover soil and rinse the pot thoroughly with warm water. I usually tap it upside down first to get the chunks out.
- Soak in a vinegar solution — equal parts white vinegar and warm water in a large basin. Let sit for 15–30 minutes.
- Scrub gently with a brush to lift off mineral buildup and algae. Pay attention to ridges and the inside rim.
- For stubborn spots, make a paste of baking soda and water. Apply, scrub, and rinse.
- Dry upside down in the sun or on a rack. Air drying helps prevent mildew.
I initially used a single planter and ended up cleaning six of them. It felt really good — as if I was giving them a new chance.
What Works Best: Vinegar, Baking Soda, or Store-Bought Cleaners?
I will give you an example to illustrate how it took place.
| Cleaner Type | Effectiveness | Cost | Safe for Plants | My Notes |
|---|---|---|---|---|
| White Vinegar | High | Low | Yes | Great for mineral and algae |
| Baking Soda Paste | Medium | Low | Yes | Gentle scrub for stains |
| Store-Bought Mix | Very High | High | Varies | Powerful, but check ingredients |
Vinegar became my go-to. It is safe to use, smells nice, and helps remove tough buildup. I only use it once each month to maintain my hair.
How to Keep Planters Looking Fresh (Without Doing This Every Week)
Here’s the part I would have liked to understand at the beginning.
Good Habits That Make a Big Difference:
- Wipe pots down once a month
- Don’t overfill with water — use a saucer
- Rinse the outside after fertilizing
- Bring them inside during winter (if you can)
I thought that leaving pots out in the sun all year wouldn’t affect the plastic, so I did. But those freeze-thaw cycles? Total finish-killers.
When It’s Better to Replace Than Clean
Sometimes, even if you work hard, the pot can’t recover.
Here’s How I Know It’s Time to Let Go:
- Deep cracks or splitting edges
- Weird smells that linger even after scrubbing
- Color completely faded or uneven
At one point, I tried fixing a planter that had a long crack on its base. After three uses, it finally gave out — mid-watering. Lesson learned: sometimes it’s okay to say goodbye.
Easy Upgrades That Make Old Pots Look New
This is where the fun begins.
Quick Decor Tricks:
- Wrap twine or jute around the rim
- Use spray paint in matte or stone texture
- Insert into a decorative outer pot
- Apply peel-and-stick tiles for a mosaic look
I decided to spray a yellow pot with sage green paint and place it inside a woven basket. Now it sits on my front porch and people always ask where I bought it.
Pinterest Finds That Actually Work
My favorite idea so far? Making planters white and leaving some terra cotta visible on each one. I just needed a sponge, some white chalk paint, and a free afternoon for this project.
Final Thoughts: Little Things That Refresh More Than Just Plants
It may seem that cleaning plastic flower pots is not a big deal. But for me, it turned into something more.
It brought order to my outdoor space. It reminded me that care can be simple. At times, the things we miss can be made new with just a little care.
Pin this if you’re planning a seasonal refresh!
What is one simple thing you did that made a big impact on your garden?