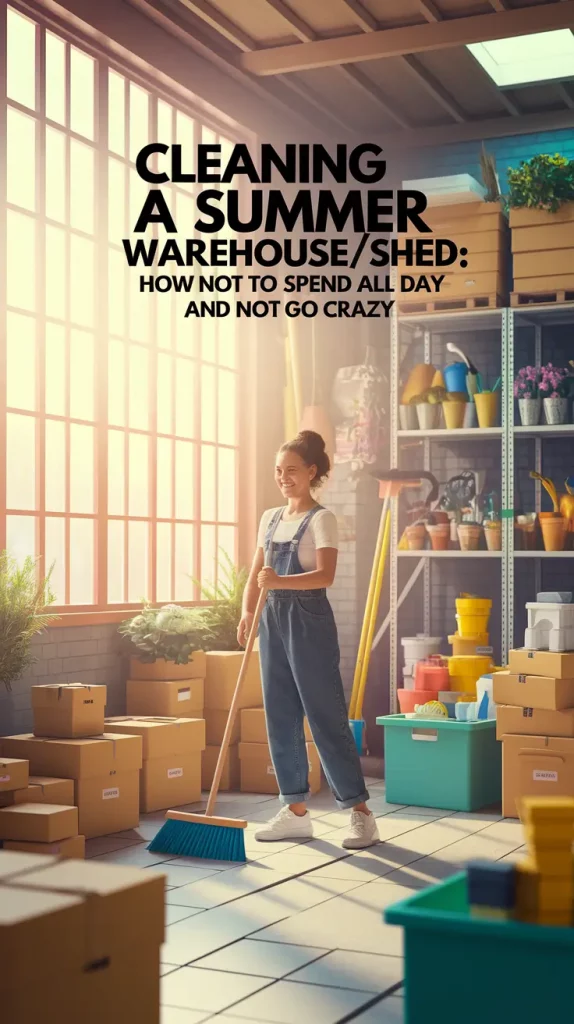
“I thought it would take an hour. Spoiler: it stole my whole Saturday.” It was the first thing I wrote after trying to clean our summer shed last year. I didn’t have a clear plan or strategy; I just wanted to manage the problem better. And of course, chaos won.
If your shed, summer storage or garage corner is full of clutter, you’ve probably felt this way before. When you walk through the door and find a wall covered with hoses, chairs you won’t use for a while and objects you forgot you had? Overwhelm.
I’ll explain in this post how I revamped our summer storage system and I’ll also tell you exactly how I did it without wasting my entire weekend or stressing out. There is a three-step guide, some unexpected learnings and useful tools that had a big impact.
Why Summer Sheds Spiral Into Chaos So Easily
The Emotional Resistance is Real
It wasn’t just the mess that stopped me from going in the shed. I didn’t want to look at it since it reminded me of unfinished chores. I would open the door, then close it quickly as if nothing had happened.
The Season Trap
Summer storage is tricky. In spring, we rush to set things up. In summer, we’re too busy enjoying the season. By fall, we’re burned out. And so, the mess increases slowly and by the following summer, we’re right back where we started — or even worse off.
The truth is, most sheds become seasonal purgatories. Not quite garage, not quite pantry, not quite workshop. So they gather items that don’t fit anywhere else… and just stay there.
I saw the change happen when I understood that the issue wasn’t with the things, but with not having a system in place. At that point, I stopped seeing things as a cleaner and started thinking about how to design the flow.
3 Steps That Helped Me Start Without the Overwhelm
It started with a weekend that I almost canceled. So instead of trying to handle everything, I set a time frame and a plan for what to do.
- Set a strict two-hour timer. No dragging it out. The constraint made me move faster and stay focused.
- Divide the shed into four mental zones: gardening, tools, seasonal textiles, and “misc.” Tackling one area at a time stopped me from hopping around and losing momentum.
- Prep three containers before starting: keep, toss, donate. No decision lingered longer than 20 seconds. I trusted my gut.
I didn’t actually complete everything in two hours. I really improved and I didn’t feel exhausted when I was done. Because of that, I decided to keep playing the next day until I finished. That’s the secret: progress, not punishment.
What to Consider When Reorganizing a Summer Shed
Once I’d cleared the floor (mostly), it was time to actually think about how I used the space. Since keeping things clean is more about the right fit than about willpower.
- Materials matter. If the weather is warm and humid, do not use cardboard or thin plastic as they will bend. Go for resin bins, wire shelves, or wooden crates with breathing room.
- How often do you use it? Don’t bury your lawn chairs under a pile of seed packets you touch once a year.
- Eye-level = active use. What’s visible gets used. What’s hidden gets hoarded. Give your frequently used items prime visual real estate.
- Label everything. Not just for you — for anyone else who ever tries to “help” and ends up putting your shears in a mystery bin.
I used to put the giant soil bags in the most distant corner of the room. I had to climb over a lot of things every time I wanted to get to them. After that, I put them in a rolling crate near the front door. No more limbo gymnastics.
Common Mistakes That Make the Job 10x Harder
This is where it all shifted. I realized that I was making the same mental errors each year and cleaning turned into something I hated doing.
“I’ll just start in this corner…”
This may seem harmless, but without a plan, it ends up being a mess that goes in circles. You keep moving piles from the left to the right and then back to the left.
“I’ll deal with this later.”
Spoiler: later never comes. A broken hose from 2022? Gone. That half-used bag of expired seeds? Gone. I began allowing myself to let go of things immediately.
“It might be useful someday.”
It was this sentence that really brought my shed down. Now, if I haven’t figured out a plan for an item within 60 days, it gets released. Someone else may need it more.
The main task in cleaning a shed is to decide what to keep and what to get rid of. Each item is either yes or no and there is no “maybe.
Storage Solutions Compared: What Actually Works
After using bins, bags and baskets for years, I found this arrangement that I like best:
| Storage Type | Best For | Pros | Cons |
|---|---|---|---|
| Open Shelving | Frequently used items | Everything is visible and easy to grab | Can look cluttered without bins |
| Closed Bins | Seasonal décor, chemicals, textiles | Protected from dust and pests | Easy to forget what’s inside without labels |
| Wall Hooks | Tools, hoses, extension cords | Keeps things off the floor | Requires installation time |
| Rolling Carts | Heavy or mobile items like soil bags | Flexible, easy to move | Needs flat, clear floor space |
It took a while to get used to it, but now I can locate what I’m looking for without any trouble. Perhaps most importantly: I am no longer afraid to enter the dentist’s office.
How I Keep the Shed Clean Without Losing My Sundays
This part surprised me. I used to think it was necessary to give my home a thorough cleaning at least once a season. But now? I do a short review every week which only takes 15 minutes.
Sunday Reset
Every Sunday after breakfast, I open the shed, check for five minutes and put anything that’s out of place back in its place. Sometimes I sweep. Sometimes I toss something. That’s it.
Labels Save My Life
I resisted labeling because it felt… type A. Now, all the items like “hose attachments” and “paint rollers” are clearly labeled. I spend less time guessing and more time doing.
Matching Containers = Calm
It seems strange, but using the same clear bins made everything seem much more peaceful. Like my brain could breathe. Bonus: they stack better and look Pinterest-worthy (because yes, that matters too).
Order is more about convenience than perfection and every label you add can help.
Little Upgrades That Paid Off Big Time
Sometimes a few little changes can make a huge difference, just like magic.
Here’s what worked for me:
- Clear containers for hardware (I used to lose screws weekly)
- Magnetic strip for tools (game changer for gardening gloves and scissors)
- Over-the-door hooks for towels and extension cords
The total cost was under $50. The benefit of not constantly shouting, “Where did I put that?”? Priceless.
Final Thoughts
Summer shed cleaning isn’t only about making things neat and labeling your bins. It’s focused on getting back your time, your place and your peace. I wasn’t planning for it to be self-care, but that’s what it ended up being.
Every shed tells a story. Mine used to say “I gave up.” Now it says “I’ve got this.”
What is one small action you did this season that made your life simpler? I’d love to hear it. If you’re preparing for your next storage reset — save this article so you can use the checklist when needed.
Let’s start making our spaces calmer, area by area.