“I was moments away from throwing it out.” That is what I told myself whenever I walked by the outdated pine dresser in the hallway. It was scratched, aged, and lifeless— the type of furniture that made the entire room look exhausted. However, something kept me from fully letting go. Perhaps it was its silhouette. Or the tiny keyhole that reminded me of my grandmother’s vanity.
Most people will have an old wooden piece like that; a piece which lost its luster, however adoration still remains. For the most part, even gorgeous solid wood furniture begins to look… depressed. Light, dust, moisture, and simply existing take a toll.
But honest to goodness, you don’t need a workshop, power tools, or an enormous budget to breathe life back into it. One weekend is all I needed, and in this post I’ll explain step by step how— what worked, what didn’t, and what made the biggest impact.
In What Ways Does Wooden Furniture Become Dull With The Passage of Time
Here is something I didn’t know at first… That ashen appearance does not suggest the wood is deceased. It has simply worn out.
Like our skin after a long winter — it could use some nourishment rather than a complete transformation.
The Real Culprits
Wood has pores which means it absorbs everything, including humidity, sunlight, cleaning solvents, and even the oils from your hands. All of these work towards the finish deteriorating, resulting in the surface looking flat, grayish, or yellowed.
And most importantly, a lot of that loss can be undone with the right materials and a touch of time.
Needed: Effective Simple Tools
Forget the hardware store, you won’t need to make a trip there. You can stay under budget of $20 without professional-quality gear. What To Pick: micro fiber cloth,
Melamine sponges, furniture oil, timber oil, soft brushes, or even old shirts and towel.
A microfiber cloth to polish gently goes a long way.
Solution/remedy starts with soft brushes, and old t shirts or towels on repeat. Add mild cleaner (vinegar + warm water) and you have a permanent cure for repeatable offenses. Proprietary cleaners won’t return full shine, but specific natural oils such as natural tung will fill in gaps beautifully.
Tips: Saving before splurging on new items can be a lot easier if you check what you already own first.
A corner detail on The Project can be completed using an old toothbrush and a food safe oil.
Surface Prepping The Project.
Visual empathy resonated with me during this step. This subjective awareness helped me relax. During this step, I decided to take slow, measured steps. Understanding this process is important if you want to do it the right way.
3 actions to make the surface really work again
- Vinegar and water solution cleaning: A microfiber cloth with water cannot be wet. If it is warm water, then it makes it even better. It removes unnecessary layers of residue.
- Melamine sponge buffing: Handles, corners and any area where there is grime needs gentle rubbing. While it looks tough, you can actually see it brighten up.
- Thorough drying: Oil absorption can be messed with if there is any moisture left behind. Because of that, each piece needs to air dry in a sunny spot for an hour.
As far as the goals are concerned, the dresser seems to have come back to life. For this to happen, the piece must be matte and dry.
Restoring Color: Identifying Useful Wood
Everywhere else gets enchanted at this stage. But NOT ME!
To achieve objectives, anything flashy does not work. You have your freedom as long as you stick to matte surfaces.
I experimented a few techniques on the inside of the drawer first. Here’s a summary of my findings:
| Method | Pros | Cons |
|---|---|---|
| Walnut rubbing | Works surprisingly well on light scratches | Temporary, fades quickly |
| Furniture marker | Good for spot touch-ups | Color mismatch can make it worse |
| Natural oil (tung/linseed) | Deep color restoration, enduring | Hours to dry |
| Store bought polish | Instant shine | Often silicone-based, builds up residue |
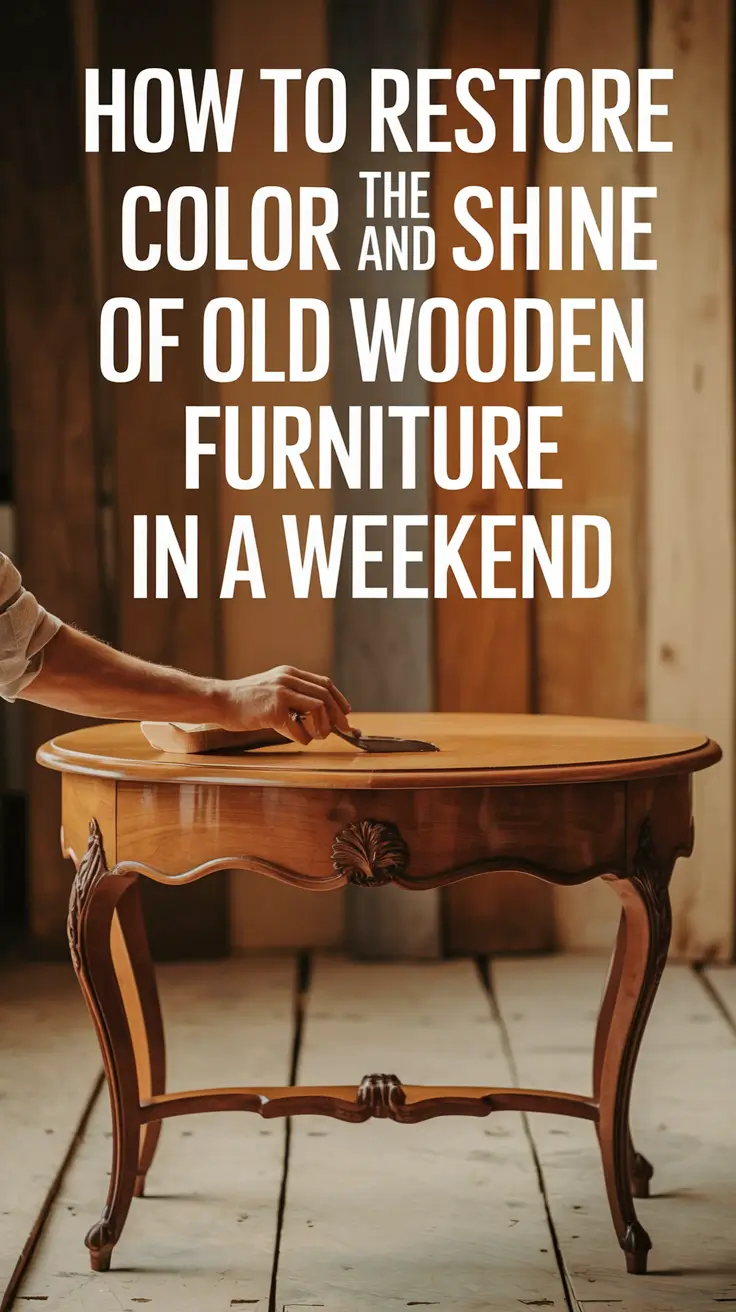
What worked best for me? Applying tung oil with a brush, then massaging with a cloth. The wood absorbed it like moisturizer on parched skin.
Restoration Further Alteration: The Final Step
This is the step I nearly bypassed — and I’m grateful I did not.
Once the oil fully absorbed after drying overnight, the wood did appear richer. However, it still looked somewhat flat in certain lighting. To this end, I polished the wood with natural beeswax. The result was that characteristic soft-focus radiance from pricey antiques.
My routine attained polishing step
I scooped a thumb-sized amount of wax and placed it on a cotton rag, warming it slightly in the palms before buffing it in circles.
It was almost like waxing a car – calming and curiously gratifying. I waited twenty minutes, then reapplied buffing with a clean section of the cloth.
The outcome: A luminous finish that wasn’t quite plastic. Just… glowing. Clear. Vivid.
What I Did Wrong (So You Don’t Have To)
Let’s face it, not everything goes perfectly. I specifically ran into some issues, and I will detail them here in case they make things easier for you.
- Changed aesthetics on the character: More does not equal better. A light layer is all that is necessary.
- Missing critical components: From some of the views, it is clear that there are sections that were neglected. Don’t rush the final touches.
- Forget a section: A drawer had a reddish irregular stain, bypassing entire sections. Always test inside first.
Would I change something? Absolutely. But that is how you understand folks appreciate different things.
Rust-Free Preservation: Minimal Work
This is the segment that I tend to bypass the most.
Here’s what I have for you: Restorative treatment once a month, however infrequent it might be, would yield massive payoffs.
I have set a two-week rule for myself:
Restorative treatment fortnightly. The same goes for dusting.
Every few months, I apply a delicate layer of oil (especially during winters). And once a year, a small amount of wax to give it that warm glow.
Nothing out of the ordinary, but I will say that it has proved effective. No longer I dread walking by the dresser, I smile every time.
Final Thoughts: It Is Possible To Restore It
As I have said in previous paragraphs, old furniture is something I used to think only professionals could tackle. But now I know it is a quiet weekend, a bit of time, a considerable amount of patience, and a few handy tools.
A change in how you perceive the piece might help, not so much as “ruined”, but rather waiting. Waiting to be cared for, given attention, and a chance to shine once again.
What would be one piece in the home that you would love to restore?
📌 _Pin this if you are every so lucky to have a weekend ahead of you and a tired old chair, table, or dresser that needs some TLC.