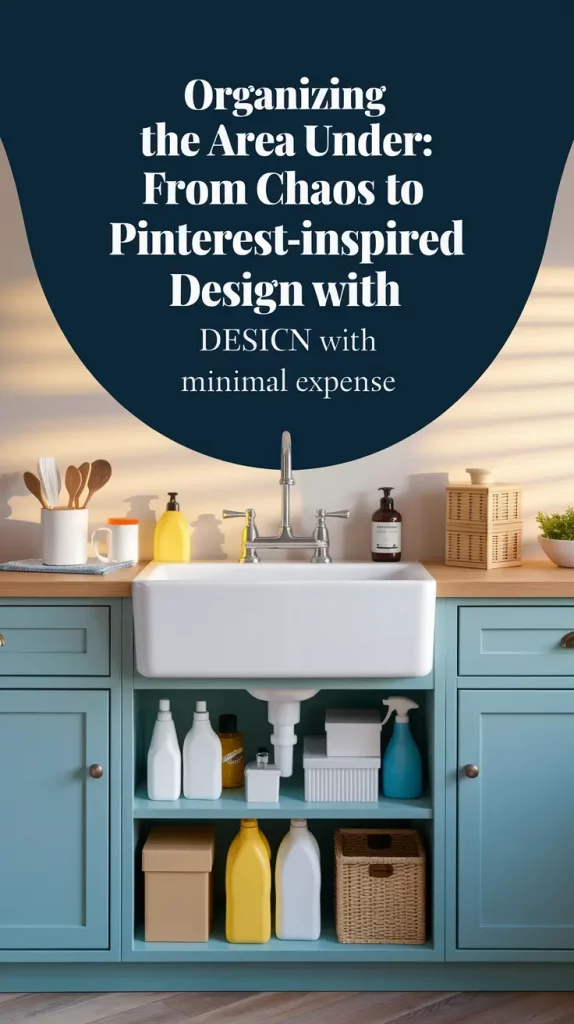
Have you ever opened the cabinet under your sink and immediately shut it again?
I used to do it all the time. Bottles falling over, sponges lurking in the background, grocery bags crammed into a ragged box that was never quite big enough. That small area became a black hole of stuff, and truthfully? I stopped trying to deal with it.
But here’s the thing: when the rest of my home felt clean and calm, that one messy cabinet pulled me right out of that peaceful mindset. And I know I’m not alone—under-sink chaos is a silent mood killer in so many homes.
So one weekend, I challenged myself: could I turn that overlooked space into something not just organized but actually beautiful—like the dreamy ideas we save on Pinterest? I allocated myself a very small budget, a Saturday afternoon and a quest to rescue the cabinet. Let me show you how it turned out—and how you can do it too.
Why the Area Under the Sink Becomes a Mess Magnet
Here’s the part I didn’t expect: organizing this space was less about bins and more about why it was a mess in the first place.
It’s a weird little spot—awkwardly shaped, full of pipes, and almost always dark. We all just chuck in and slam the door. Over time, it becomes a junk drawer for cleaning supplies and forgotten tools.
For me, it was always a last-minute stash zone. I didn’t realize how much time I wasted digging through it—until I stopped.
The truth? No system works unless it’s based on how you actually use the space.
Step One: Clear It All Out and Map It Like a Puzzle
It started with a mess, but then became a blueprint. I did drag it all out and give a severe examination to the contents. Duplicates, expired sprays, old dish gloves, and a whole box of tangled cords (why?!).
Here’s what worked:
1. Declutter thoroughly.
If it doesn’t serve a weekly purpose, it probably doesn’t belong there.
2. Measure your cabinet.
Every inch counts—especially the height between the floor and pipe, and door-to-back depth.
3. Group by category.
What do you reach for every day? What can be tucked further back?
These three steps changed how I looked at the space. Instead of thinking “how do I fit it all in?”, I asked, “how can I make it work for me?”
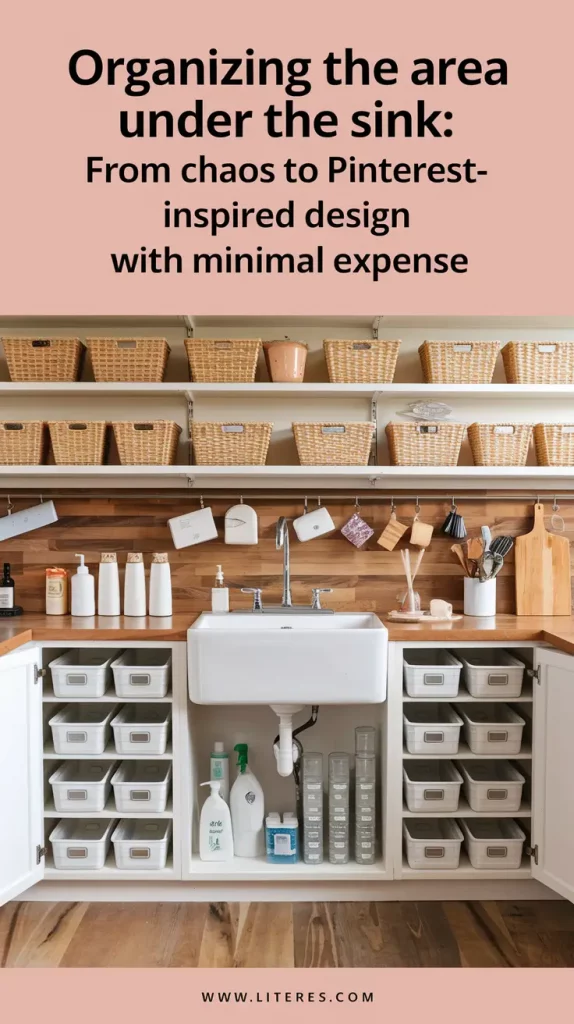
Budget-Friendly Storage Solutions That Actually Work
Here’s where I almost gave up: I scrolled through dozens of dreamy under-sink ideas, only to find they required custom carpentry or $200 in containers.
So I simplified.
What made the biggest difference:
-
Clear plastic bins; so I could see everything at a glance;
-
Two-tier shelves; adjustable ones that could slide around the pipes;
-
Lazy Susan (small one); it turned my cleaning sprays into a spinning station;
-
Over-the-door hooks; for gloves and towels I used daily.
-
👉 What to consider when choosing budget storage:
-
a. Water resistance;
-
b. Container transparency;
-
c. Ease of cleaning;
-
d. Fit for your cabinet dimensions;
-
e. Stackability and flexibility.
You don’t need a full Pinterest makeover. You need practical tools that fit your life—and your cabinet.
The Mistakes I Won’t Make Again
This is where everything shifted. I thought I just needed bins. But turns out, the biggest clutter-maker wasn’t stuff—it was habits.
Here are the pitfalls I ran into before (and what I changed):
-
Overfilling every container. Just because it fits doesn’t mean you should cram it.
-
Saving “just in case” items. Like three half-used bottles of the same cleaner. Pick one. Toss the rest.
-
No labeling system. Even with clear bins, labels save your brain effort.
-
Ignoring the door. Those vertical inches are gold for towel bars, hooks, and pouch organizers.
The biggest lesson? Simplicity wins. I stopped trying to make it perfect—and focused on making it easy to keep clean.
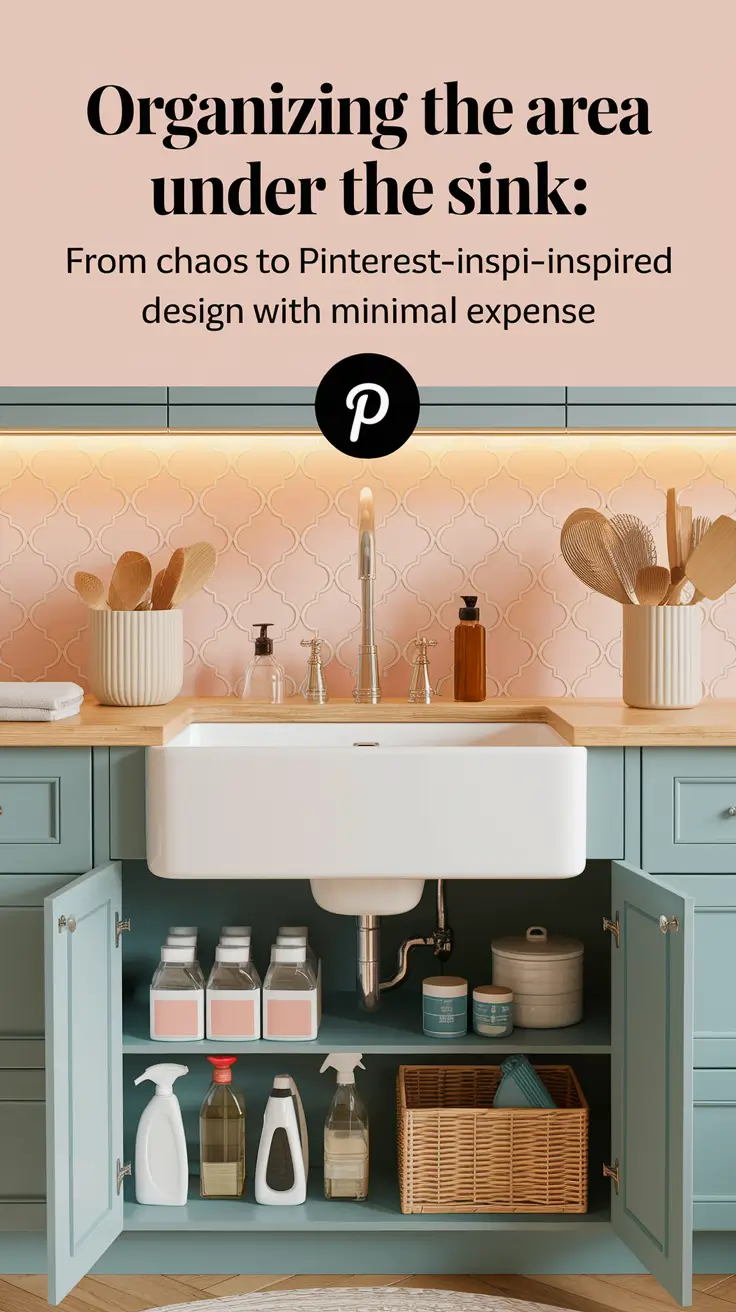
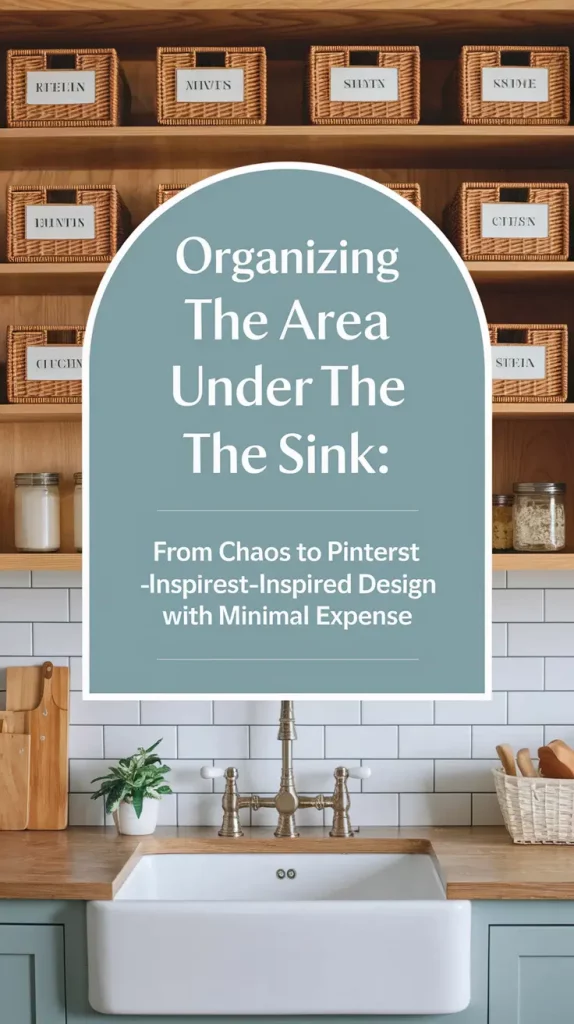
From Chaos to Calm: Creating a Pinterest-Worthy Look
Let me be honest: I wasn’t expecting this space to feel…cute. But once everything had a place, I couldn’t resist adding small touches that made it feel like mine.
Here’s how I gave it a visual lift:
Color Scheme
I chose soft neutrals—beige bins, clear plastic, white hooks. It instantly looked more put-together.
Labels
Simple printed labels on kraft paper. It gave everything a warm, styled feel.
Mini accents
One small glass jar for dish tabs. A cloth pouch for grocery bags. They weren’t expensive—but they brought a sense of calm.
Would you ever expect to feel proud opening your sink cabinet? I do now.
My Real-Life System: What I Use Every Single Day
Let me walk you through how the space works now. No fluff—just real function.
👉 My system, before and after (in a glance):
| Issue | Before | Now |
|---|---|---|
| Daily sprays hidden | Tossed in back | Lazy Susan on left |
| Grocery bags mess | Stuffed in box | Cloth pouch with zipper |
| Gloves nowhere | Drooping on top | Hanging from adhesive hooks |
| Sponges unclean | Tossed in bin | Labeled ventilated box |
| Extra supplies forgotten | Lost in clutter | Clear backup bin in back |
It doesn’t look like much on paper—but it feels like freedom every morning.
Favorite Finds That Didn’t Break the Bank
This isn’t a product roundup—but I do want to share what helped me most, because I know how easy it is to spend too much.
I found everything on Amazon and at Target, mostly under $15:
-
2-tier under-sink organizer: $14
-
Clear bins (set of 4): $13
-
Mini Lazy Susan (9”): $10
-
Label sticker pack (minimal style): $6
-
Over-the-door metal hooks: $5
All in? About $48. And I use everything daily.
A Small Space That Changed How I Feel at Home
Here’s the part no one talks about: when one tiny space works better, it shifts your mood. That five-second pause to spray the sink or grab a towel now feels light, even satisfying.
It made me want to organize other corners too. Not because I had to, but because I wanted to.
So if your under-sink cabinet is still a disaster—don’t wait for a full home makeover. Start with one door, one shelf, one lazy Sunday. It might be more powerful than you think.
✨ Pin this if you’re planning your next seasonal reset
✨ Or tell me—what’s one small space that changed everything for you?