Your Pinterest board is packed with ornament trees and you still can’t decide whether the pink spheres belong next to the red ones. That’s the trouble with the Shiny Brite revival — the photos are gorgeous and none of them tell you what to actually buy.
We spent serious time digging through Etsy, eBay, Target, Walmart and Michaels to bring you only what’s worth your attention this year, from $1.25 glass spheres to $475 boxed sets with the original cardboard still intact.
Inside you’ll find 33 curated ideas covering vintage mercury glass, retro stripe sets, flocked silver trees and archive-style box displays — with budget and luxury versions compared side by side, and every idea shoppable with direct product links. And stay until the end — we break down the most common mistakes that can ruin these looks.
2026 is the year this stopped being a niche collector thing: with the more-is-more tree back on Pinterest, mismatched finishes and original packaging are the details people are saving.
📌 Save this to Pinterest for later — you’ll want to revisit these ideas.
1. A Candy-Colored Tree Where Every Finish Argues
Take one look at this tree and the thing you remember isn’t the color — it’s the finish. Every ornament sits in the same red, gold, green or fuchsia family, but the surfaces disagree with each other: mirror-shiny, sugar-glitter, flat matte. Pull out the matte spheres and the whole tree goes cheap and glitter-fast. The matte pieces are the punctuation that makes the shiny ones read expensive, and the faux red berry clusters tucked between branches keep the palette from floating away.
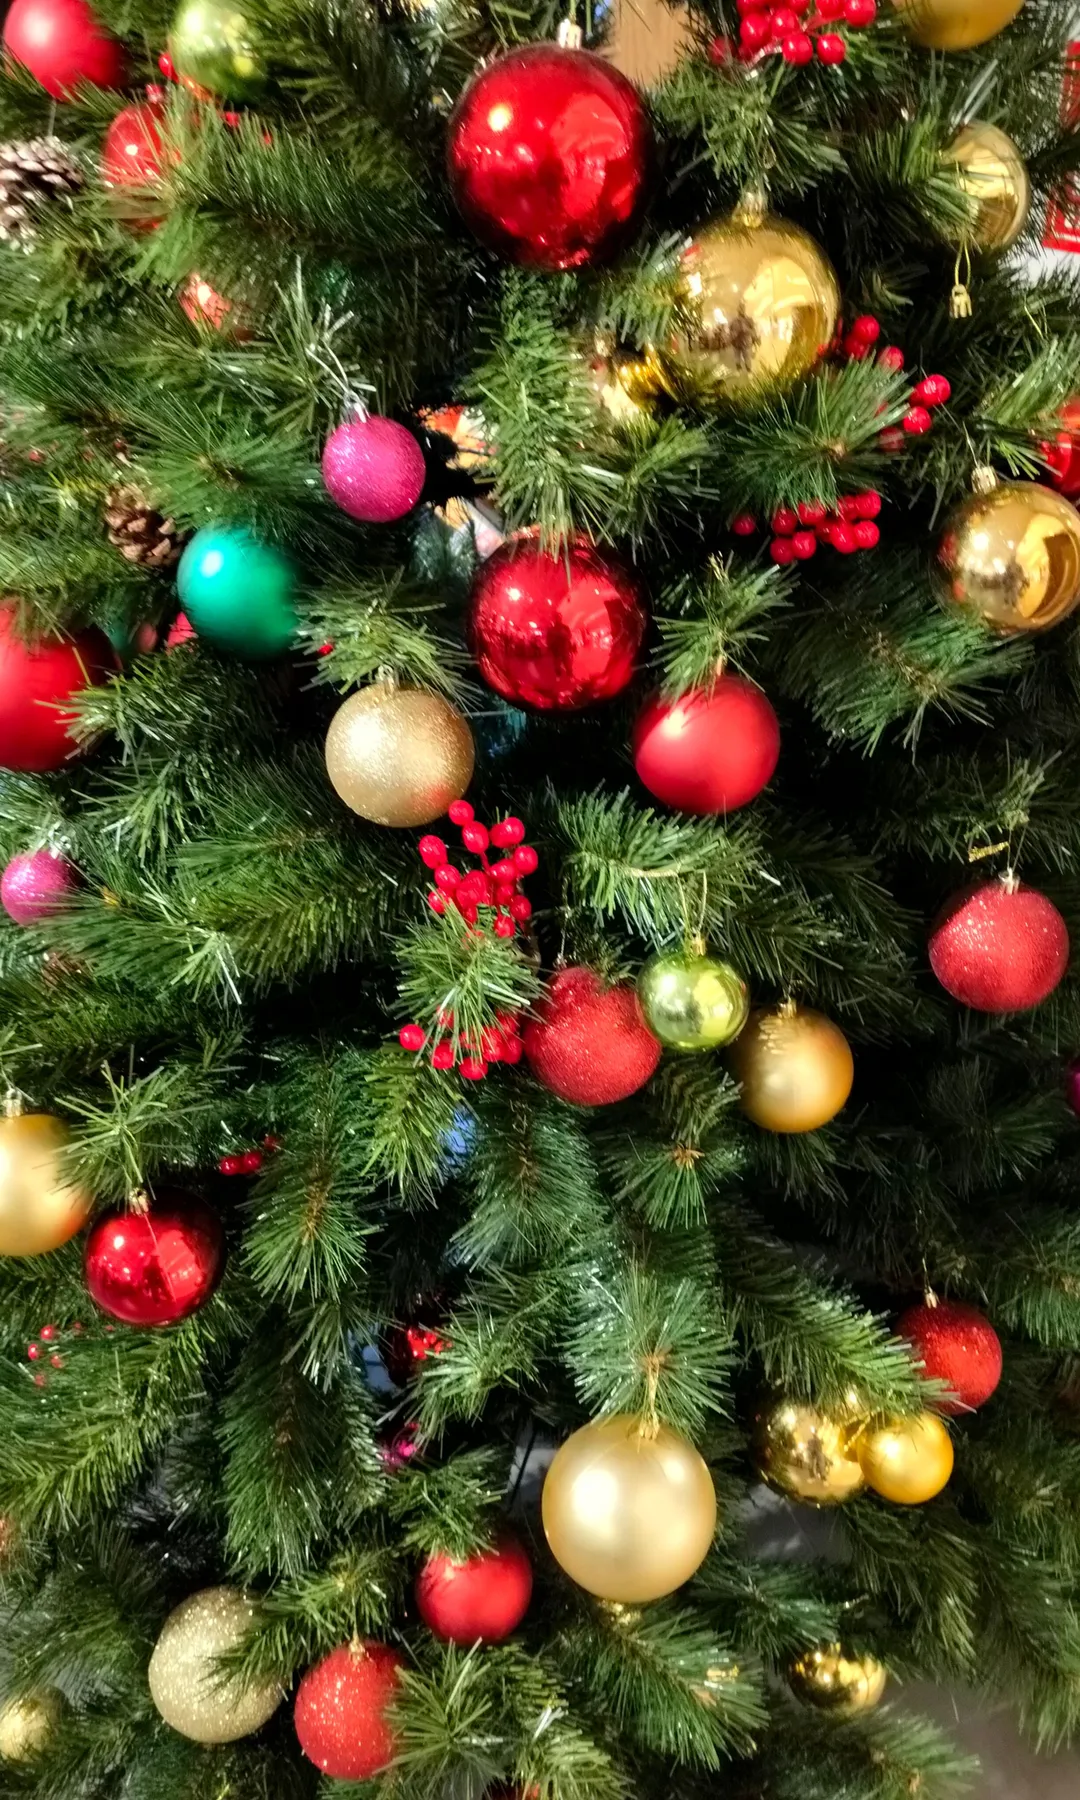
Matched ornament sets had a long run. 2026 is the year they lost it. Pinterest boards are filling with deliberately mismatched trees — estate-sale glass beside dollar-store glitter beside heirloom matte — and the real styling work happens in the gaps, where pinecones and berries sit between the spheres. It’s the original Shiny Brite idea, updated: abundance instead of symmetry.
2. Ornaments Suspended From The Ceiling In Warm Gold Light
Here’s the formula floating above this room: 35% warm gold, 30% red, 20% clear glass, 15% green. Gold and red carry the glow, the clear ornaments almost disappear into the light and keep the whole thing from turning heavy, and green shows up only in the tree and the gold-edged poinsettias at its base. Swap the red for deep plum and the same math reads moody instead of jolly.
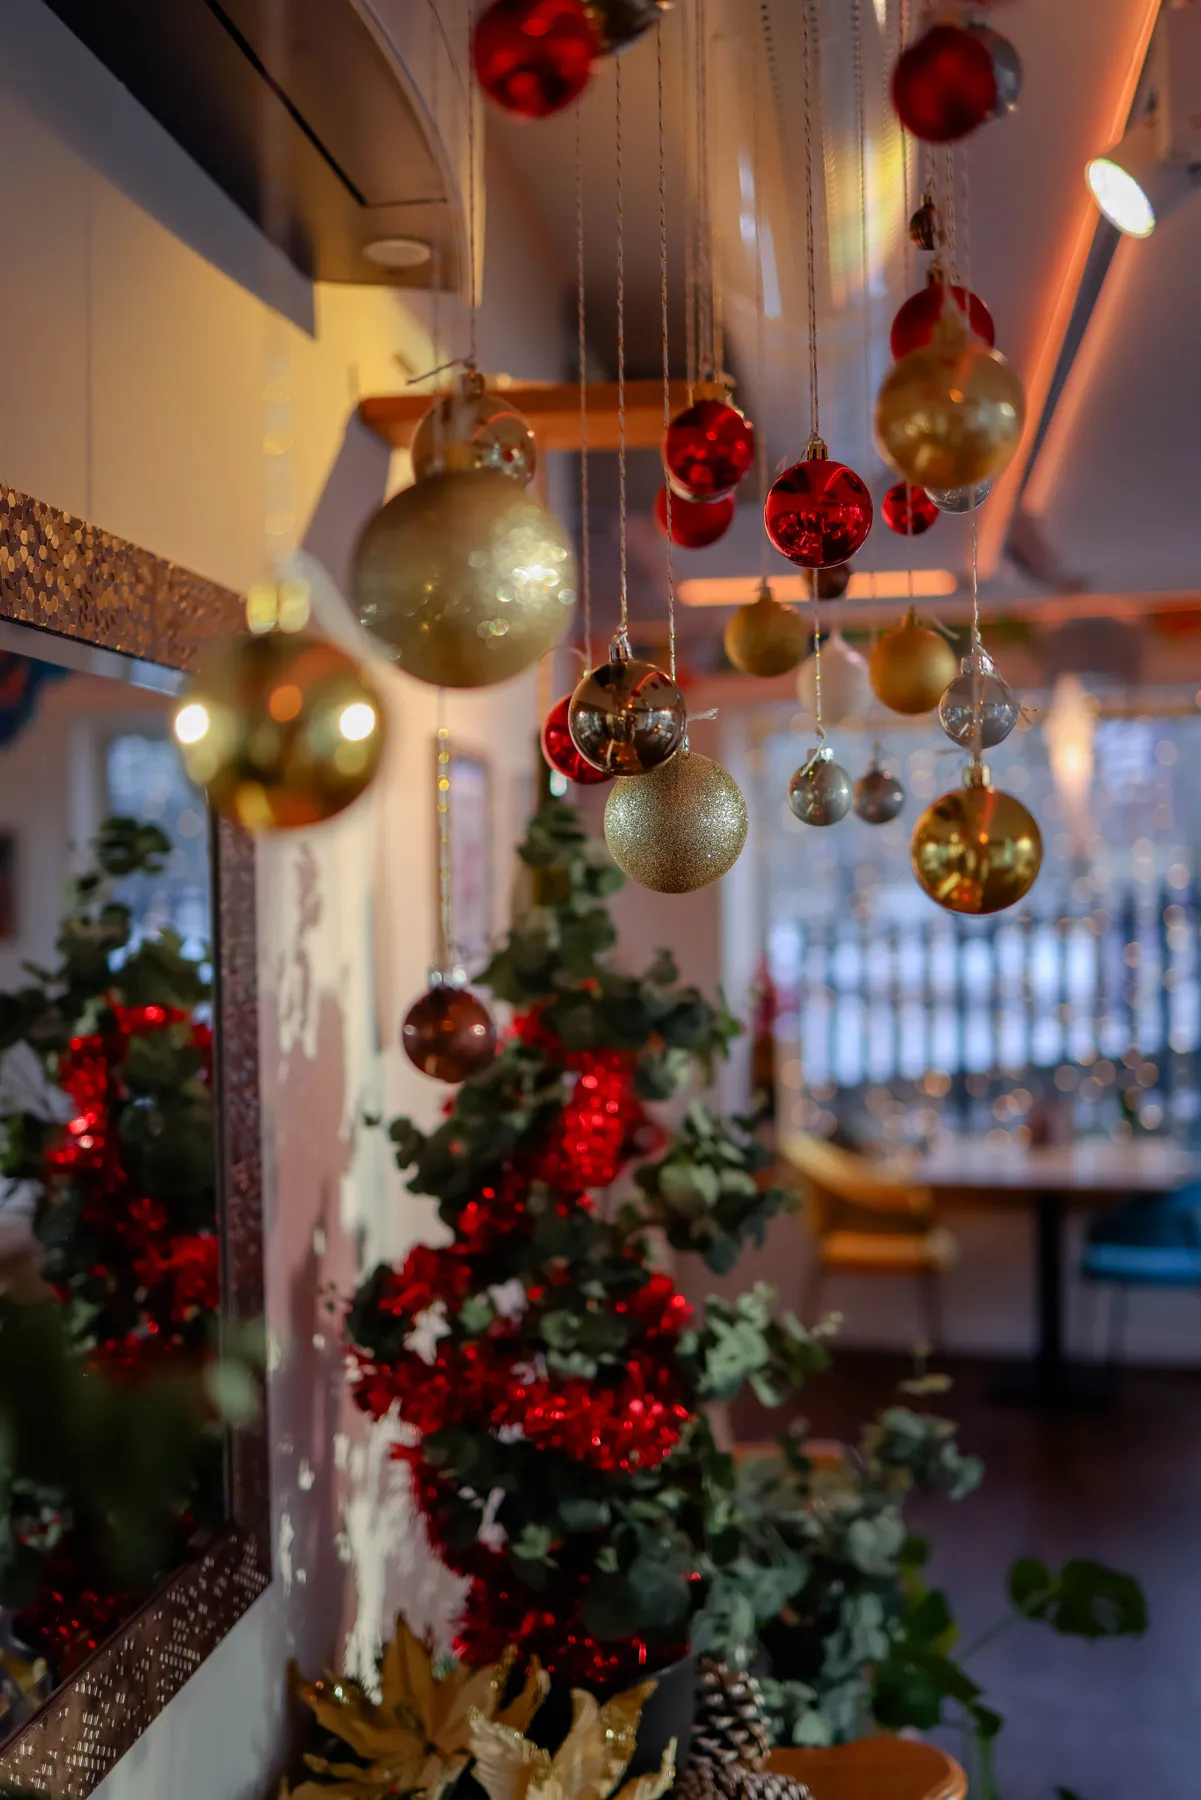
Hang the ceiling cluster 8 to 14 inches below the ceiling, spaced no tighter than 6 inches apart so the reflection never becomes a solid mass. Use 12-pound monofilament and tiny white cup hooks — they vanish against plaster. Anyone walking under it should clear the lowest ornament by a foot. In a room with a textured mirror frame like this one, angle two ornaments so they catch it on purpose.
3. A Lit Wire Star With One Red Bauble Below
A lit wire star is a weekend project, and it costs less than one box of boutique ornaments.
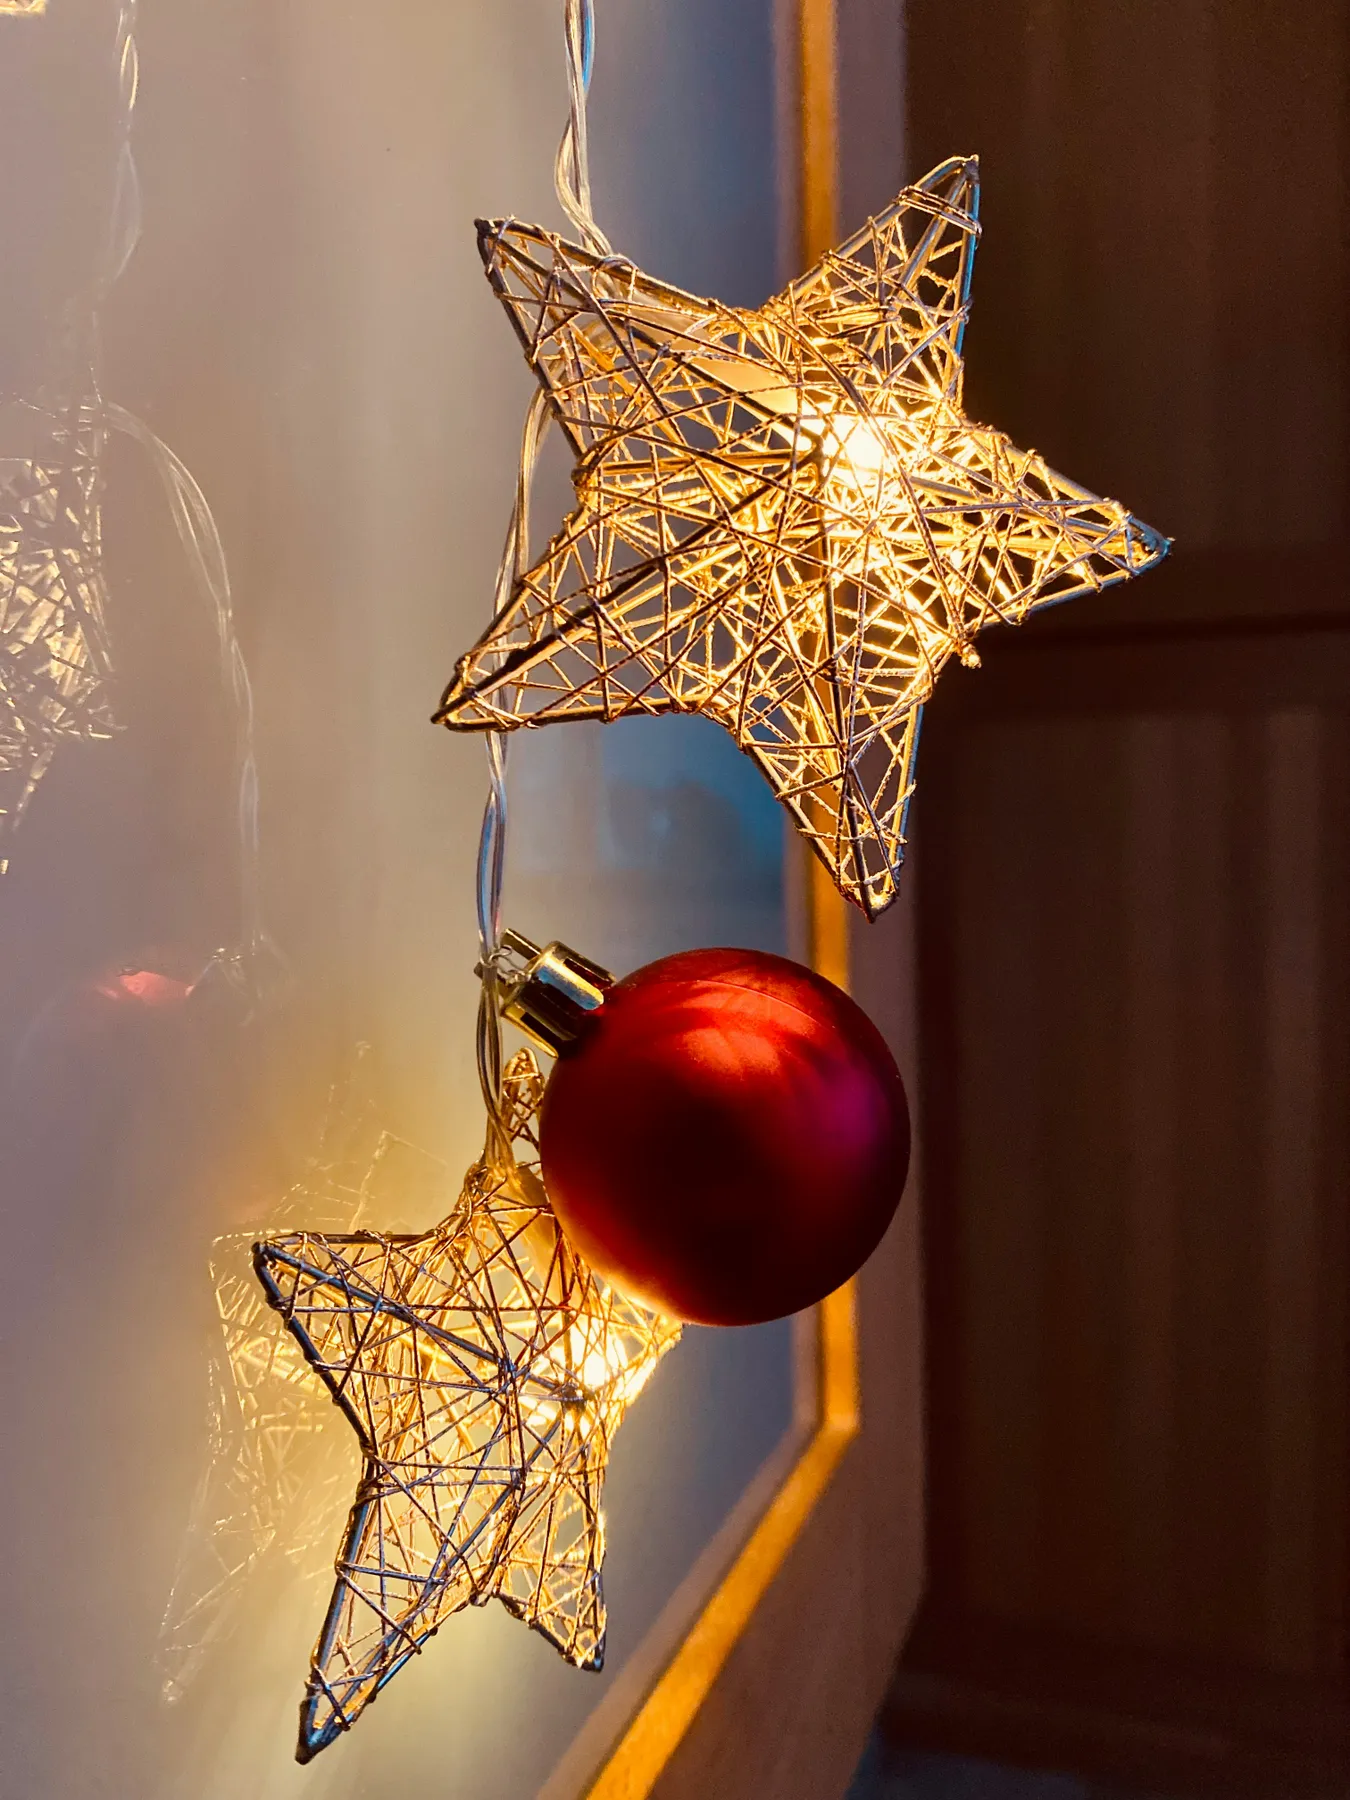
- Bend 16-gauge craft wire into a five-point star, about 8 inches across.
- Wrap 10 feet of warm-white micro string lights around the frame, leaving 6 inches of lead cord.
- Secure the wire every few inches with thin floral wire — glue yellows over time.
- Hang one red glass bauble from the bottom point on a 3-inch loop.
- Run the lead cord behind furniture or through a slim cable channel.
Time: 45 minutes per star. Materials: $8–$14 each.
Micro string lights are the diva of holiday decor. Expect to replace a strand every second season, and if one section of your star goes dark, check the first bulb in the run before buying anything new. Coil lights around a cardboard spool for storage — knots kill the internal wire. And bring the glass bauble inside in January; window sun dulls a red finish in a single season.
4. Striped Glass Ornaments Styled On Lace-Trimmed Linen
Two things are doing the heavy lifting here, and neither is the ornament. First, the dark textured surface under that white lace-edged napkin — the contrast turns fuchsia and light blue into jewel tones instead of candy. Second, the odd number: three striped spheres, one wooden spoon, one gold-rimmed plate. Add a fourth ornament and the arrangement stops being a still life and starts being clutter.
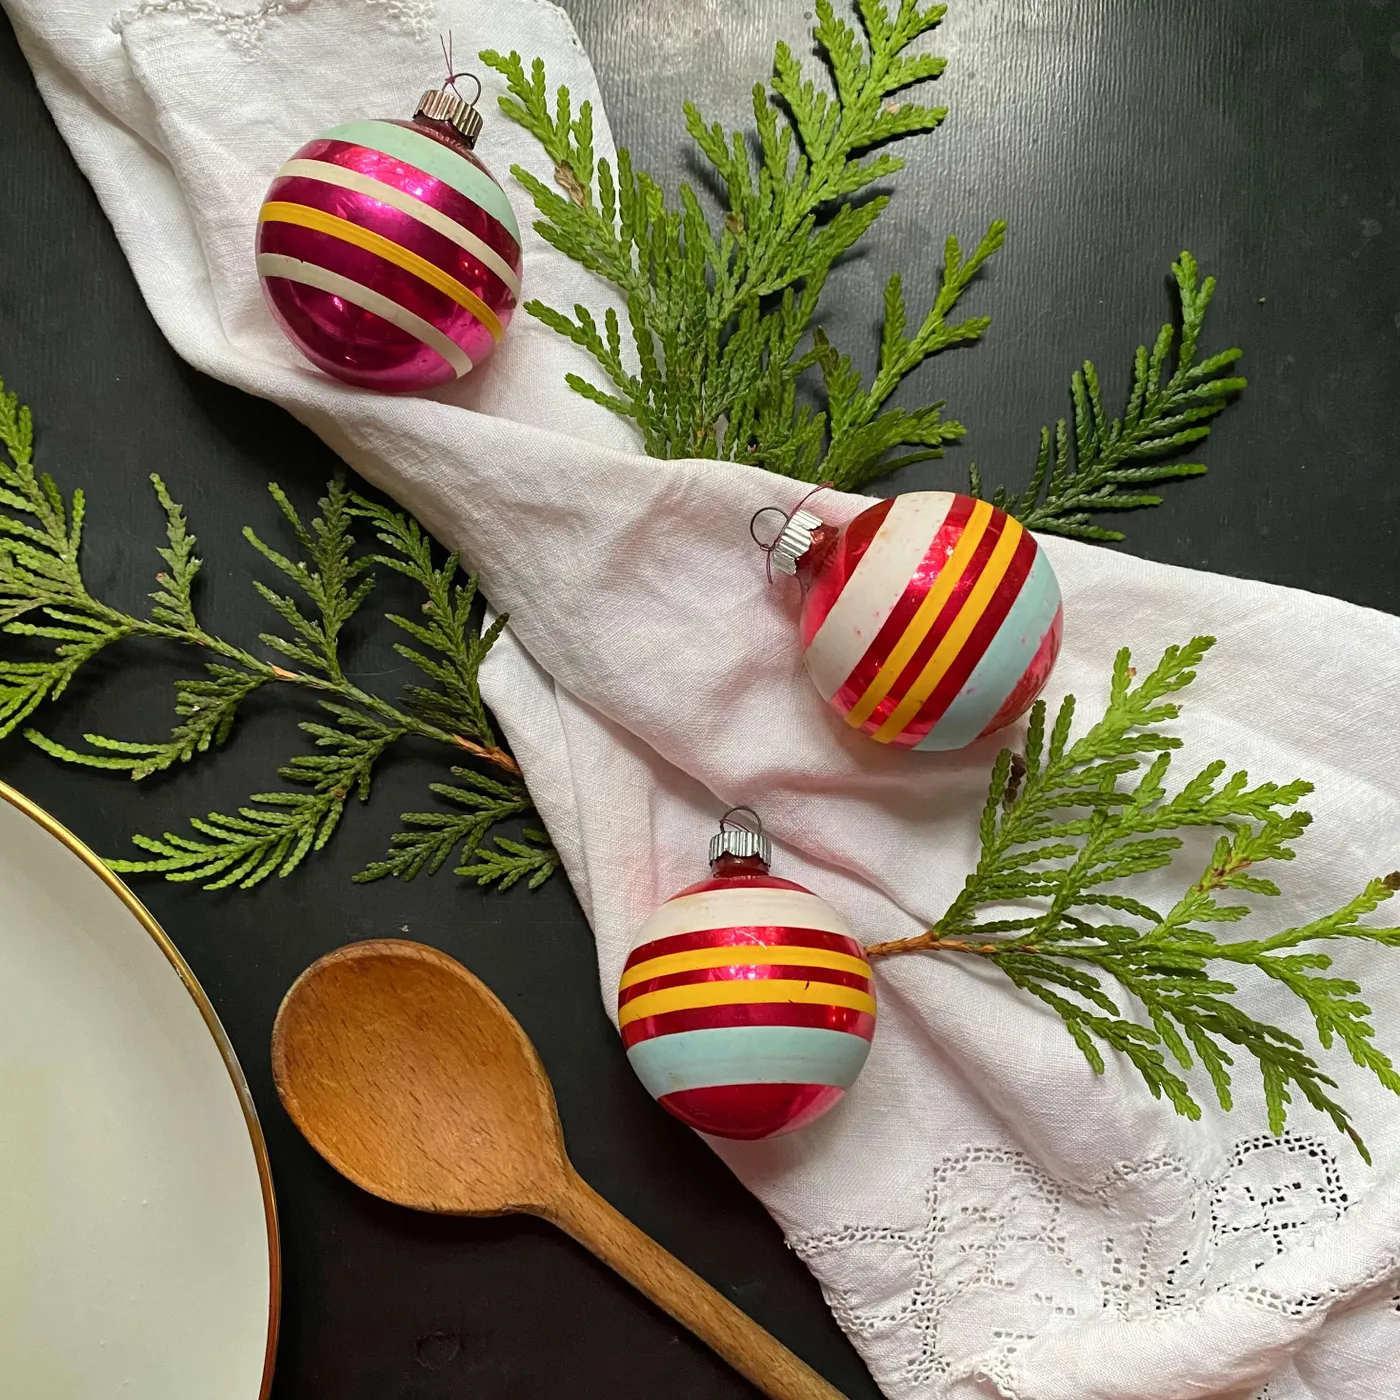
You can copy this for about $25. Target and Walmart both carry striped glass spheres in the $4–$6 range all season, and vintage-look versions show up at Michaels for a few dollars more. The lace-trimmed linen? Thrift stores have stacks for $2, and an iron fixes most sins. The wooden spoon is already in your kitchen drawer — that’s the whole point. Spend on the glass, not the props.
5. A Clear Orb That Doubles Your Tree’s Light
A clear glass orb is a magnifying glass with a ribbon on it. It shows every fingerprint, and if it sits on a dark shelf with nothing behind it, the reflection dies and you just own a heavy ball. Give it light — a window, a lamp, a lit tree two feet away — and a darker backdrop to bounce against. Keep the big ones above kid-and-dog height; a 5-inch glass sphere is a cannonball with a cap.
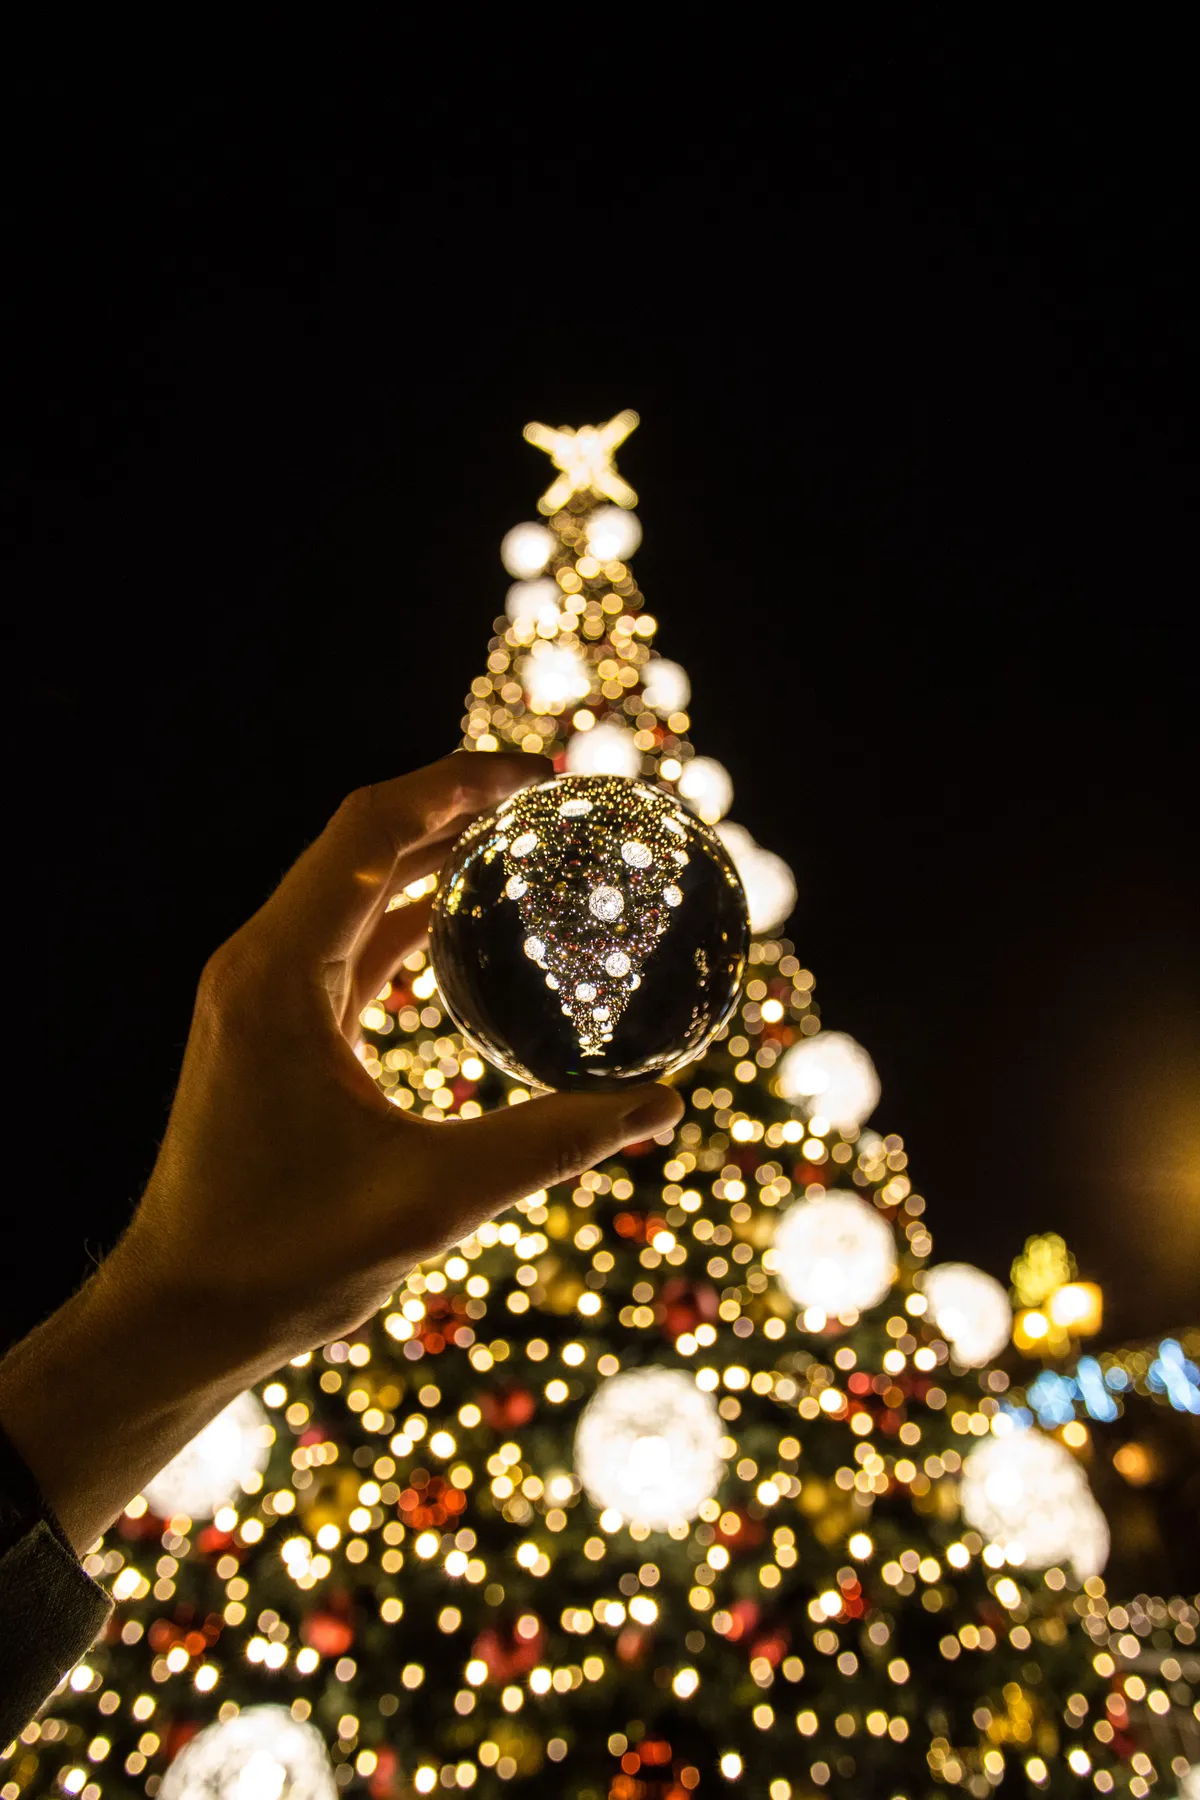
This is really a small-room trick. A cluster of three to five reflective orbs works on a mantel as narrow as 5 feet or a console 14 inches deep. In rooms under 120 square feet, stop at three; beyond that you’re blocking sightlines for no reason. High ceilings make it better — the orb picks up upper branches and doubles the apparent height of your tree. For rooms with real square footage, see Idea #2, where the ornaments leave the shelf entirely.
Skip the tree for a minute and build the cluster that does the same job on a side table.
- Choose three clear glass orbs in graduated sizes — 3, 4 and 5 inches.
- Crumple a dark charcoal or velvet runner underneath; contrast is the whole trick.
- Coil one 6-foot warm-white strand loosely around the base of the largest orb.
- Set a small battery candle 6 inches behind the cluster, out of sight.
- Rotate the biggest orb until the tree’s reflection sits centered in the glass.
Time: 20 minutes. Cost: $18–$40, or free if you own the pieces.
6. Hand-Painted White Florals On Teal Mercury Glass
Teal mercury glass is the easiest ornament finish to fake. Buy plain glass or plastic spheres in multi-packs — roughly $1.25 to $3 each at Dollar Tree or Walmart — and coat the inside with two thin passes of Krylon Looking Glass spray, then a wash of teal glass paint over it. Dry them upside down in the box so the finish pools toward the top. You land around $2.50 per ornament before the florals.
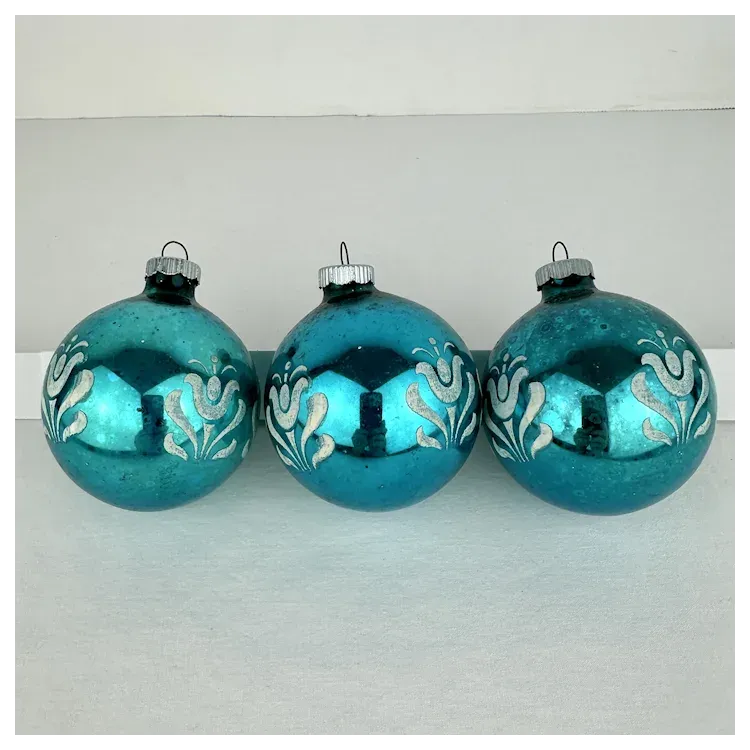
If you’re adding the white floral yourself, use an oil-based enamel paint pen, not acrylic craft paint — acrylic beads up on glossy curved glass and flakes by New Year’s. Sketch the vine first in water-soluble pencil so mistakes wipe clean. Paint each ornament while it hangs from a hook at eye level rather than rolling around on a table. Two light coats beat one heavy one, and a matte sealer keeps the white from yellowing.
7. Tiered Rainbow Banding On A Flocked Tree
Count the color like a recipe and it gets easy: 50% white — the flocking plus the warm-white lights — 30% multicolor banding, 20% red, which here means the striped ribbon and the glass. The flocking matters more than people expect. It’s a neutral that lets red, gold, green and blue share one tree without arguing. Switch to an unflocked green tree and you’d want to cut the blue and pull gold forward to hold the same balance.
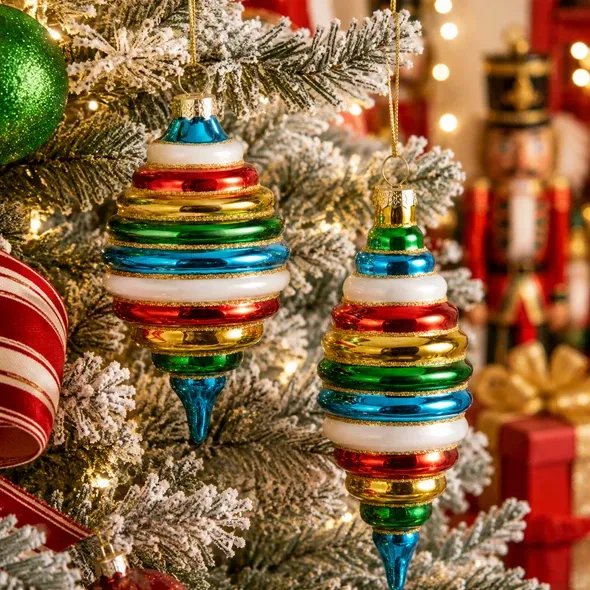
A ribbon does what another 40 ornaments can’t: it moves the eye around the tree.
- Pick a 2.5-inch red-and-white striped ribbon and cut 6-to-8-foot lengths.
- Start at the top, tuck the end behind a branch, and work down in a loose spiral.
- Push the ribbon 2 to 3 inches into the branches every 10 inches to anchor it.
- Twist it a half-turn at each anchor so the stripe catches light differently.
- Tuck the tail where the tree meets the stand.
Time: 30 minutes for a 7-foot tree. Cost: about $12 for 30 feet of ribbon.
8. Frosted Glass Ornaments Living In Their Worn Original Box
Recreating this look is more about sourcing than spending:
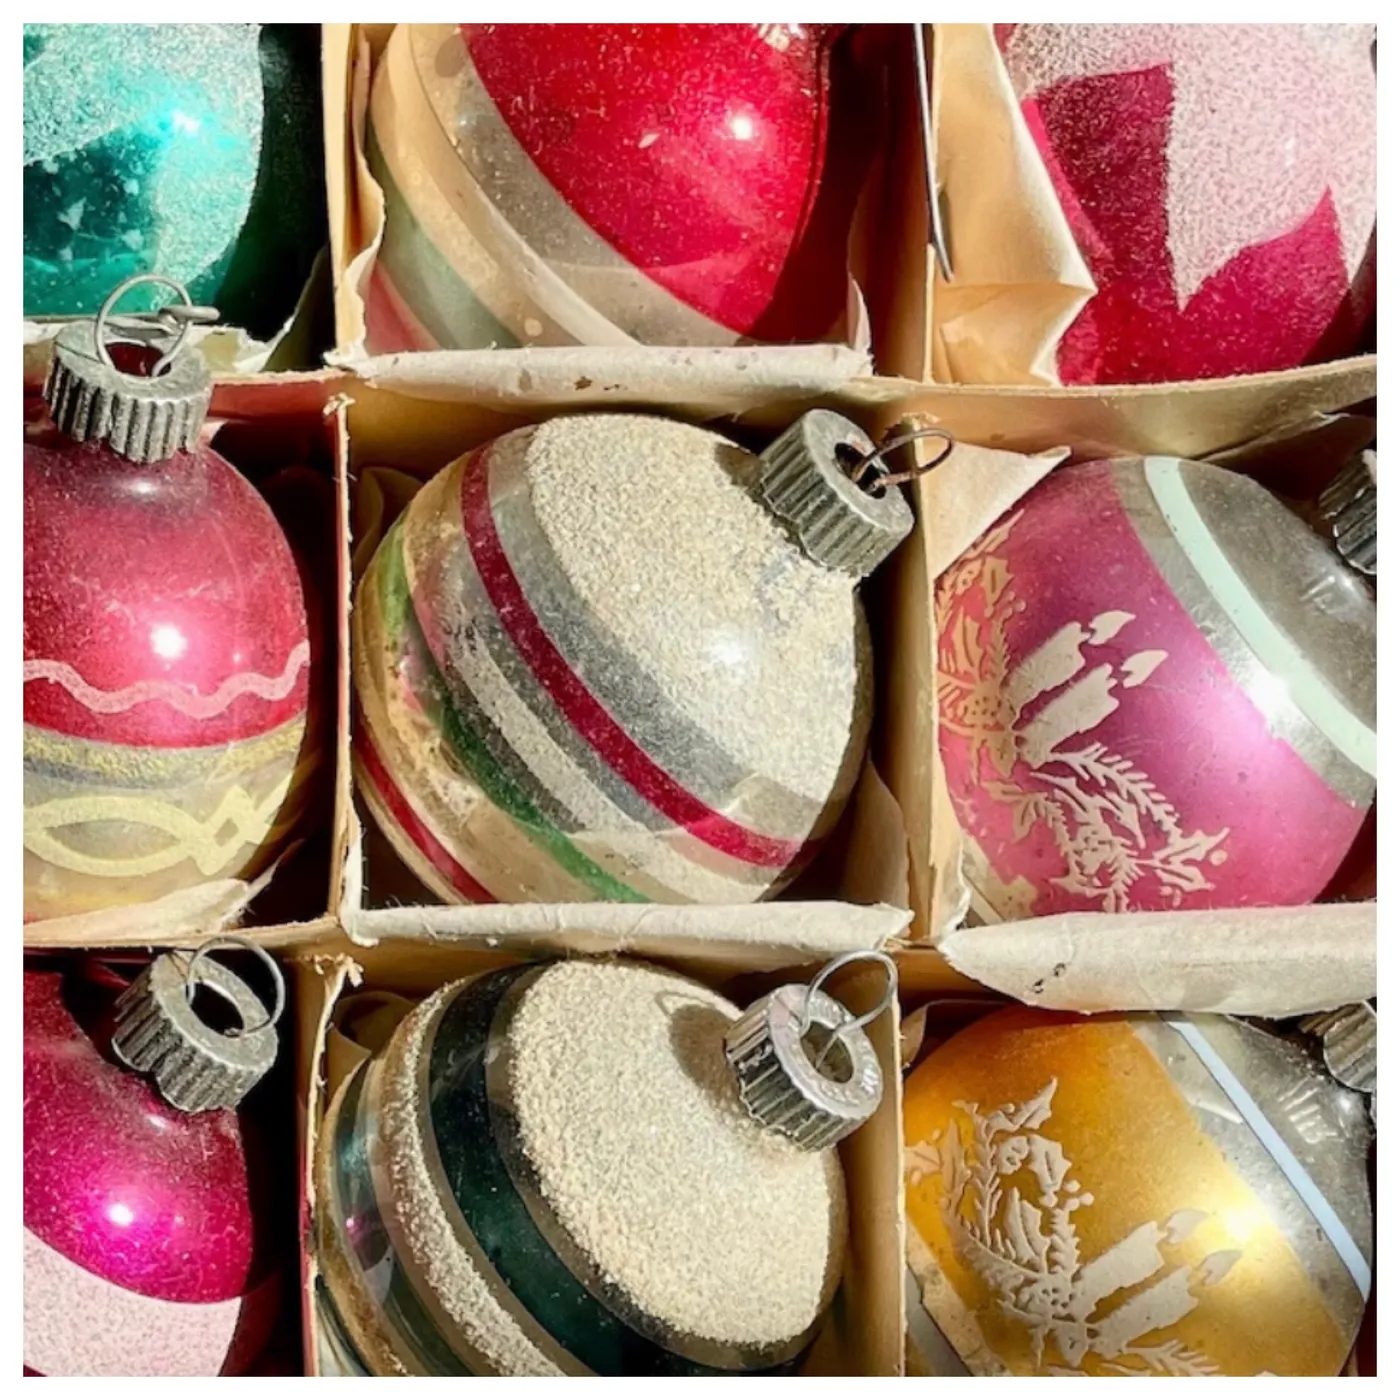
- Vintage frosted glass ornaments: $3–$8 each at estate sales, $12–$30 in curated Etsy lots
- Cardboard compartment box: $6–$15, often free with a lot
- Acid-free tissue paper: $8 for 100 sheets
- Replacement metal caps and wire hangers: $6 for 50
- Dust-free shelf space: free
Total: $125–$300 for a 20-ornament collection. Budget alternative: grab a 24-piece modern frosted set for $25, then layer in three real vintage pieces where the eye actually lands.
Cardboard is not a long-term friend. The dividers release acid as they age, which is what dulls a finish over decades, and dust settles into frosted sections where you can’t reach it. Line the compartments with acid-free tissue, keep the box out of the attic, and never soak a vintage glass ornament — the paint lifts at the cap. A soft pony brush and dry air are the whole routine.
9. Ribbed Hearts And Teardrops In A Shiny Brite Hoard
Shiny Brite-style glass has been climbing for three seasons, and 2026 is when the unusual shapes took over. Ribbed heart ornaments, teardrop spheres, painted swirl designs — the collector energy mid-century ceramics got in the 2010s has moved to holiday glass. It helps that the palette is loud: emerald, deep purple, cherry red, exactly what the more-is-more crowd wants sitting next to a neutral sofa.
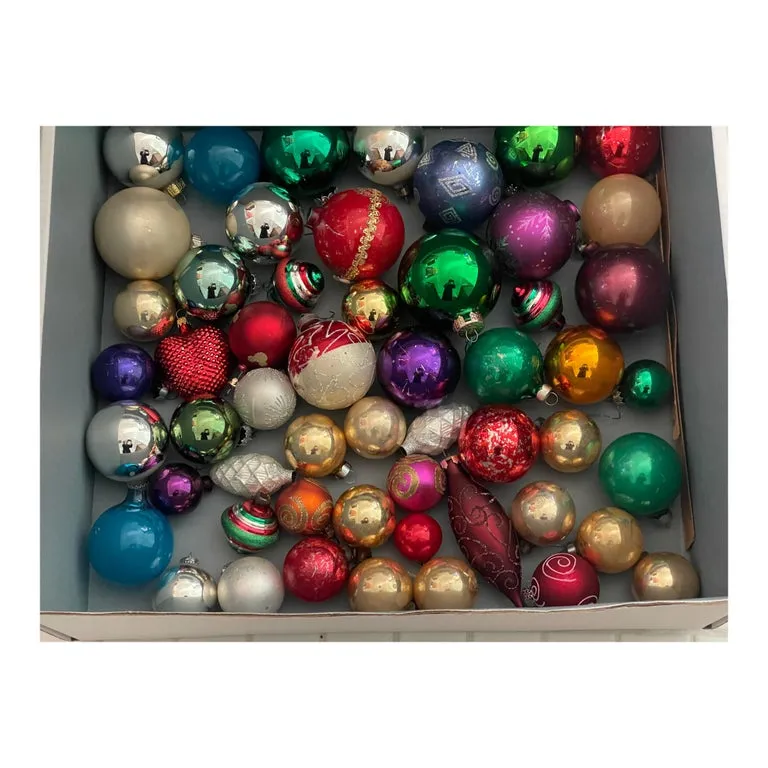
Smart money buys lots, not singles. A mixed box of 20 to 30 glass ornaments on eBay or Facebook Marketplace typically runs $30 to $60 — about $1.50 to $3 per piece, versus $12 for a curated single on Etsy. Ask sellers for a photo of the caps; a Shiny Brite or Made in USA stamp usually signals better paint. Shop estate sales on the second day, when boxes get marked down. See Idea #25 for what those caps actually tell you.
10. Twelve Red And Gold Spheres, Sorted Into Trays
Twelve ornaments is the honest number for a tabletop tree, and it’s also the right count for one packed shelf. As a rule, plan 8 to 10 glass ornaments per foot of tree height for a full look, or 12 to 15 per foot if you want the density of a retail display. Two trays of red and gold gives you 24 pieces — enough for a 3-foot tabletop tree with spares, or one heavily layered dining runner.
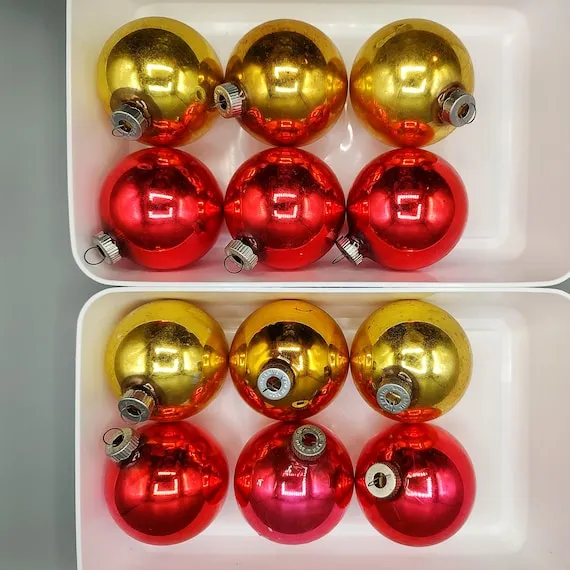
Sort by size before you hang anything: roughly 60% of your ornaments should be 3 to 4 inches across, 40% smaller accents. Hang the largest glass at the widest part of the tree, around eye level, and let the small ones creep toward the top. It’s the gallery-wall principle — big pieces low and centered, small pieces as altitude. One more thing: mix caps, not colors. Silver and gold caps side by side keep a red-and-gold tree from looking like a matched set.
11. Bell Shapes And Painted Bands In Original Compartments
The best part of this collection isn’t the glass — it’s the box. Compartmented cardboard with printed borders, faded dividers, a handwritten label: it’s a document of somebody’s Christmas sixty years ago, and it does what no glass jar or velvet tray can. Take the box away and you have a nice pile of ornaments. Keep it and you have a display piece, which is why collectors pay more for packaging than contents.
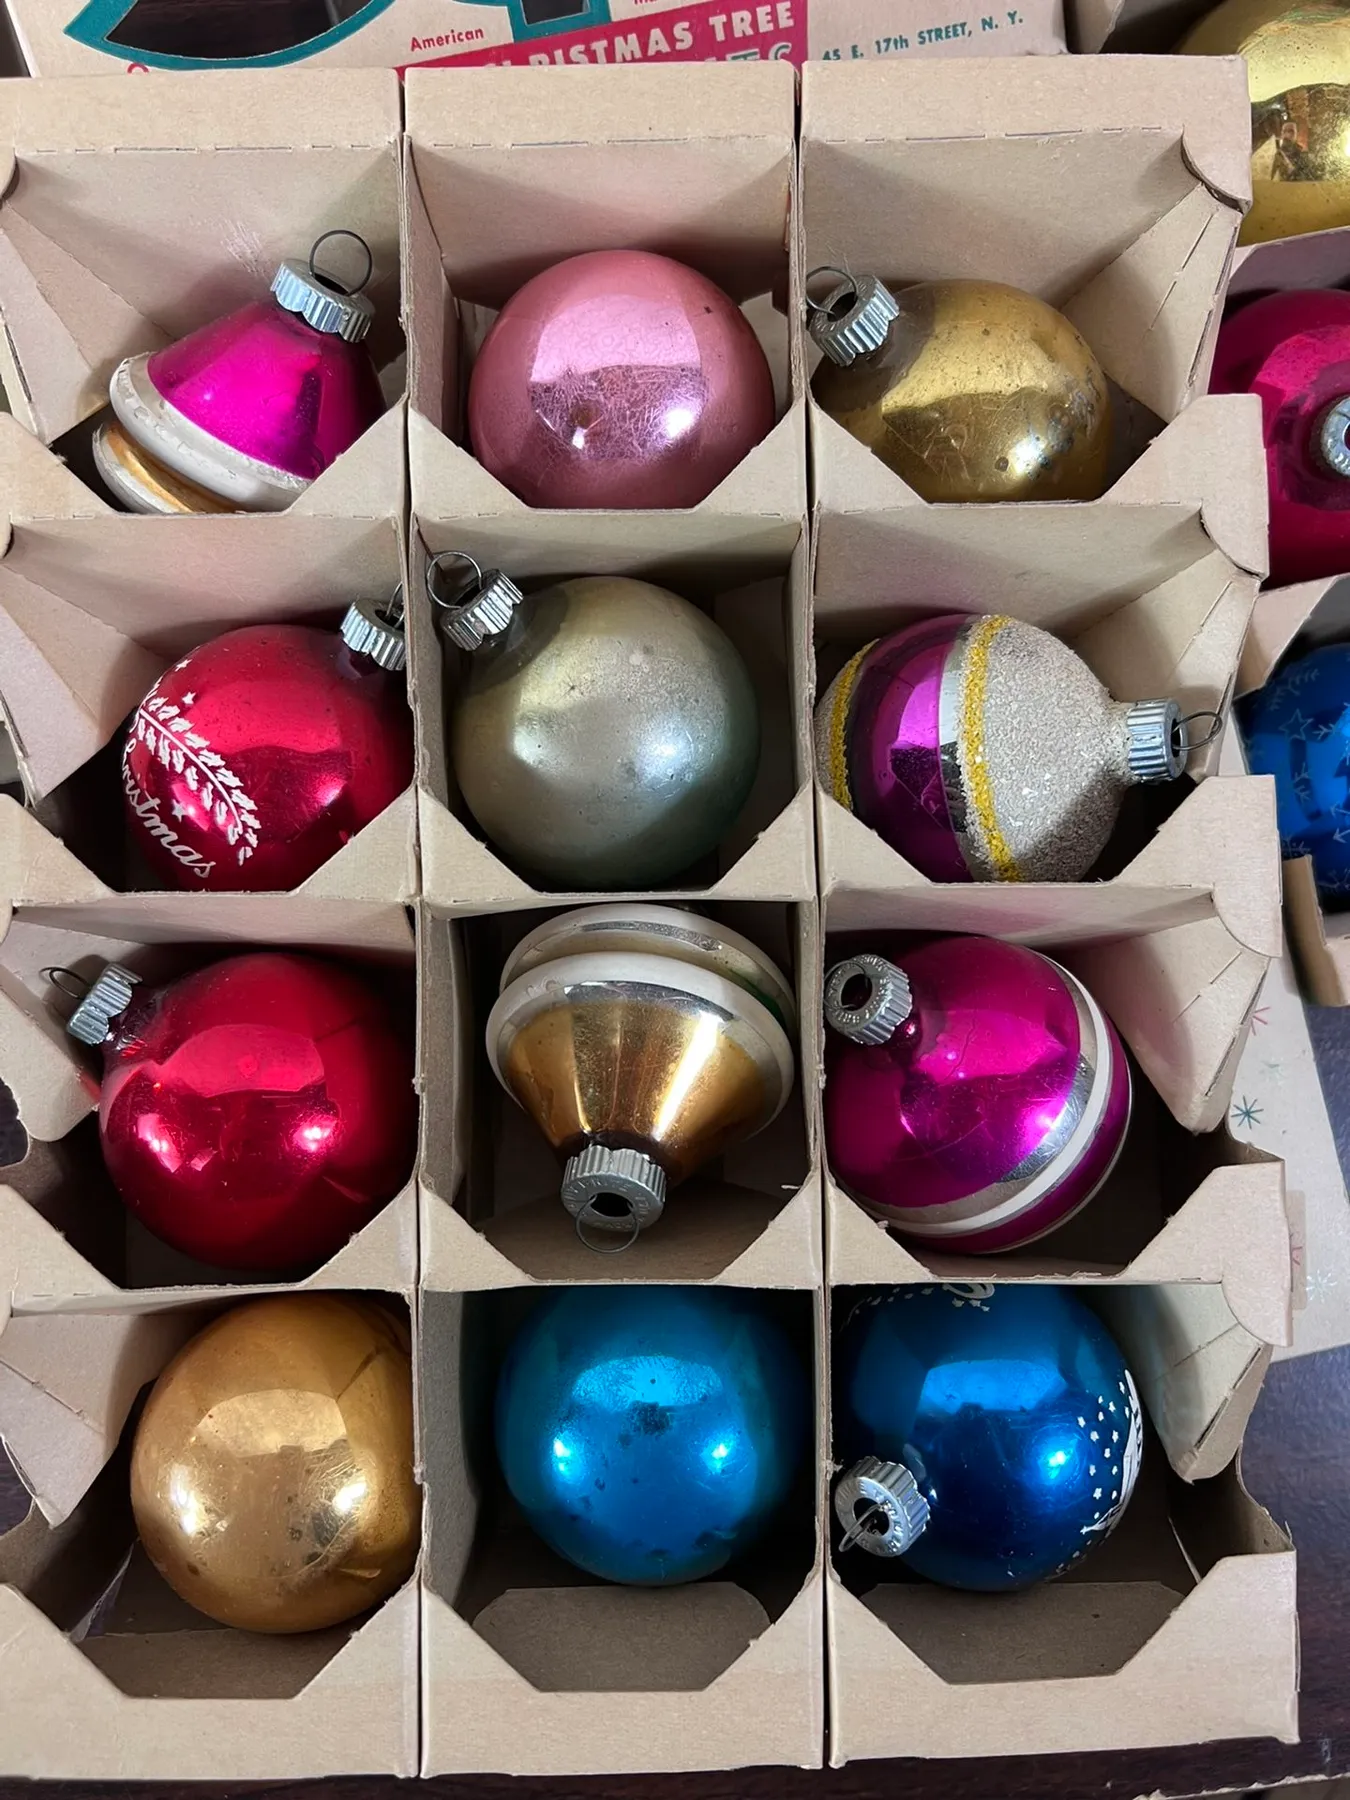
Turn the storage box into a shelf display in an afternoon.
- Clear a shelf at chest height so you look down into the compartments.
- Stand the lid upright behind the box and lean it back slightly.
- Move the dullest ornaments to the front row and put bell shapes at the corners.
- Add one warm-white battery puck light 8 inches above, angled down.
- Stop there — greenery inside the box hides the dividers that make it interesting.
Time: 15 minutes. Cost: $0–$12 for the light.
12. A Loose Pile Of Multicolored Glass On A Flat Surface
The mix looks random and isn’t. Read it as a formula: 40% red and green, 25% gold and silver, 20% deep purple and blue, 15% surprise — here, that lone fuchsia or copper. The metallics are the connective tissue; they let two saturated colors sit side by side without clashing. Change the surprise color to chartreuse and the same ratios read modern. Drop the metallics to 10% and the pile gets granny-fast.
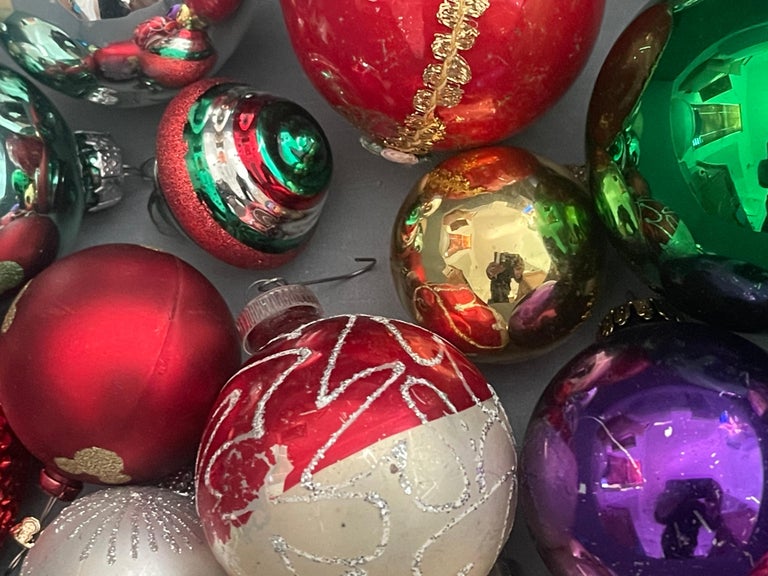
Two principles hold this together. First, saturation consistency: every color sits at full strength, so nothing reads faded or accidental. Second, nearness. Set these spheres two inches apart on a flat surface and the reflections bounce off each other, doubling the apparent light in the room. That’s why a pile on a coffee table looks richer than the same ornaments hung six inches apart on a tree.
13. Mercury Glass In Bells, Lanterns And Embossed Shapes
Mercury glass only turns on when light passes near it, not on it. Put a 2700K warm-white strip or a small puck light behind the shelf edge instead of overhead — that’s what produces the mottled glow rather than a flat highlight. If you’re hanging them, place the embossed and mottled pieces at the outer edges where side light hits, and keep the plain spheres toward the middle of the tree.
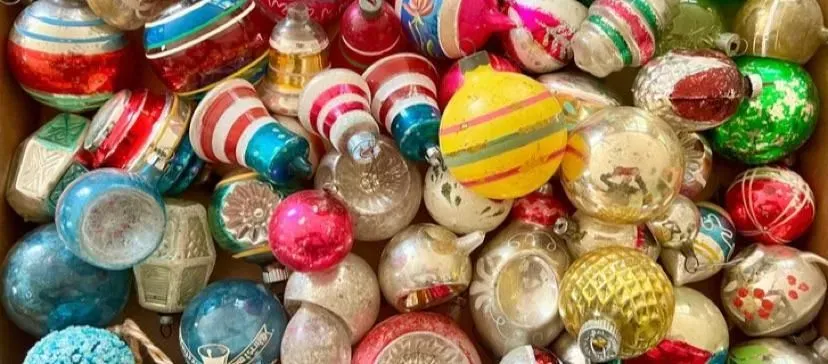
Mercury glass hates water. The silvering sits behind the glass, and moisture creeping under a loose cap turns it cloudy within a season. Dust with a dry soft brush, and if a piece looks grimy, breathe on it and wipe with a microfiber cloth — nothing wetter. Expect flaking on pieces older than fifty years; that’s patina, not damage. Store bell shapes upright so the cap doesn’t press the interior finish.
14. A Dozen Shiny Pink Spheres With Evergreen Sprigs
Pink ornaments used to be an estate-sale-only find. Now Target and Walmart both run blush and rose-gold glass sets from $8 to $20 a dozen, and HomeGoods carries shiny pink spheres in singles for about $3. If you want the exact bubblegum tone above, look at small online ornament shops rather than the Christmas aisle — their dyes run hotter. Then raid the tree lot’s free sprig bin for the greenery.
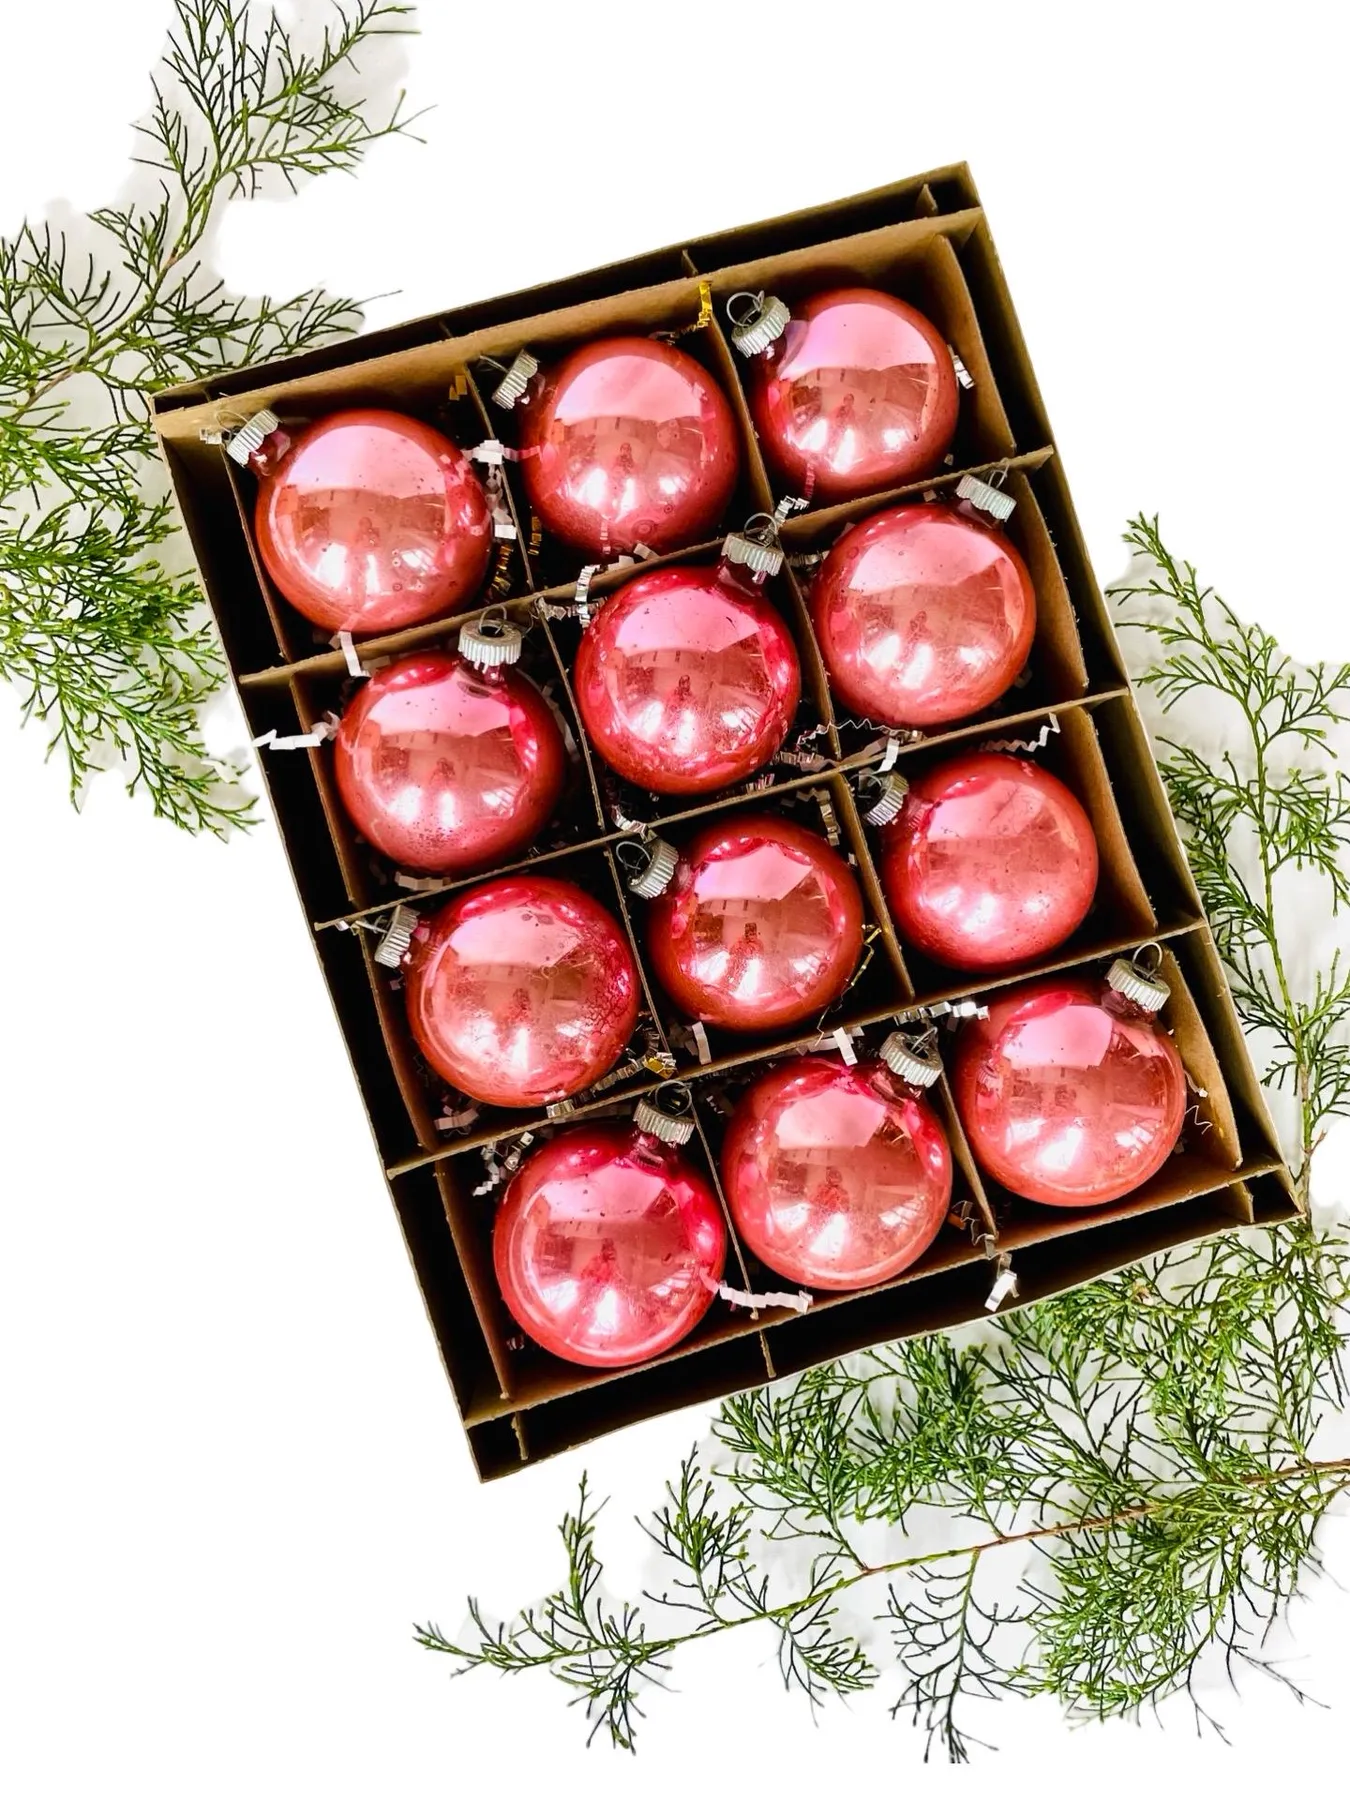
Twelve 3-inch ornaments in an open box occupies roughly 14 by 10 inches — that’s a console, a dining centerpiece, or one shelf, not a full tree. Styling a tabletop tree instead? The same dozen fills a 24-to-30-inch tree comfortably. For a bigger room and a wider surface, double the count and switch to a low wooden tray so the whole thing reads as one object rather than a scattering.
Pink is the color most likely to betray you at home. Under warm 2700K bulbs it slides toward salmon; under daylight LEDs it goes properly bubblegum. Test with the light you actually have before committing to a whole dozen. And keep pink glass out of direct sun — magenta dyes fade faster than red, and a south-facing shelf will visibly wash them out in one or two seasons.
15. Striped Spheres In A Box Printed With Gold Holly
There’s a real market now for the packaging. Boxed sets with intact dividers and printed borders — holly, berries, gold edging — are being framed, propped on shelves and photographed like mid-century pottery. It tracks with the broader 2026 shift toward visible archives: record crates, spice tins, and now ornament boxes. A complete set of twelve with its original box is worth noticeably more than the same ornaments loose.
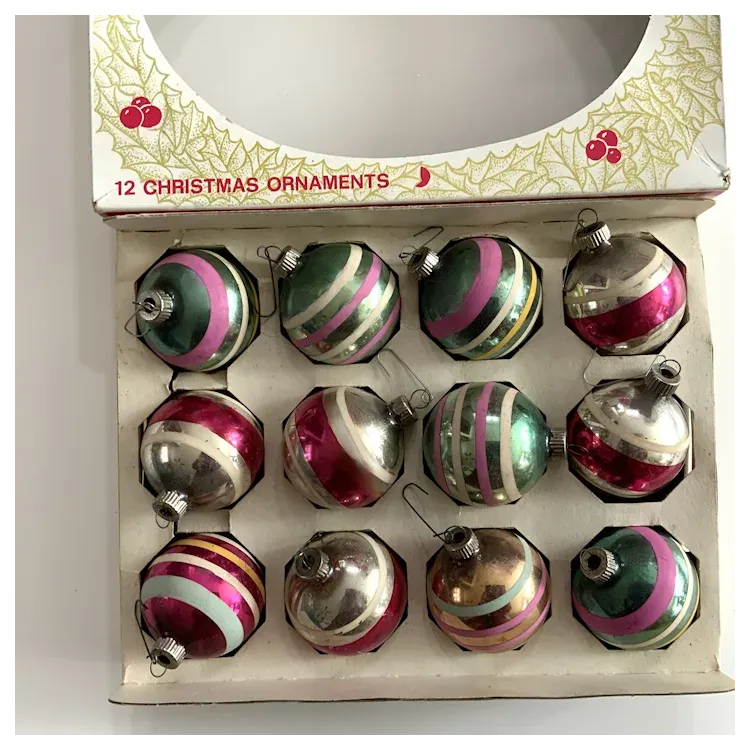
The single element doing the most work here is the box’s printed border — gold holly leaves and red berries on white. It quietly sets the palette for everything: the ornaments’ green, pink, silver and gold stripes are echoes of that border. Without the box, the same twelve pieces are just a nice set. With it, the display has a logic. Which is also your shopping rule — buy the set with legible graphics.
16. Crackled Vintage Glass That Shows Its Age
That fine cracked texture on a fifty-year-old glass ornament is usually the finish failing, not a design detail, and it’s fragile. Washing is what destroys these. Even a lukewarm rinse can lift paint at the cap and let water behind the silvering. Dry-dust only, with a soft brush, and store in compartments so glass never touches glass. Replace the wire hangers rather than reusing them — old wire scratches the caps.
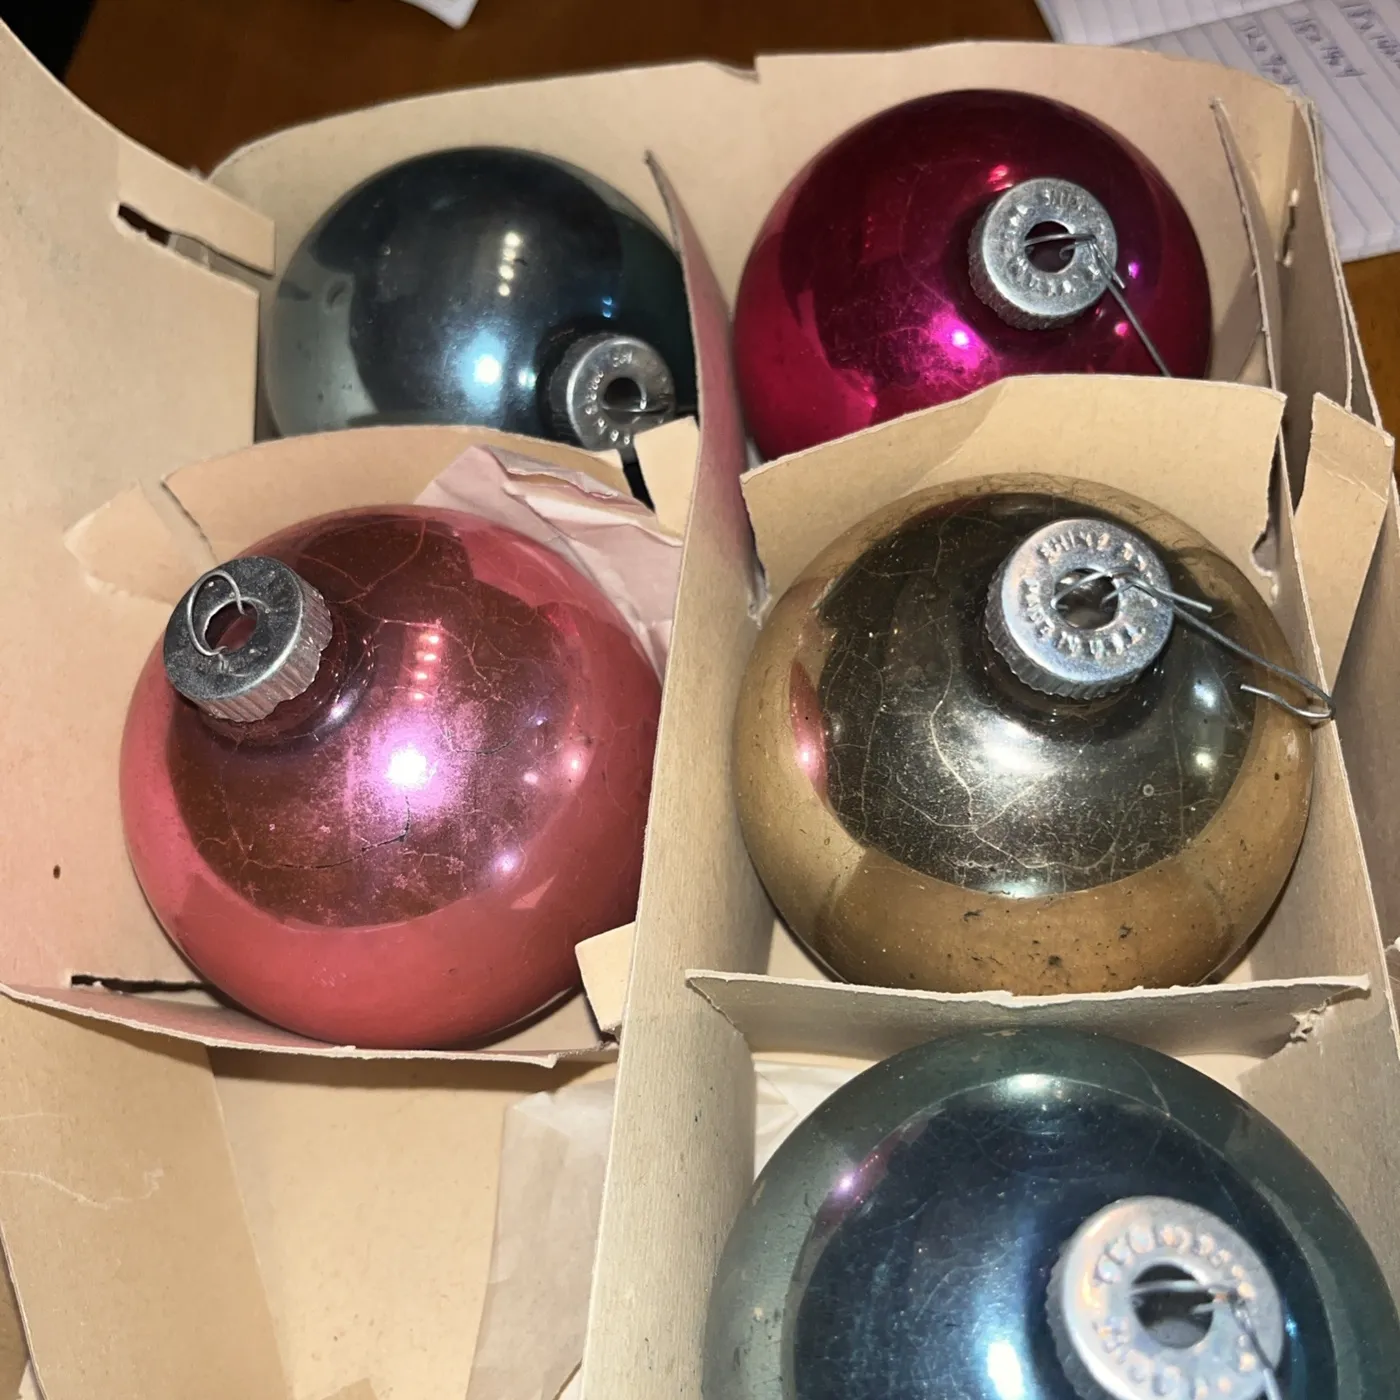
Vintage glass is heavier than modern, and original caps were never meant to hold for sixty more years. Before hanging anything, pull gently on the cap; if it lifts, dab a tiny amount of two-part epoxy inside the cap and cure 24 hours. Hang the heaviest pieces on inner branches, not tips, where the wire wraps actual wood. And keep big ornaments in the lower third — the branch structure is stronger there.
17. Scratched Silver And Pink Metallics With Real Patina
Scratches and flaked finish are why these read as old rather than cheap. Modern ornaments are uniformly perfect, and uniformity is exactly what makes a new tree look like a store display. Where the silvering has worn through on the blue-grey piece, the glass goes softly grey instead of mirror-bright, and that flatness gives the pink beside it somewhere to shine. Damage as contrast, essentially.
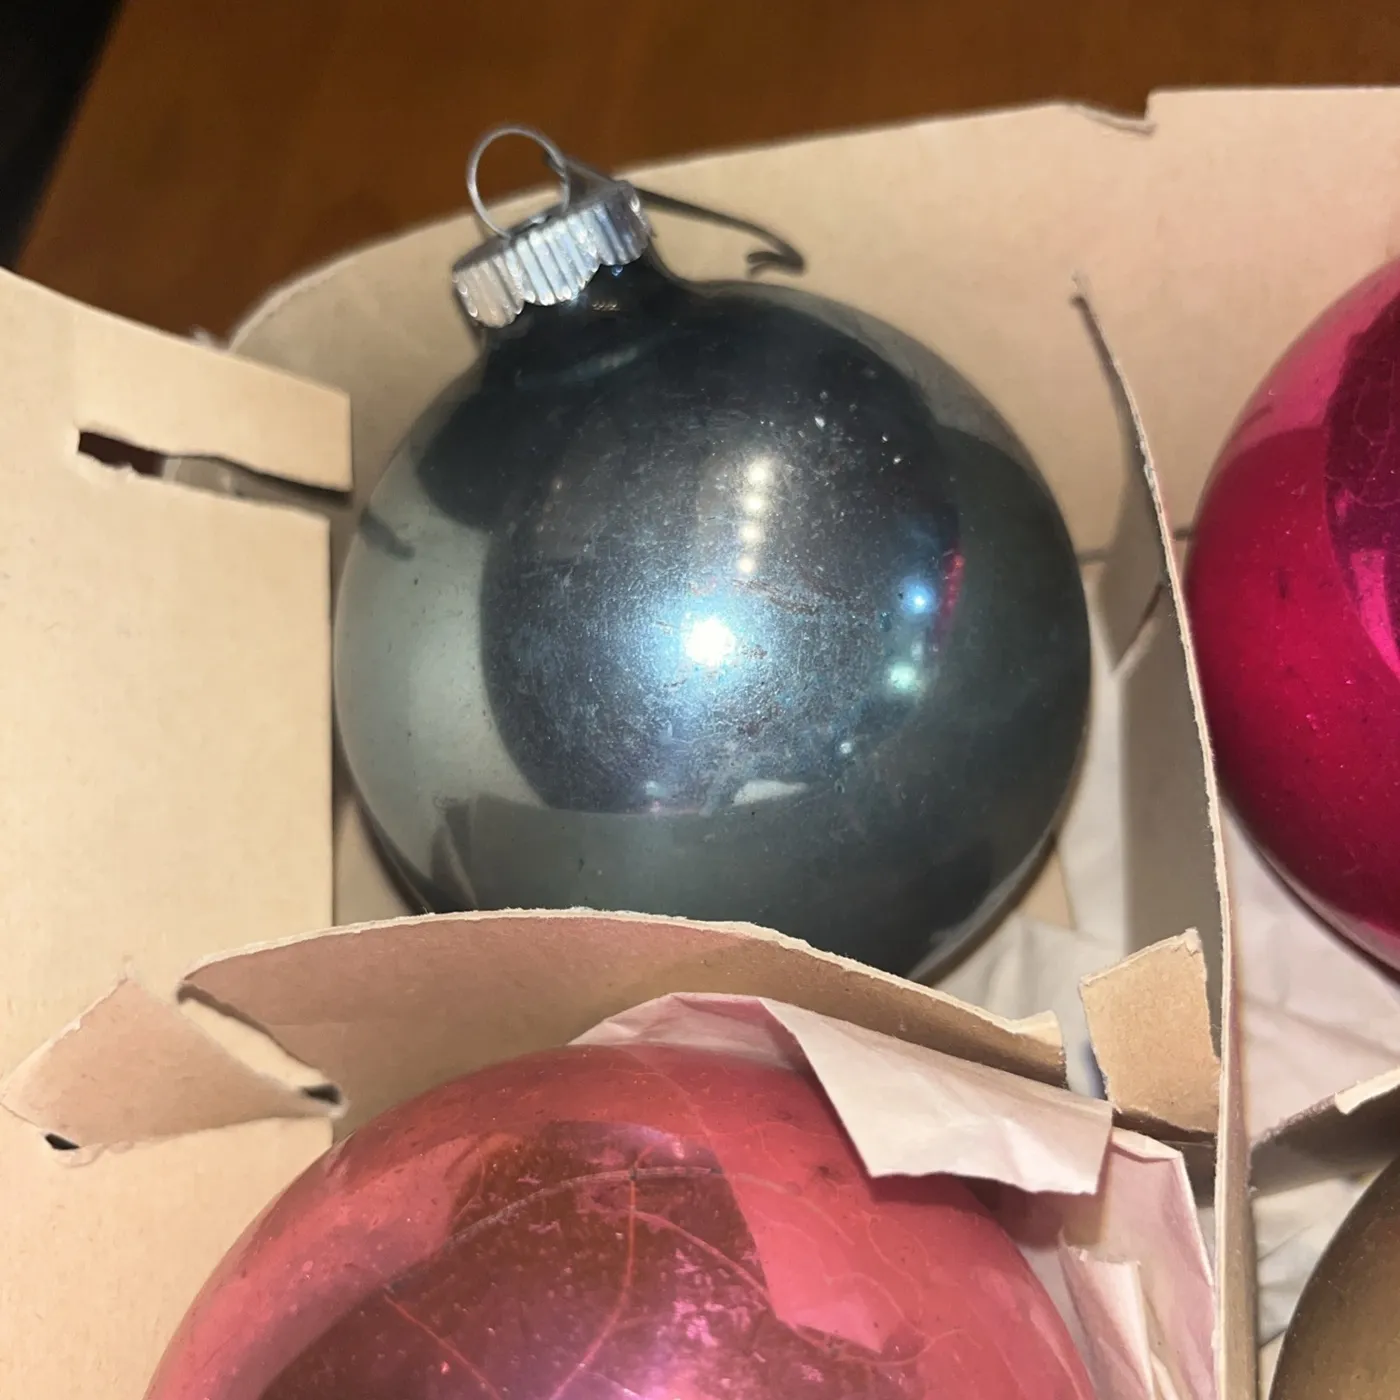
Practical warning: pre-1970s painted ornaments can carry lead in the paint and the metallic coating. Don’t let toddlers mouth them, wash your hands after handling a big pile, and keep them off any tree a crawling baby can reach. Chipping is the visible sign, so retire anything shedding flakes and move those pieces to a closed display cabinet instead of a busy tree.
18. Crackled Blue Teardrops On A Marbled Surface
Cool-toned trees live or die on the metallics. Use this split: 45% blue, mixing shiny, crackled and ribbed textures, 25% silver, 20% white or clear glass, and 10% gold as the warm interruption. That last 10% is the part people skip, and it’s why an all-blue tree can look cold and flat in a warm-lit living room. Swap blue for teal and the formula holds; drop the gold and it goes icy.
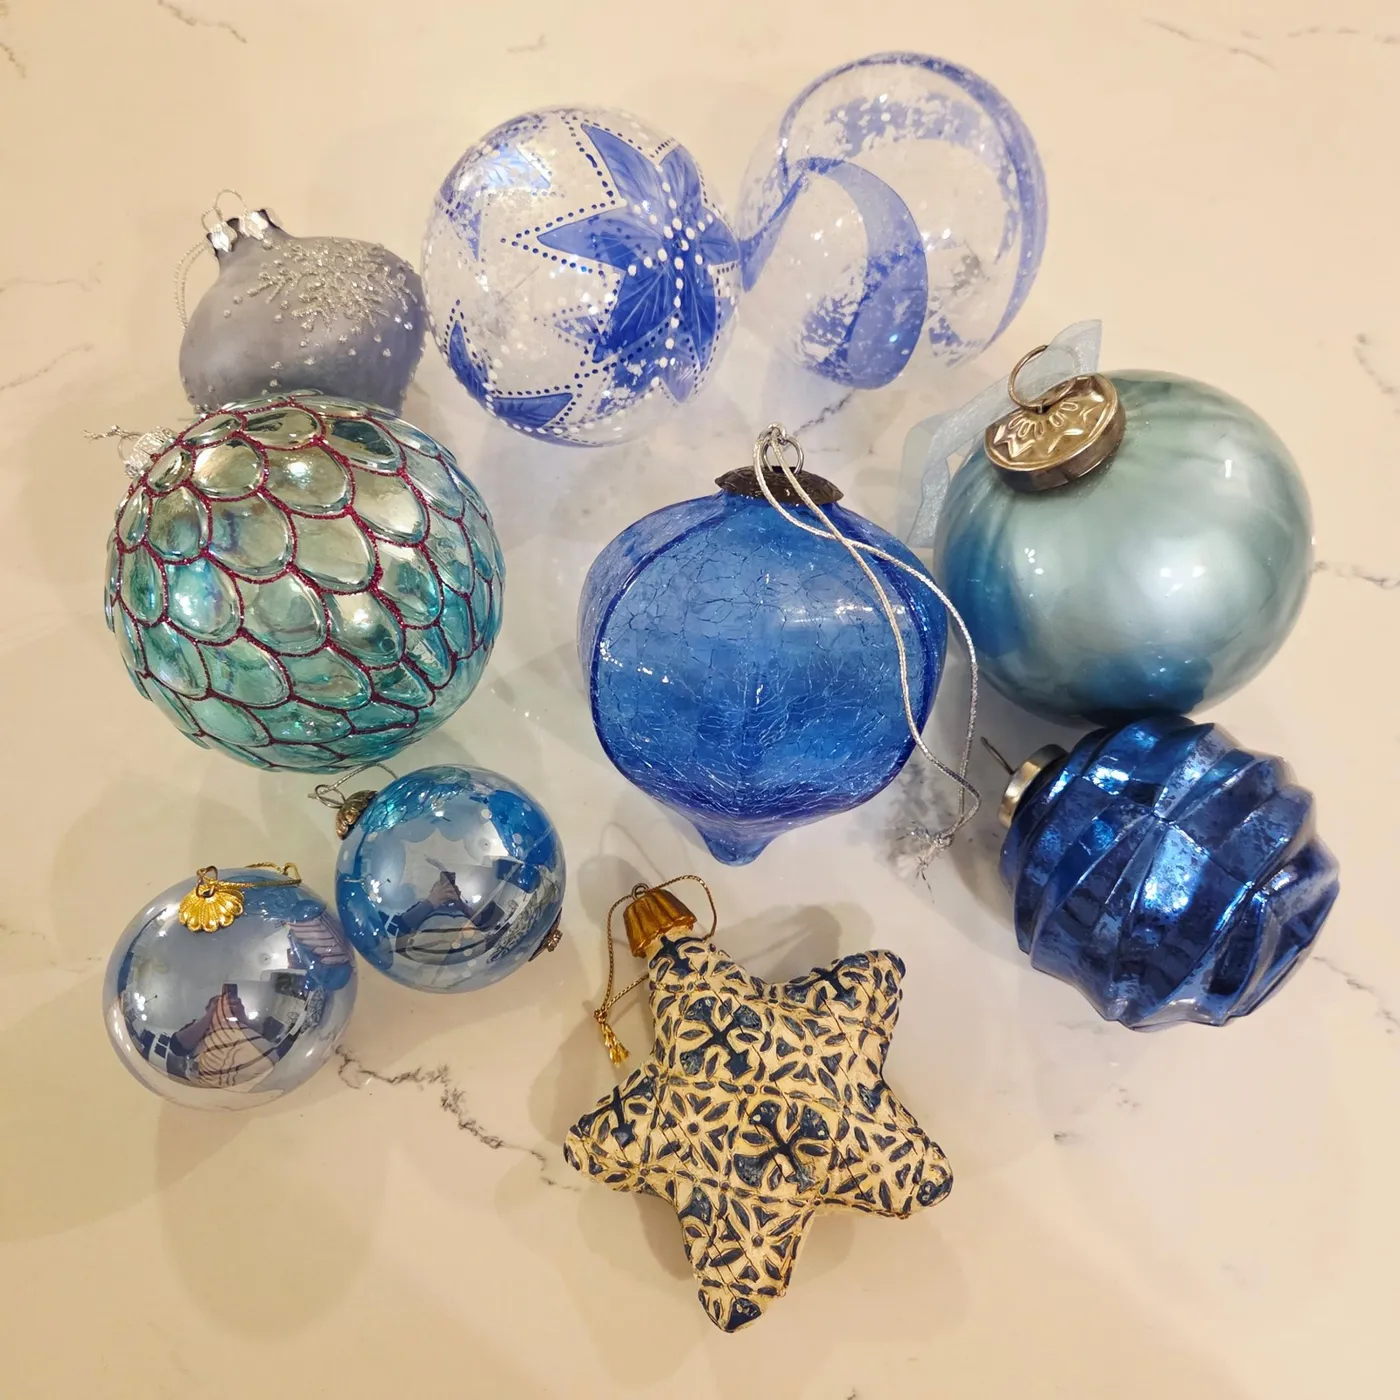
Blue and silver is the easiest palette to fake. Walmart runs 30-piece shatterproof sets under $20, and Target’s glass-look spheres land around $1 each in multi-packs. Look specifically for crackle and ribbed finishes — texture is what makes budget glass pass for vintage. Then spend $10 on two real mercury glass pieces at a thrift store and place them where the eye lands. See Idea #13 for lighting them.
19. One Gold Glitter Ornament Front And Center
It’s one ornament. Everything else in the frame is deliberately blurry: warm bokeh circles, dark pine, a wash of red far in the background. That’s the trick — a single ornament treated like a portrait instead of one of forty. Hang one hero piece on the front of the tree at eye level, put the lights on a dimmer, and let the rest go soft. You’ll notice that ornament more than you noticed the whole tree.

Before you style a single-ornament moment, check these:
- The finish is clean on the camera-facing side
- Tree lights are warm white, around 2700K
- Something dark sits behind it — wall, curtain, or unlit branches
- The hanger is invisible, not a green wire hook
- It hangs at eye level, roughly 60 inches off the floor
20. Gold And Cream Glitter Bands You Can Tape Off
You can recreate the banded glitter look on plain ornaments in an evening.
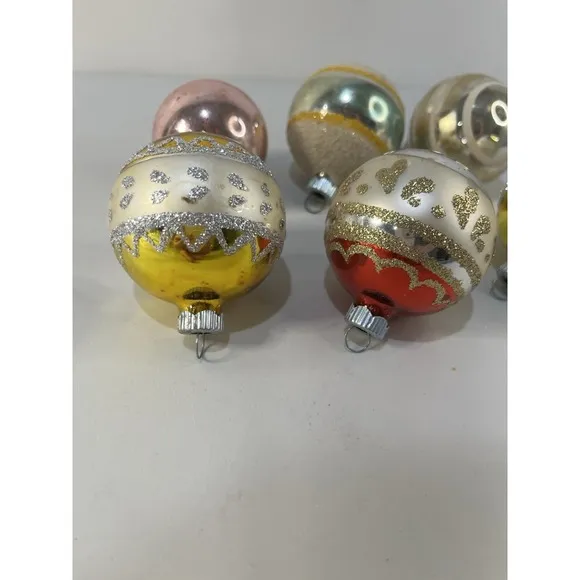
- Buy smooth glass or plastic spheres in gold or red — 12 for about $10.
- Wrap painter’s tape around the middle to mask a 1-inch band.
- Brush that band with cream acrylic enamel and let it dry two hours.
- Add fine silver or gold glitter with a thin line of decoupage glue.
- Peel the tape while the paint is barely tacky for a crisp edge.
- Seal with matte acrylic spray.
Time: 2 hours plus drying. Cost: roughly $1.50 per ornament.
Here’s the detail that separates handmade from homemade: replace the caps. Standard ornament caps cost about $6 for 50 in gold and silver, and swapping them instantly upgrades a whole set. Use a tiny dot of hot glue inside the new cap rather than on the rim, so nothing squeezes out. The cap is what dates your ornament.
Sizing a bowl of ornaments is simpler than it looks. Fill the vessel about two-thirds — roughly 10 to 15 ornaments for a 10-inch bowl, 20 to 25 for a 14-inch one. A pedestal bowl on a dining table works in a room from 120 square feet up; anything smaller and a shallow tray serves you better.
21. Metallic Glitter Stripes On Bright Red And Green
Stripe width controls how loud an ornament reads. Wide bands in high-contrast pairs — green and white, red and white — feel traditional and hold up on a big tree. Thin multi-stripe groupings in silver, blue, green and purple read busier and work better in a bowl or on a tabletop tree you see up close. Frosted white scenes on red and green are the third register: detailed, quieter, best at eye level.
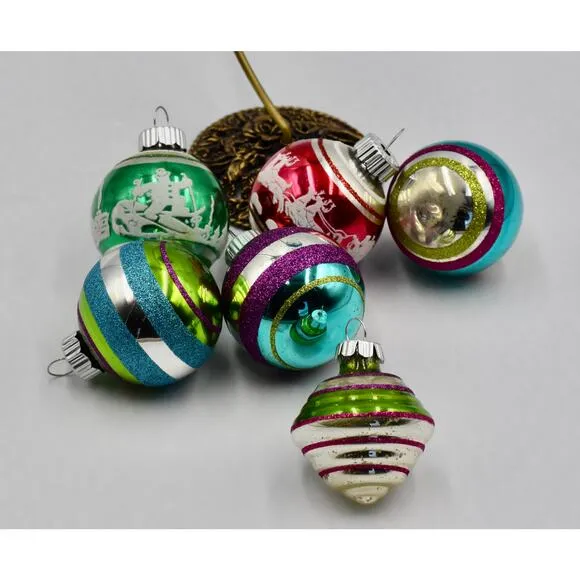
Glitter sheds — that’s the price of admission. A tree of glittered stripes leaves a fine dusting on your rug and your hands, and frosted sections grab lint out of the air. Set a washable throw or flat-weave rug under the tree, keep a lint roller in the room through January, and vacuum before you pack rather than after. Compare with Idea #27.
22. Painted Winter Scenes Set Against Textured Wood
Two moves make this arrangement work, and both translate straight to a shelf. The textured wood panel behind the ornaments does the same job a gallery wall does — a warm mid-tone ground that keeps glossy glass from floating. And the white woven fabric underneath lifts the blue out of shadow. Add the winter scenes and you get storytelling: a train, small trees, a painted village, all small enough that you have to lean in.
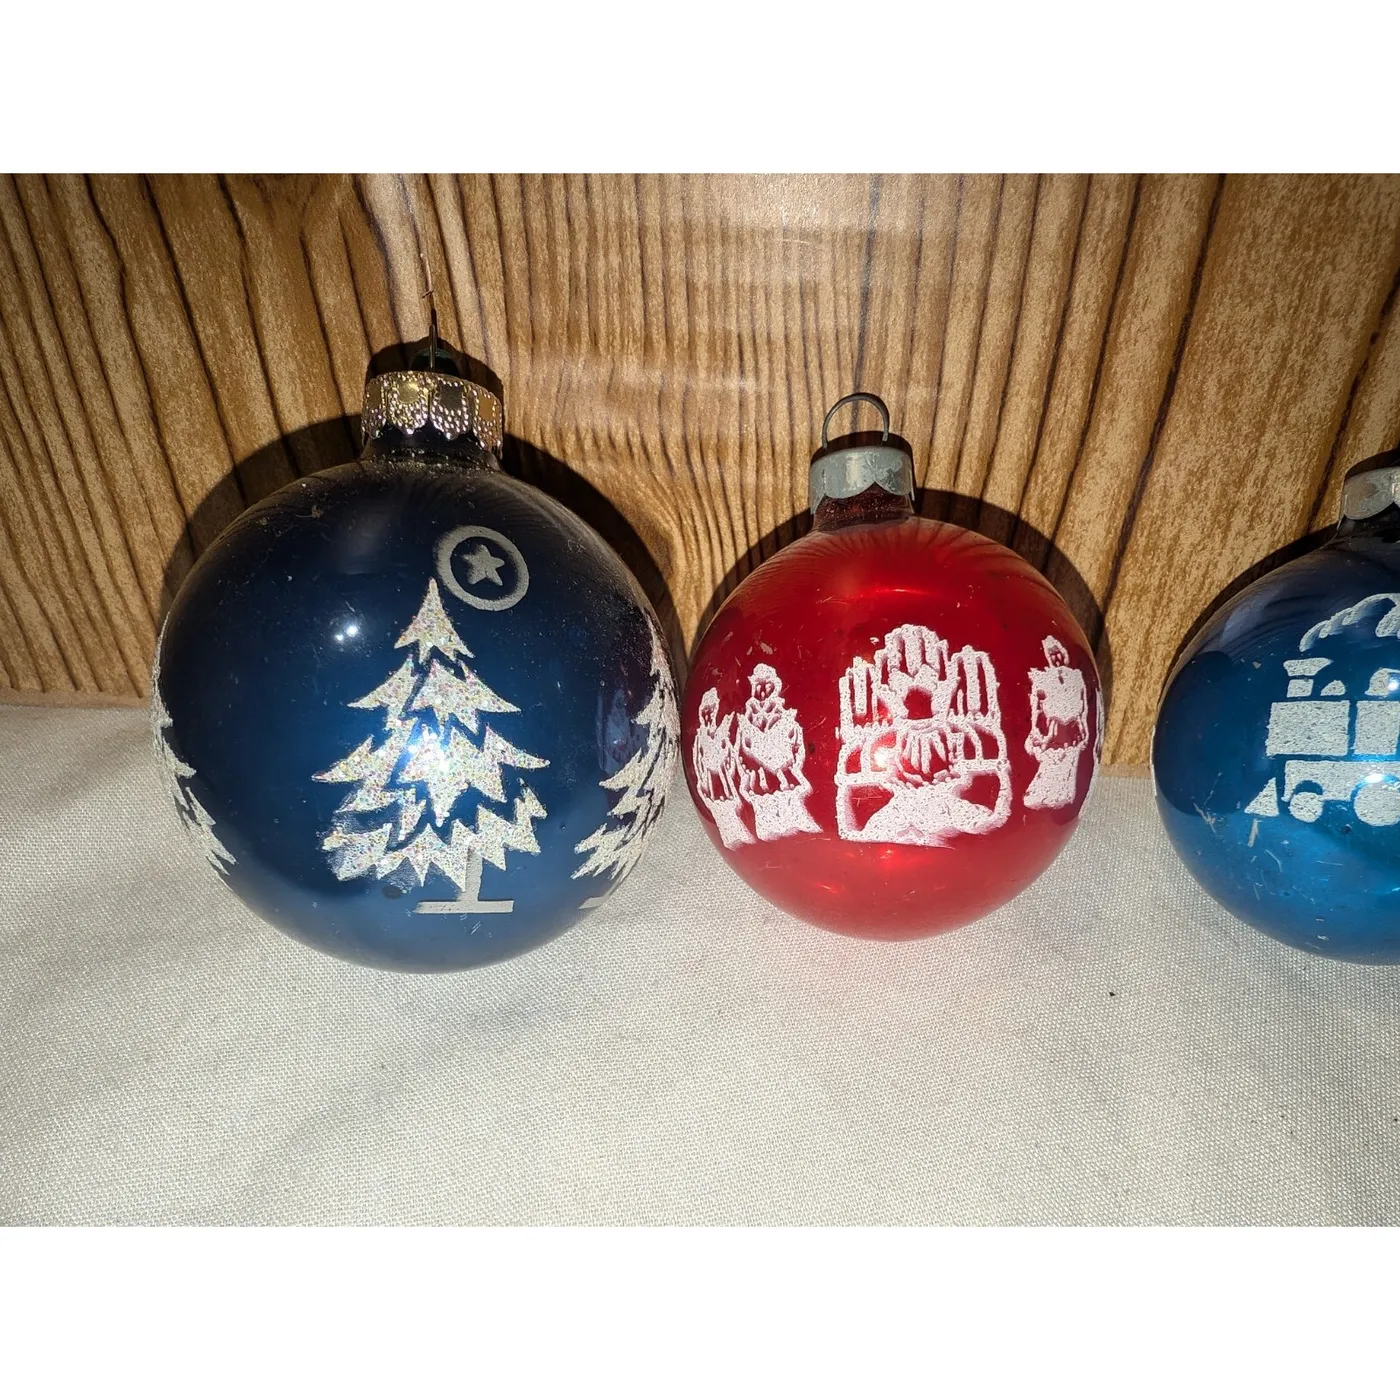
Painting your own winter scenes sounds ambitious until you price it. Plain glossy spheres cost about $1.25 at Dollar Tree, and a set of fine-tip enamel paint pens runs $12 and covers 20 ornaments. Trace a simple tree silhouette or a train car, let it dry, add a dot of white for snow. Thrifted plain glass is ideal for this — you’re painting over nothing valuable.
23. A Teal Band And Silver Starburst, Held In Hand
The starburst in the center is the whole ornament. It’s an indentation pressed into the glass with a silvered fan inside, so it throws light in a tight, controlled spray instead of the broad flash of a plain sphere. The teal band and white stripes exist to point at it, and the silver caps at both ends make the piece read horizontal rather than vertical. Without the indent, it’s just a colored ball.
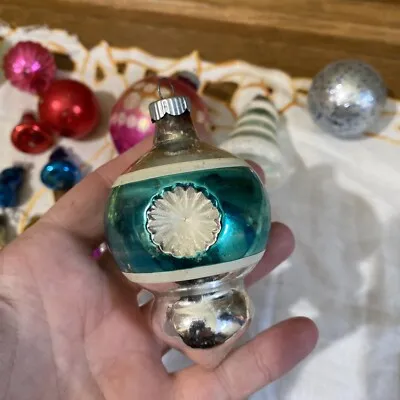
This shape is a small-space specialist. At roughly 3 inches, a starburst ornament is too quiet for a 9-foot tree viewed from across the room — it needs viewing distance under 4 feet. That makes it perfect for a tabletop tree, a 4-to-6-foot tree in an apartment, or a wall-mounted ornament display where you stand right in front of it. Full-size trees want 4-inch ornaments and up.
24. Butter Yellow Glass With Silver Glitter Scallops
Yellow glass is quietly having a moment. After years of red-and-green dominance, butter yellow and marigold ornaments are turning up in modern holiday styling as the warm neutral that isn’t beige. It plays well with pink, deep green and brown, which matches the broader 2026 move toward warmer, slightly retro palettes. It also photographs beautifully, which matters on a platform built on saving images.
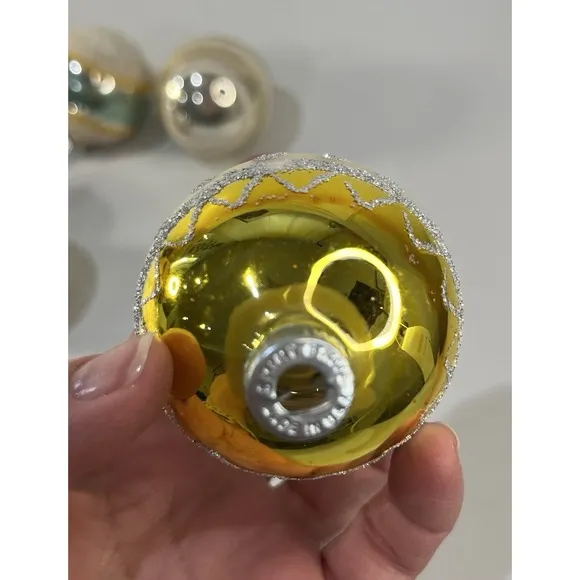
Shiny glass reflects whatever is in front of it, including you. Shoot slightly off-axis, wear dark clothing, and put the ornament against a matte backdrop — linen, a wood board, a plain wall — so the only bright thing in the frame is the ornament. Window light from the side at roughly 45 degrees gives you a highlight ribbon without a blown hotspot. Never use direct flash on mercury glass.
25. Deep Red Glass Stamped Made In USA
What a dozen real Shiny Brite reds actually costs:
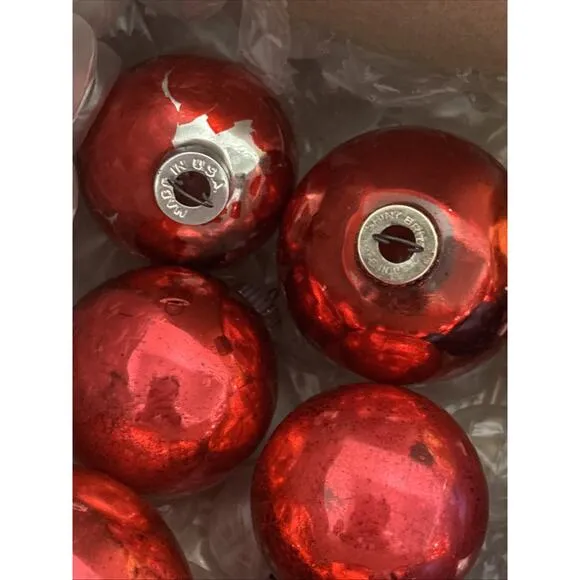
- Single stamped ornaments: $6–$18 each in good condition
- Boxed set of 12 with original packaging: $120–$400
- Mixed unmarked red lot on eBay: $25–$60 for 12
- Replacement silver caps and hangers: $6 per 50
- Acid-free storage tissue: $8
Total: $145–$475 for a boxed stamped set, or $40–$75 for a mixed lot that looks nearly identical once the lights are on.
Stamped caps are the reason to care about the back of an ornament. Markings are your authenticity check, and they’re also the first thing to corrode — humidity dulls silver-toned caps long before the glass shows age. Store in a dry closet, not a garage or basement, and keep silica packets in the box.
26. Trains, Villages And Joyous Noel Script In One Pile
Painted scenes change how a tree gets read. Solid-color ornaments create rhythm; a train, a tiny village, a Joyous Noel script create stops along the way, and the eye lingers. The glitter geometrics do the opposite job — they fill the space between stories. Roughly one figural or lettered ornament for every four solids is a good working ratio. More than that and the tree starts feeling like a scrapbook.
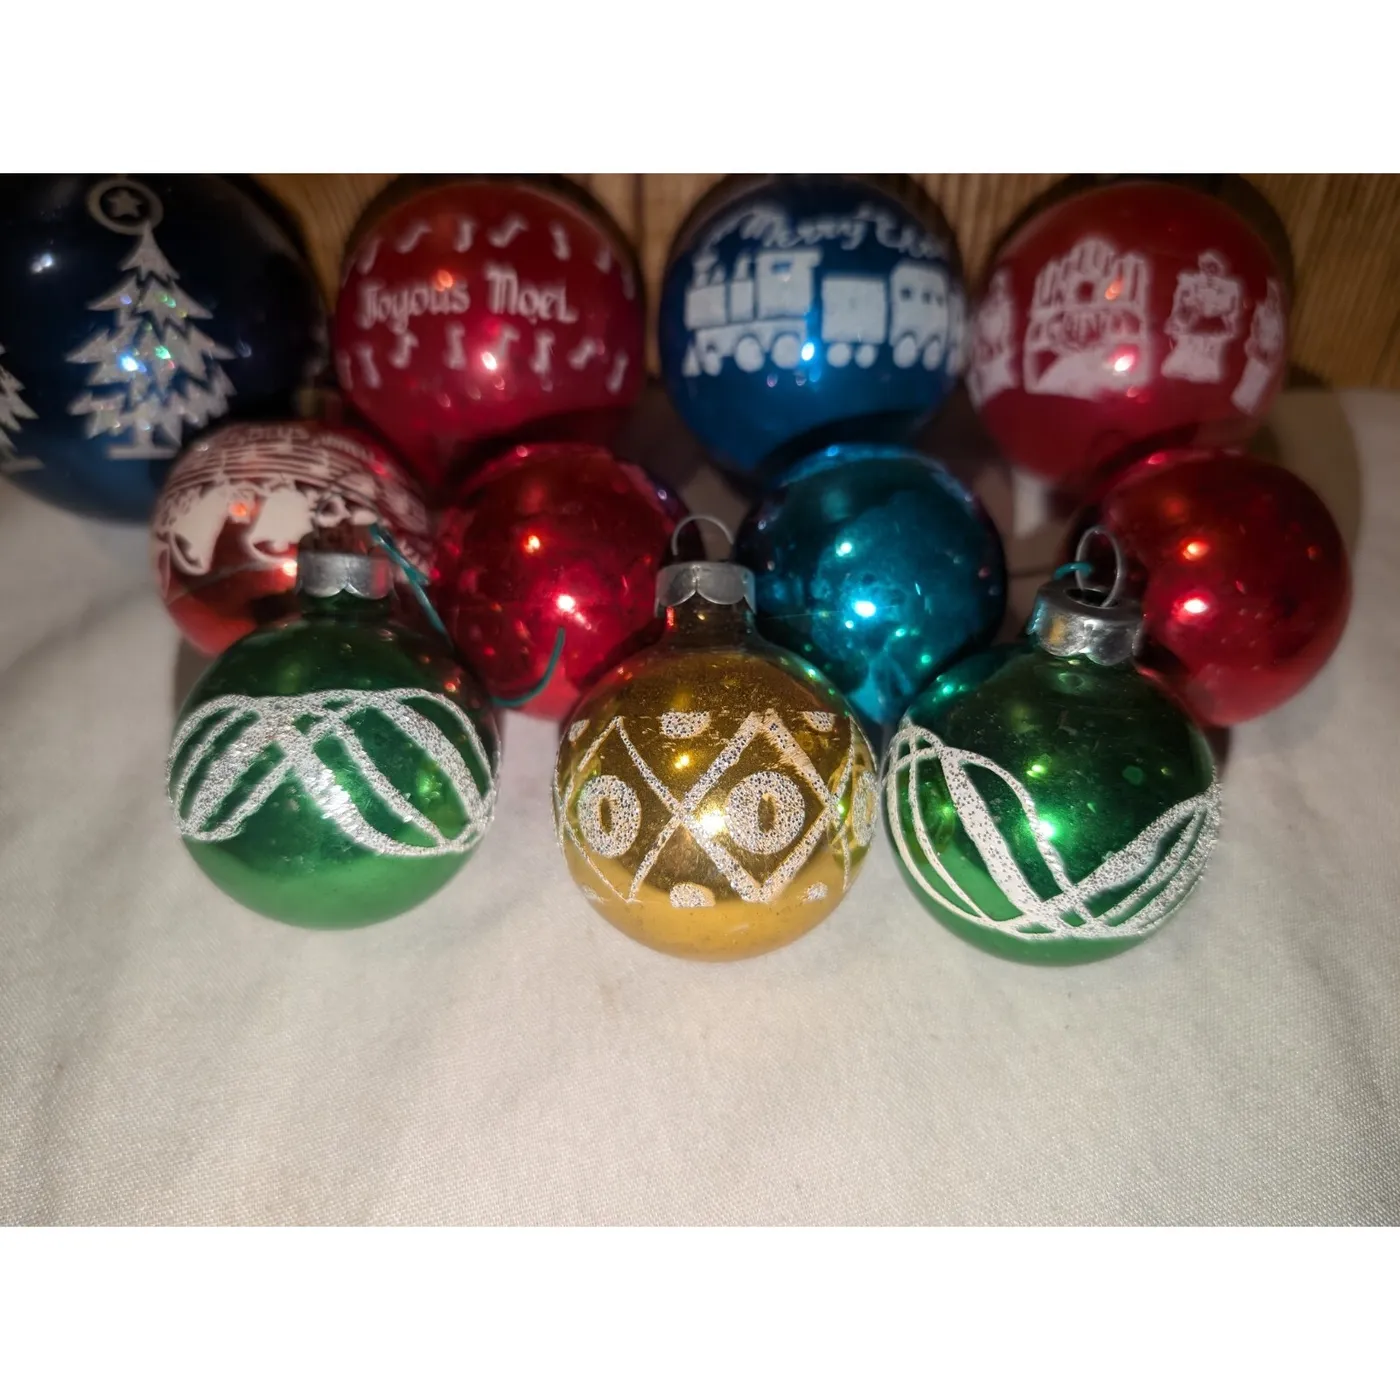
Nobody tells you that buying vintage by the box means inheriting somebody’s sorting system. One ornament will be from a set of four; three others from sets you’ll never complete. Decide early whether you collect sets or colors. If it’s colors, pull everything out, sort by hue in a muffin tin, and give away the strays. If it’s sets, buy boxed only and accept paying three times as much.
27. Mercury Stripes With Deep Indented Centers
White container, metallic base, saturated stripes: 55% silver and gold, 30% red, green and blue striping, 15% white from the vessel itself. That white container is doing real work — it’s why the pile reads clean instead of dusty. Swap it for a woven basket and the same ornaments turn rustic. Swap for black and they go dramatic. The formula doesn’t change, the mood does.
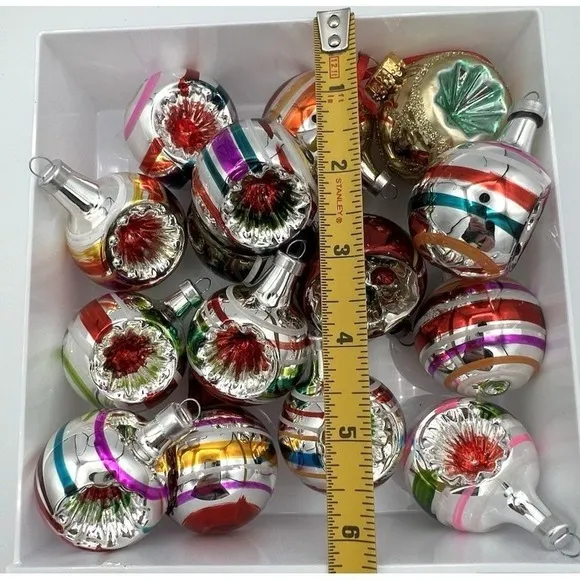
Building a shallow dish that photographs well:
- Choose a vessel wider than it is tall — 12 inches across, 3 inches deep.
- Line the bottom with a folded napkin so glass doesn’t clink.
- Place the three largest ornaments first, spaced apart, indentations facing up.
- Fill gaps with medium and small pieces, leaving a little base visible.
- Nest one sprig of greenery at the edge for a color break.
Time: 10 minutes. Cost: $0–$25.
28. A Ribbed Metallic Drop And Glitter Heart In Dim Light
Two principles explain why this close-up feels expensive. Contrast first: dark green needles against warm bulbs create far more depth than a bright, evenly lit tree, because shadows do half the work. Then restraint — one ribbed metallic piece with a teardrop dangle, one glitter heart, and nothing but light. Crowd that branch and the glow flattens into a wash. Space is what makes shine visible.
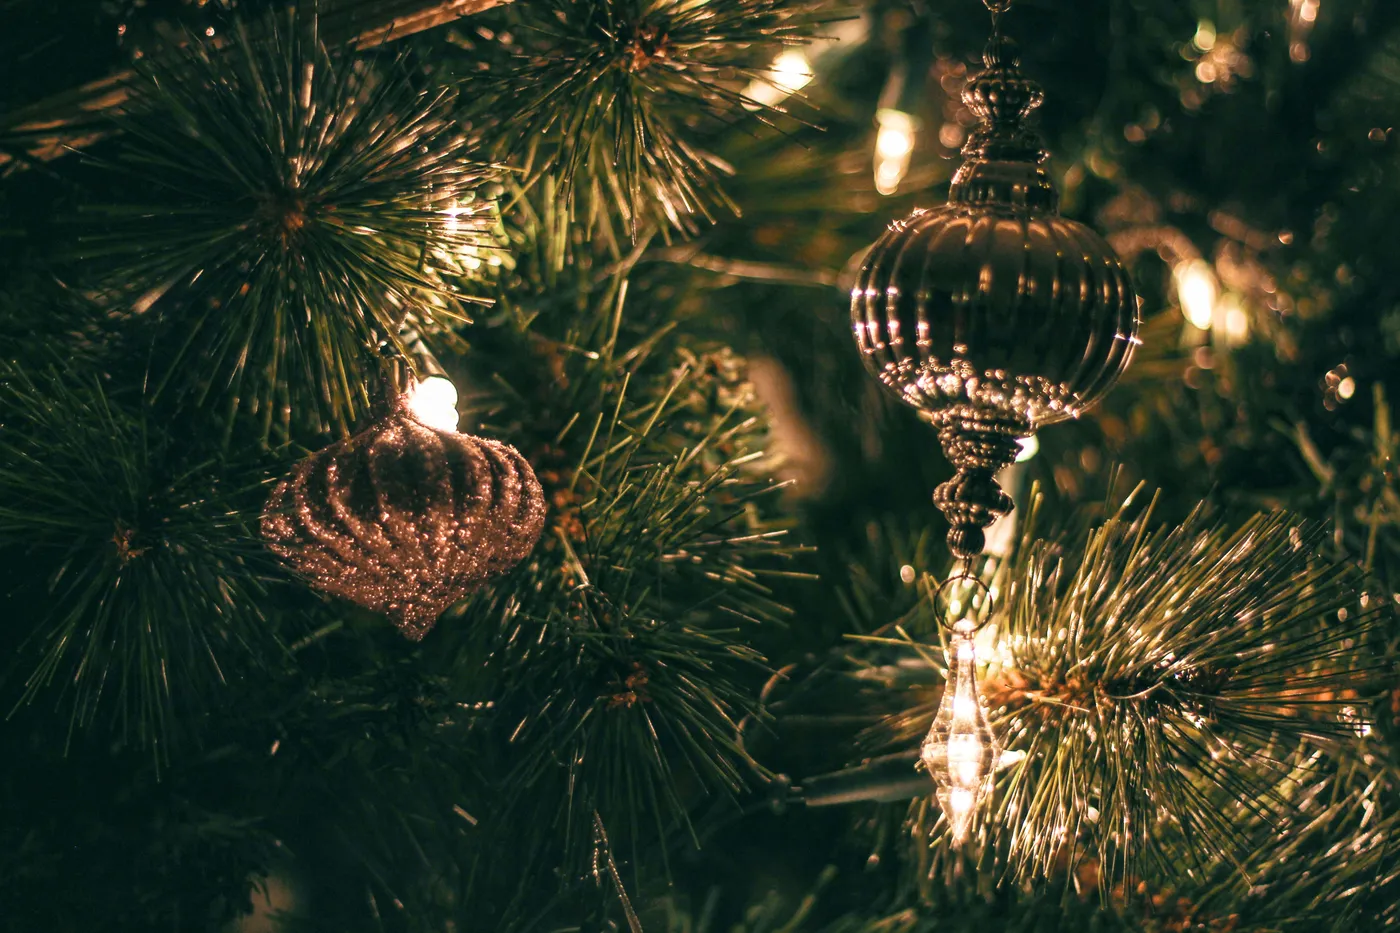
If you change one thing here, change the bulbs. Warm white in the 2400–2700K range is what turns dark-green branches into this: golden, soft-edged, with real bokeh behind them. Cool white or daylight bulbs at 4000K and up make every metallic ornament look like brushed aluminum and every needle look dusty. It’s the cheapest upgrade in holiday decorating.
29. Red And Gold Ornaments With Presents On A Patterned Rug
A tree beside a working fireplace looks incredible and behaves badly. Real flames dry needles fast — a live tree can go from fresh to tinder in under two weeks near a hearth — and heat dulls ornament finishes over a season. Keep 3 feet of clearance, use a screen, and never leave a fire burning unattended with a tree in the room. If the fireplace is decorative, you get the photo with none of the risk.
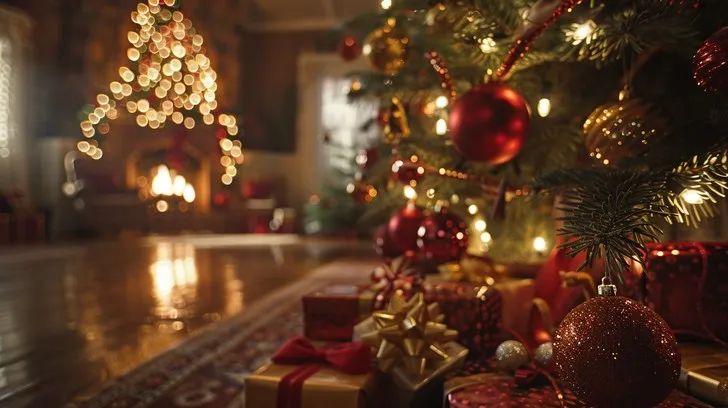
Red and gold at this scale needs room. A tree under 7 feet works in a space from about 100 square feet; anything 7.5 feet and up wants 12-foot ceilings or a 200-square-foot room, or it looks like it’s wearing the walls. Presents spreading out from the base need about 2 feet of clearance in front. In tighter rooms, the tabletop approach in Idea #10 delivers the same palette at a third of the scale.
30. Silver Reflectors With Colored Stripes On A Black Stand
Three reflector ornaments on a simple stand is a twenty-minute project.
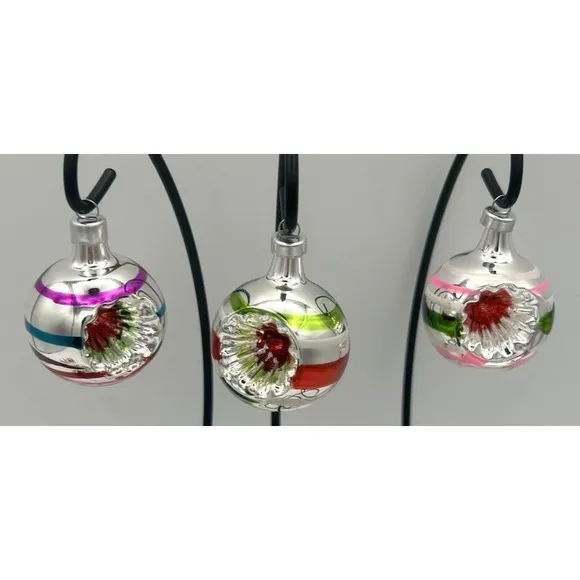
- Find a black metal or brass tabletop stand, or bend one from 12-gauge wire.
- Set flat-head hooks 3 inches apart at staggered heights.
- Hang the largest ornament in the center, 1 inch lower than the others.
- Turn each ornament so its indented reflector faces the main light source.
- Set the stand on a light grey or white surface for contrast.
Time: 20 minutes. Cost: $0–$18 for a stand.
True 1950s reflector ornaments are collectible and priced like it — $15 to $45 each in good shape. Reproduction sets bring that down to roughly $8 to $15 per ornament, and plastic reflectors run about $1.25 if you’re filling a big tree. At four feet away the eye reads the indentation, not the material.
31. Black, Hot Pink And Gold Floral On Green Branches
This is a three-color formula riding on a fourth: 40% black, 30% hot pink, 20% gold, 10% silver glitter — all of it against emerald green branches. The green isn’t part of the palette, it’s the ground. That’s the math keeping fuchsia from going childish: black does the heavy lifting, gold supplies the shine, and the tree provides contrast nobody has to think about. Swap black for navy and it softens instantly.
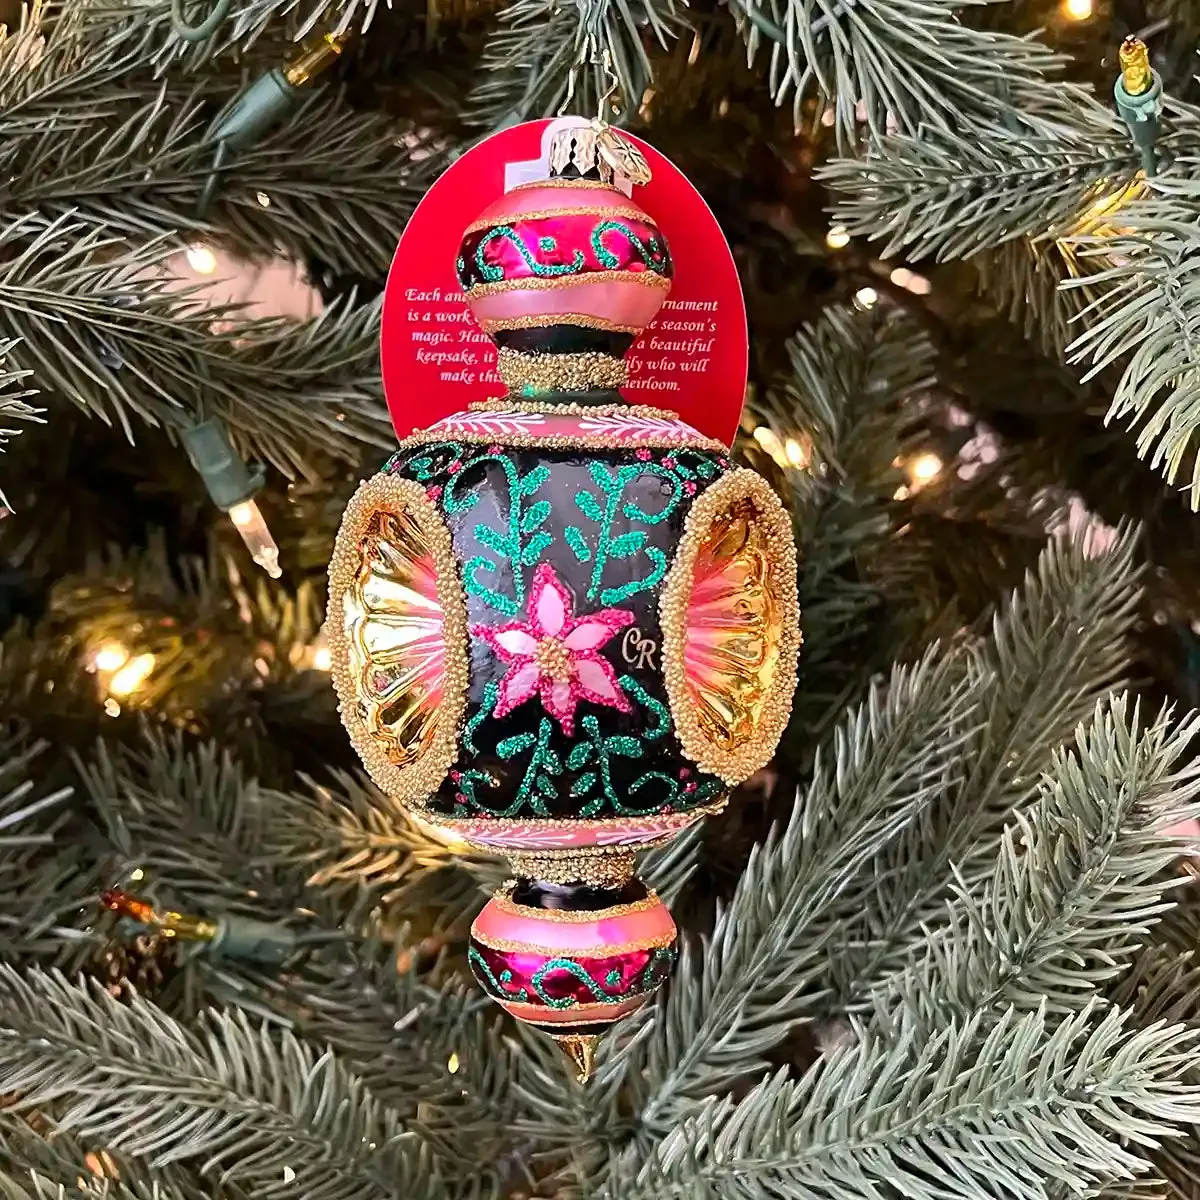
What makes this ornament work is scale. Pleated gold sections and beaded bands read as texture at arm’s length and as shape from across the room, so the piece holds up whether you’re three feet away or ten. The floral pattern is dense and dark, which means the small white tree lights land on it as sparkle rather than glare. It hangs with air around it — ornate ornaments need a branch to themselves.
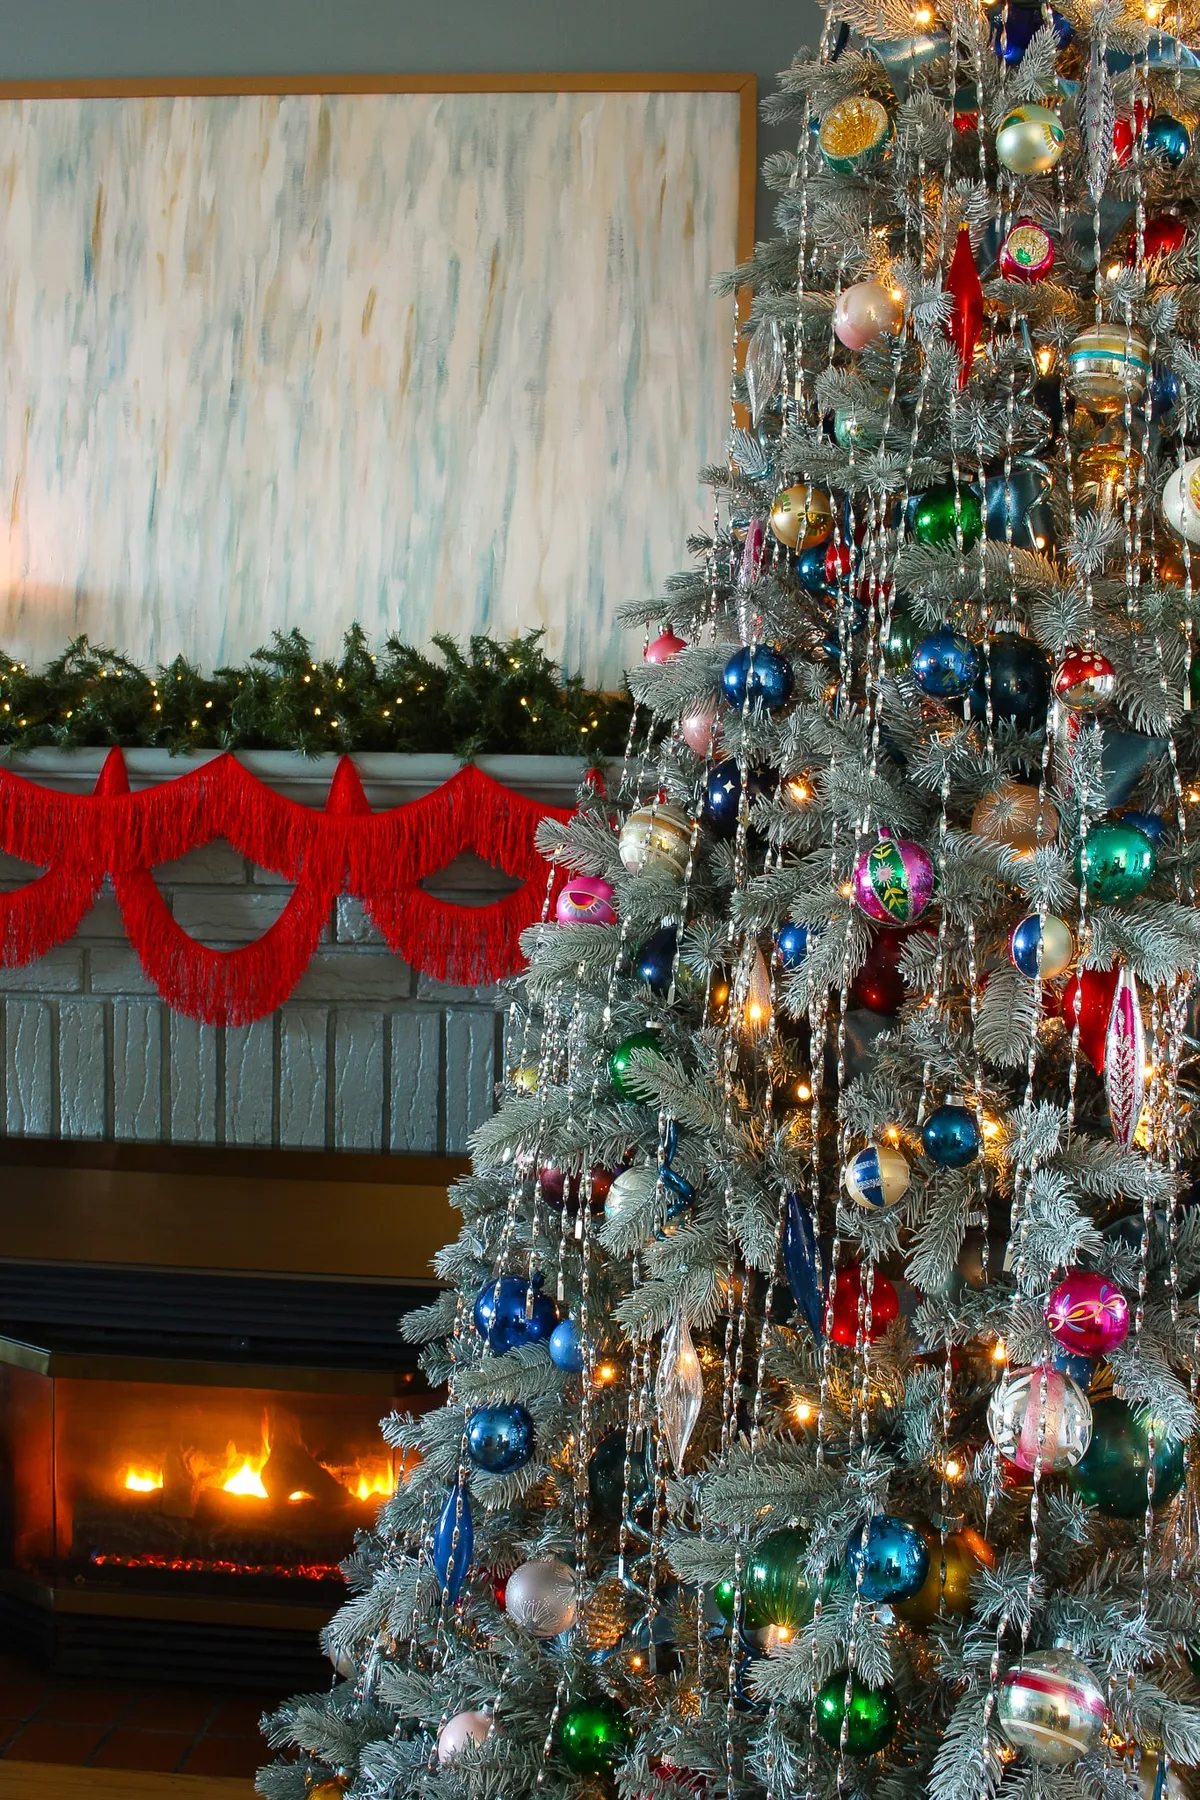
32. A Flocked Silver Tree Beside A Grey Brick Fireplace
The flocked silver tree is the obvious star, and the thing you’d actually miss is the red fringed textile on the mantel. It’s the only saturated red in a room of silver, grey brick and pale blue, and it keeps the whole scene from going frozen. Fringe adds movement the way tinsel used to, without the mess. Take it away and the corner still reads festive — it just loses its pulse.
A flocked tree reads larger than it measures because white branches bounce light. A 6-foot flocked tree wants about a 10-foot wall and a 9-foot ceiling to feel generous; squeeze it into a low corner and the flocking becomes a bright block. Drape the silver beaded garland in loops of 10 to 12 inches — tighter reads fussy, longer sags. For the red-and-gold version of this corner, see Idea #29.
33. When The Box Becomes The Display
When a collection outgrows the tree, the box becomes the display. Choose a compartmented box that fits a shelf depth of 10 to 12 inches, then set it at chest height so you look down into the compartments rather than across at them. Prop the lid behind it, and leave four slots empty — the gaps give the eye somewhere to rest. One warm puck light above, nothing inside.
about where the collection lives the other eleven months: humidity is the enemy, not cold. A garage or unfinished basement will dull silver-toned caps and cloud silvering inside a year, and daylight fades magenta and pink dyes faster than any other color. A dry interior closet with silica packets and acid-free dividers is the whole game. Photograph your boxed sets once a year, too.
Open the Box, Trim the Tree, Save the Rest
Half the charm of a Shiny Brite tree is that it isn’t perfect — mismatched finishes, worn caps, an old cardboard box doing double duty as a display piece. Start with what you already own, add one or two pieces that genuinely excite you, and let the rest of the tree do the quiet work.
Try one idea this weekend and see how it changes the room. 📌 Pin your favorite to your Christmas board so it’s waiting for you next November — future you will be grateful.