Most Disney Christmas decor roundups look exactly the same — a wall of red and green blur with no clue how any of it actually lands in a real living room. So we did the slow part. After filtering through hundreds of options across Etsy, Target, Disney Store, Walmart, and Amazon, we narrowed it down to 21 ideas that actually deliver, from $1 filler ornaments to a $600 statement tree.
Inside you’ll find sorcerer-hat toppers, flocked minis, a tabletop village with a toy train running through it, and mantels that skip candy cane entirely for silver and white. We put budget and blowout versions of the same look side by side. And stay until the end — we break down the most common mistakes that can ruin these looks. Disney decorating is having a real 2026 moment: collectors are styling full vignettes instead of parking one Mickey nutcracker on a shelf, and Pinterest is flooded with it.
📌 Save this to Pinterest for later — you’ll want to revisit these ideas.
1. A White-and-Beige Mantel That Whispers Instead of Shouts
Three things are doing the heavy lifting here. First, contrast: a chunky stacked-stone surround is rough and matte, so a glossy light-up sign and glittered snowflakes read as jewelry against it. Second, repetition — the same snowflake shape shows up five or six times, which is what makes a scatter of small pieces feel intentional instead of accidental. Third, the palette never breaks: white, beige, natural wood, and black only. The two beige armchairs with textured pillows mirror the mantel exactly, so your eye completes the loop without a single red ornament in sight.
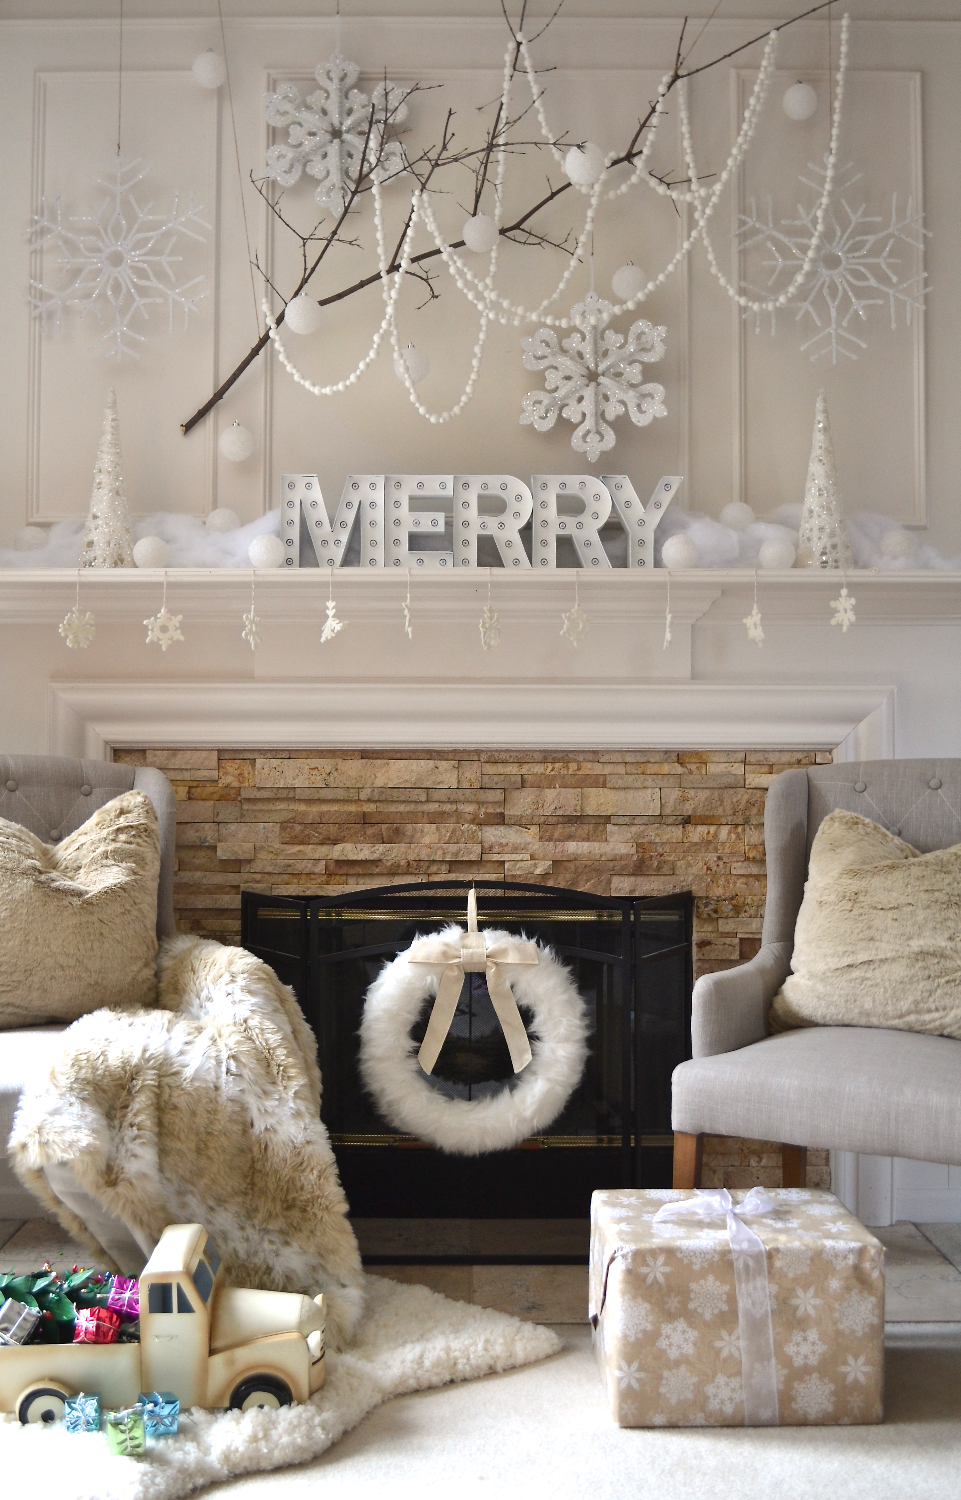
Hang your bead garland in three swags instead of one long drape, and make them deliberately unequal: a longer center swag and two shorter ones at the ends. Start the outer swags about four inches in from the mantel edge and let each one fall roughly two-thirds the length of the center. Unequal swags look collected; equal ones look like a store display. Use clear fishing line and small cup hooks on the underside of the mantel so nothing shows from sofa height.
2. Silver Deer, Gold Ornaments, and a Mirror That Doubles the Tree
- Faux pine garland dressed with gold ornaments: $60–$140
- Two metallic deer figurines: $30–$90
- Arched mirror with distressed white frame: $120–$450
- Wall treatment: $0 — you’re working with existing brick
- Lit tree with white and pink accents: $90–$400
- Total: roughly $300–$1,080
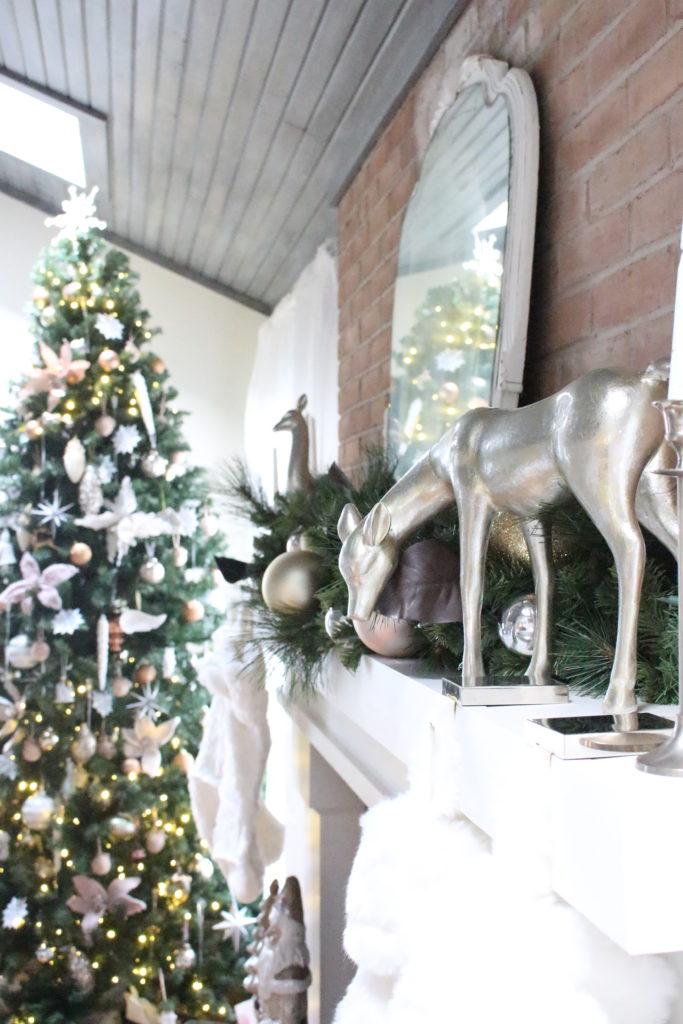
Budget alternative: skip the new mirror and lean an arched floor mirror you already own behind the mantel, buy the deer as a $24 pair from a discount home store, and dress one 9-foot garland with clearance gold baubles. Same silver-and-gold read for around $150.
The arched mirror is the whole trick. Without it, this is just a pretty white mantel. With it, the mirror bounces the lit tree back into the room and stacks two focal points into one vertical column — which makes a standard-height mantel feel taller than it is. Trade it for a wide horizontal piece of art and you lose the height and the tree reflection, and those gold ornaments suddenly have nowhere to echo. For another all-white, all-texture setup, see Idea #20.
3. The Sorcerer Mickey Tree With Glove Arms and Giant Yellow Shoes
This tree works because it reads as a costume, not a Christmas tree. The blue wizard hat and ears sit high enough that the cone silhouette stays readable, the white glove arms break the shape at its widest point, and the oversized yellow shoes give the whole thing a base wide enough to feel planted. The circular model monorail track around the skirt is the smartest part — it turns the floor into a frame and keeps the shoes from looking like they were dropped there by accident.
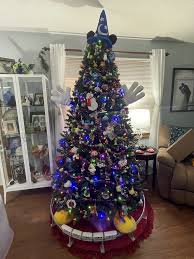
You can build the silhouette without buying a licensed topper set. Shape the hat from two sheets of stiff blue craft foam, hot-glue a headband-style pair of ears on top, and stuff white gloves with poly-fil so they hold their shape on the branches. For shoes, paint thrifted toddler sneakers yellow and slide them under the skirt. A used model train track from Facebook Marketplace runs $15 to $40, and the whole build lands under $80 if you already own the tree and lights.
4. A Tabletop Christmas Village With Mickey Running the Train
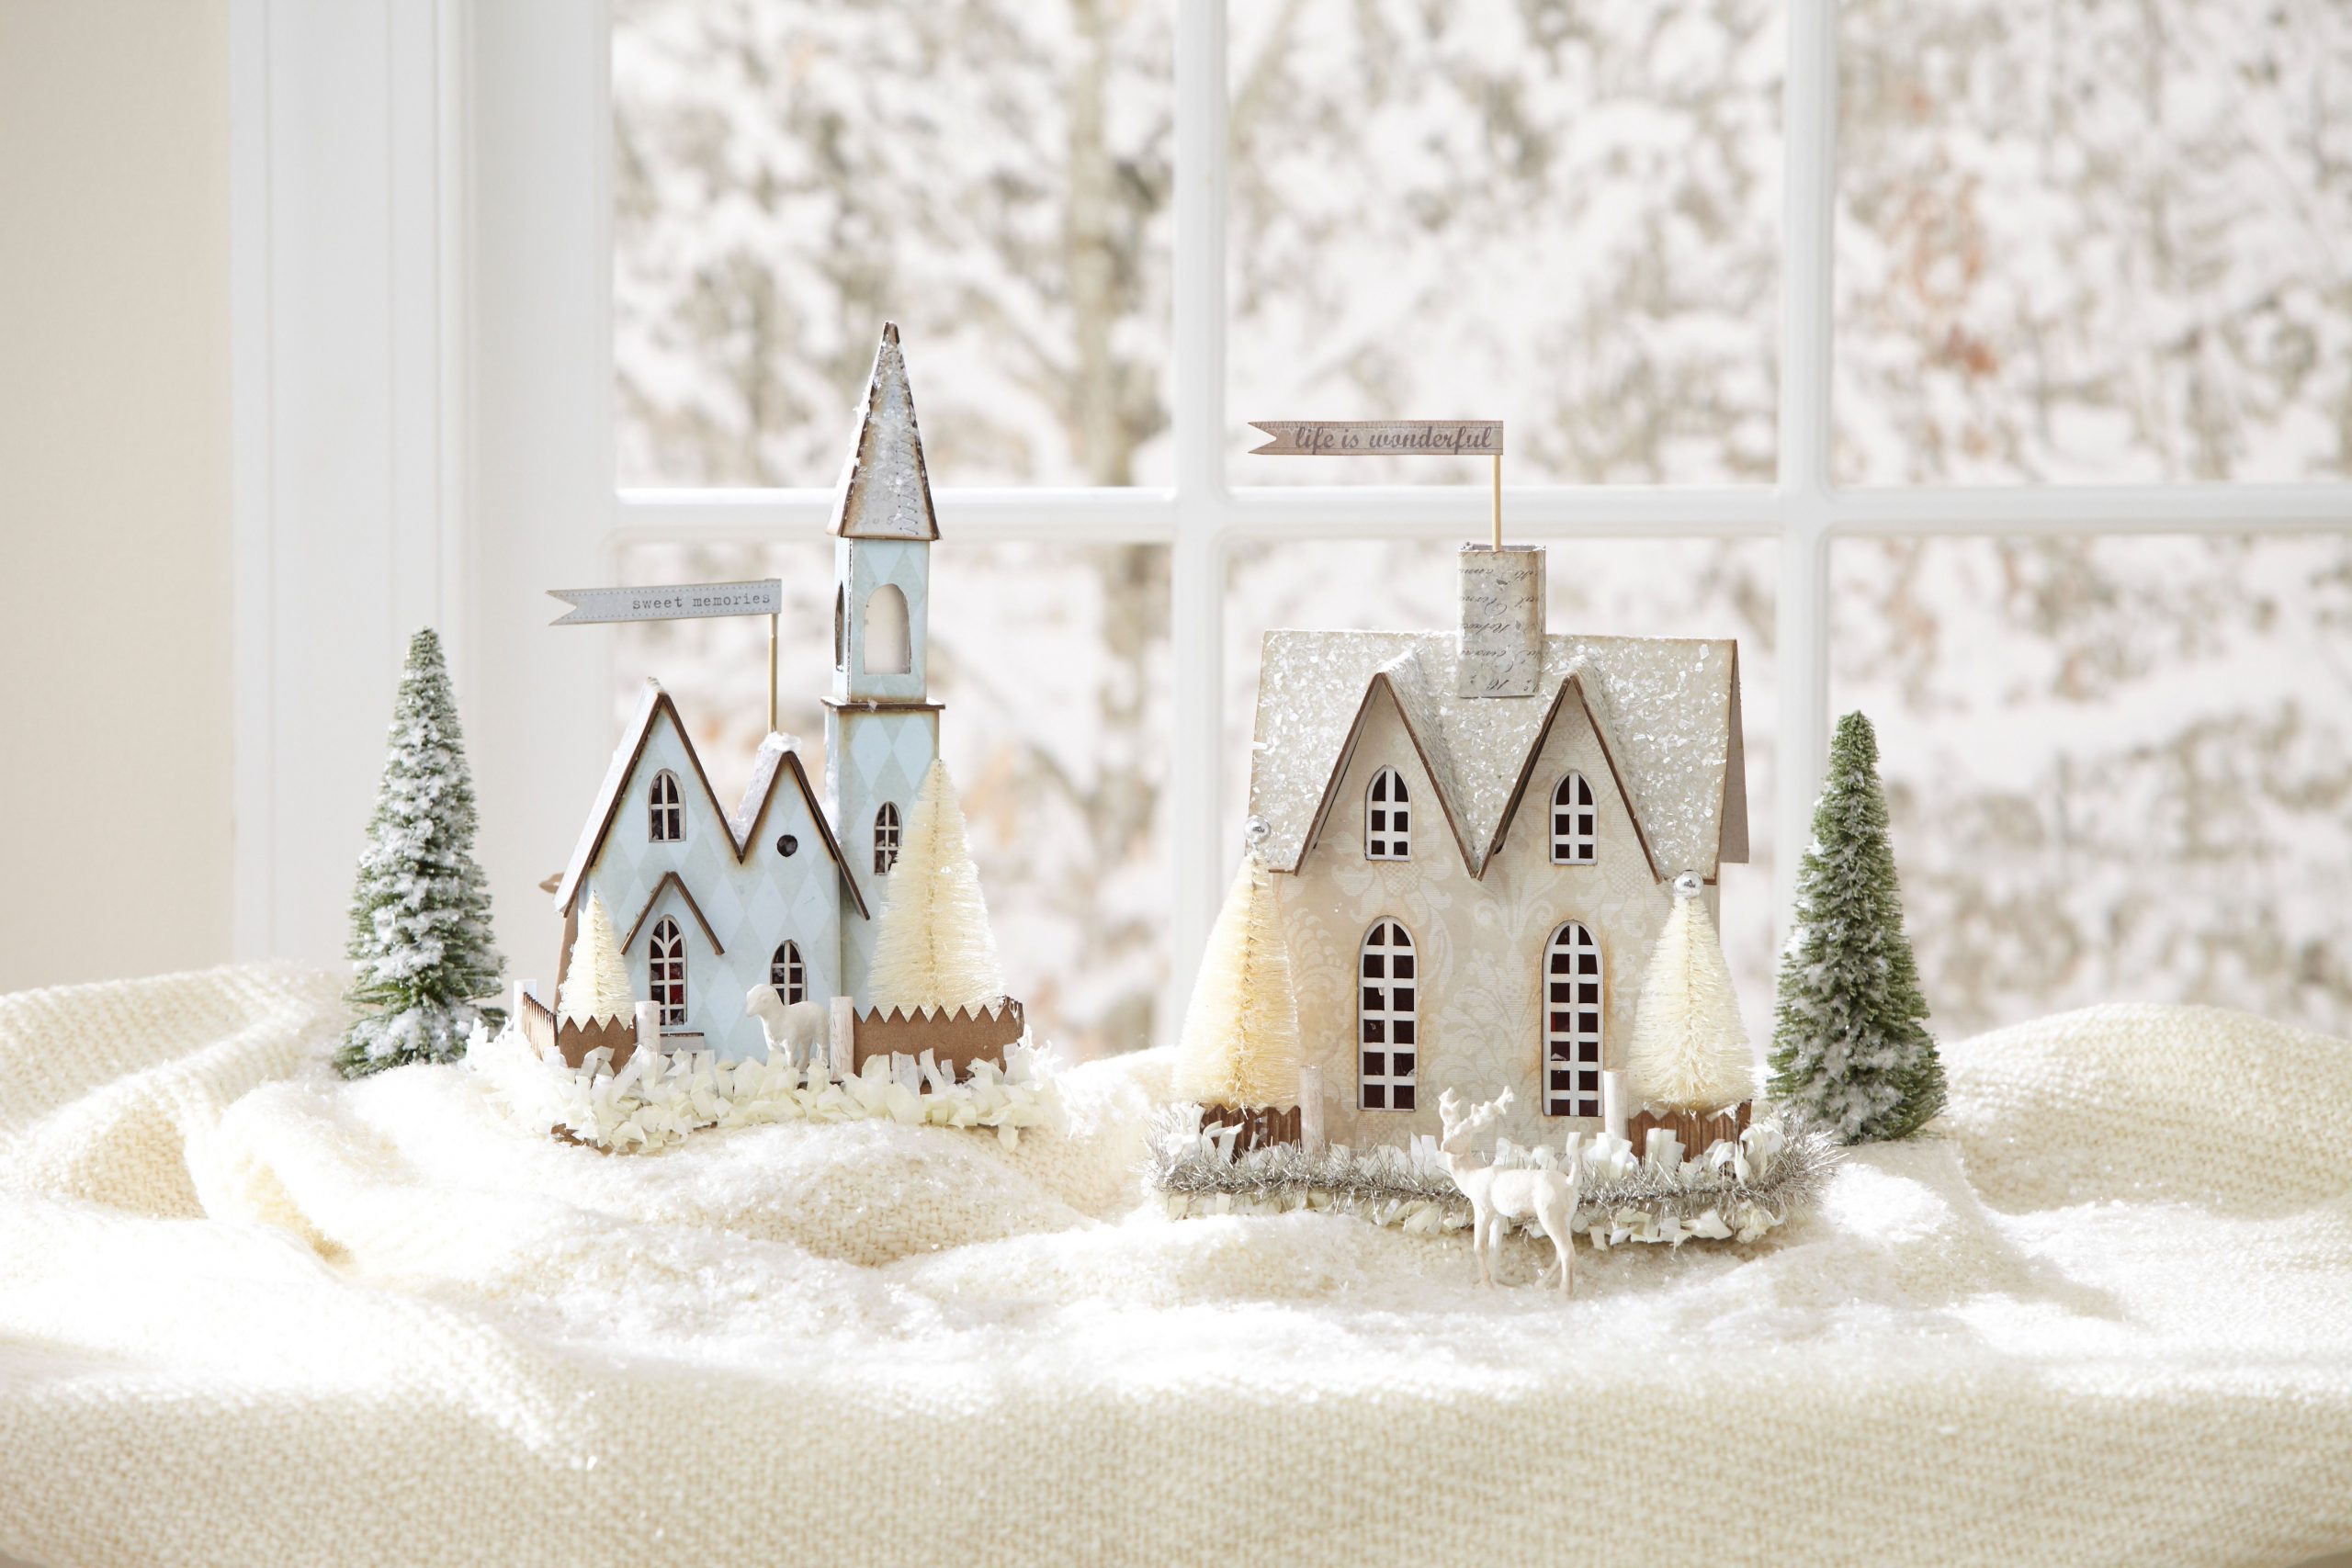
Tabletop villages need a surface at least 30 inches deep and 48 inches long, or the buildings crowd the front edge and lose any sense of being a town. Keep the tallest roofline below eye level when you’re standing — if it hits above 16 inches on a 30-inch table, you’re looking down at a diorama instead of into a scene. This is ideal for apartments and small living rooms under 150 square feet where a full tree simply won’t fit. Compare with Idea #3, which needs a full corner and about 8 feet of ceiling clearance.
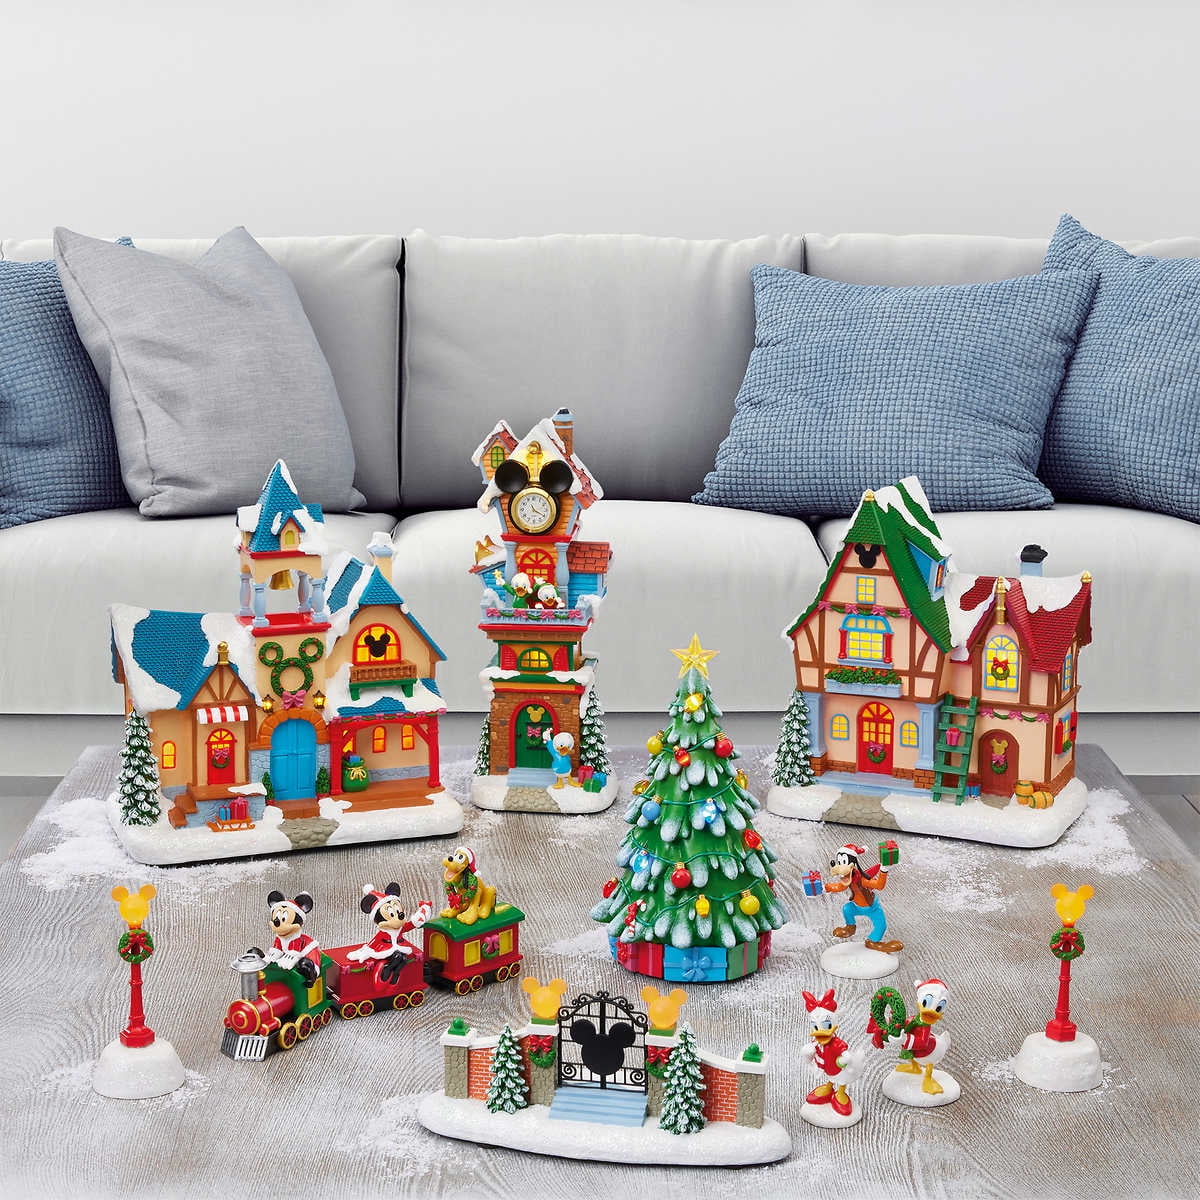
Build your village in three height tiers and stop there: back row buildings 12 to 14 inches tall, middle row 8 to 10 inches, front row 4 to 6 inches. That forced perspective is what makes a table of miniature houses read as a town with depth. Light each building with one warm LED tea light or a single battery string at 2700K — never cool white — and run every cord behind the back row so nothing crosses the snow.
5. The Mix-and-Match Tree Where Mickey Shares Branches With Mercury Glass
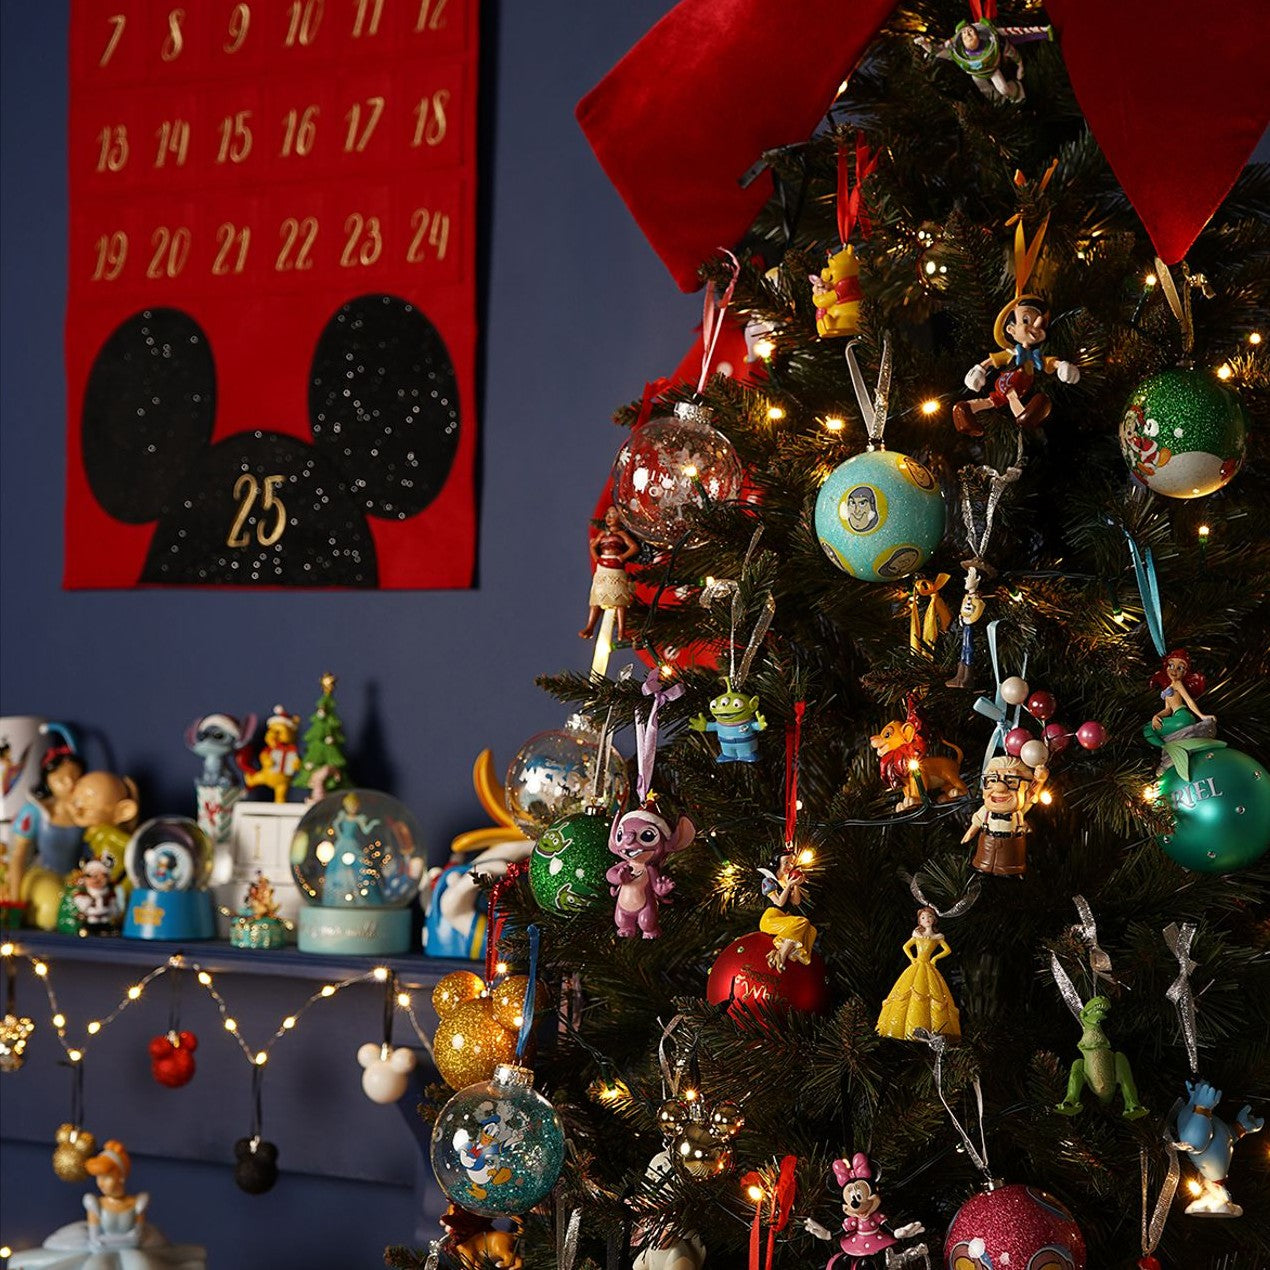
The thing that makes this tree feel like a collection rather than a theme is the ratio: roughly 40 percent character ornaments to 60 percent traditional ones, spread evenly across every branch instead of clustered into one Mickey zone. Take away the mercury glass, the gold balls, and the plain red spheres and you’ve got a novelty store tree. Take away the characters and you’ve got a tree with no story. The mix is the point — it’s what proves the collection belongs on a grown-up tree.
This is the 2026 version of Disney decorating: display what you actually collected, not what you bought to match. Searches for collected-over-time trees have been climbing while matching-set searches have flattened, and the reason is simple — a tree assembled from ten years of trips and gifts photographs better and never sells out. It has real staying power because the source material is personal, and it happens to be the budget path by default.
6. A Navy Wall, a Velvet Bow, and the Advent Calendar That Steals the Show
Deep navy walls are gorgeous behind a lit tree, but they swallow anything that isn’t lit. Hang multicolor ornaments on a dark blue wall with cool white bulbs and everything goes gray and muddy by 6 p.m. Stick with warm white at 2700K and make sure the tree has enough strands — about 100 lights per vertical foot of tree. And that felt advent calendar with metal grommets needs a real anchor, meaning a 10-pound drywall anchor, not the little plastic one in the package.
The formula is 55 percent deep navy backdrop, 30 percent red, 15 percent gold and white. Navy does the job a neutral usually does — it holds everything still — which is why the red velvet bow topper reads as an exclamation point instead of noise. To swap it without losing the logic, trade navy for forest green, keep red at 30 percent, and push gold to 20. Or keep the navy and swap red for silver if you want the same structure with a frostier mood.
7. Dried Oranges, Red Beads, and a Train Chugging Around the Plaid Skirt
Dried orange slices, about 20 minutes of knife work plus oven time:
- Slice navel oranges into rounds just under 1/4 inch thick — thinner burns, thicker stays damp.
- Blot both sides with a paper towel to pull off surface juice.
- Lay them in a single layer on a parchment-lined sheet pan.
- Bake at 200°F for 3 to 4 hours, flipping once at the halfway mark.
- Cool completely, then thread thin twine through a skewer-poked hole.
- Hang them where the lights will hit the flesh — backlighting is what makes them glow.
Time: about 4 hours, mostly hands-off. Cost: roughly $6 to $10 for a bag of oranges.
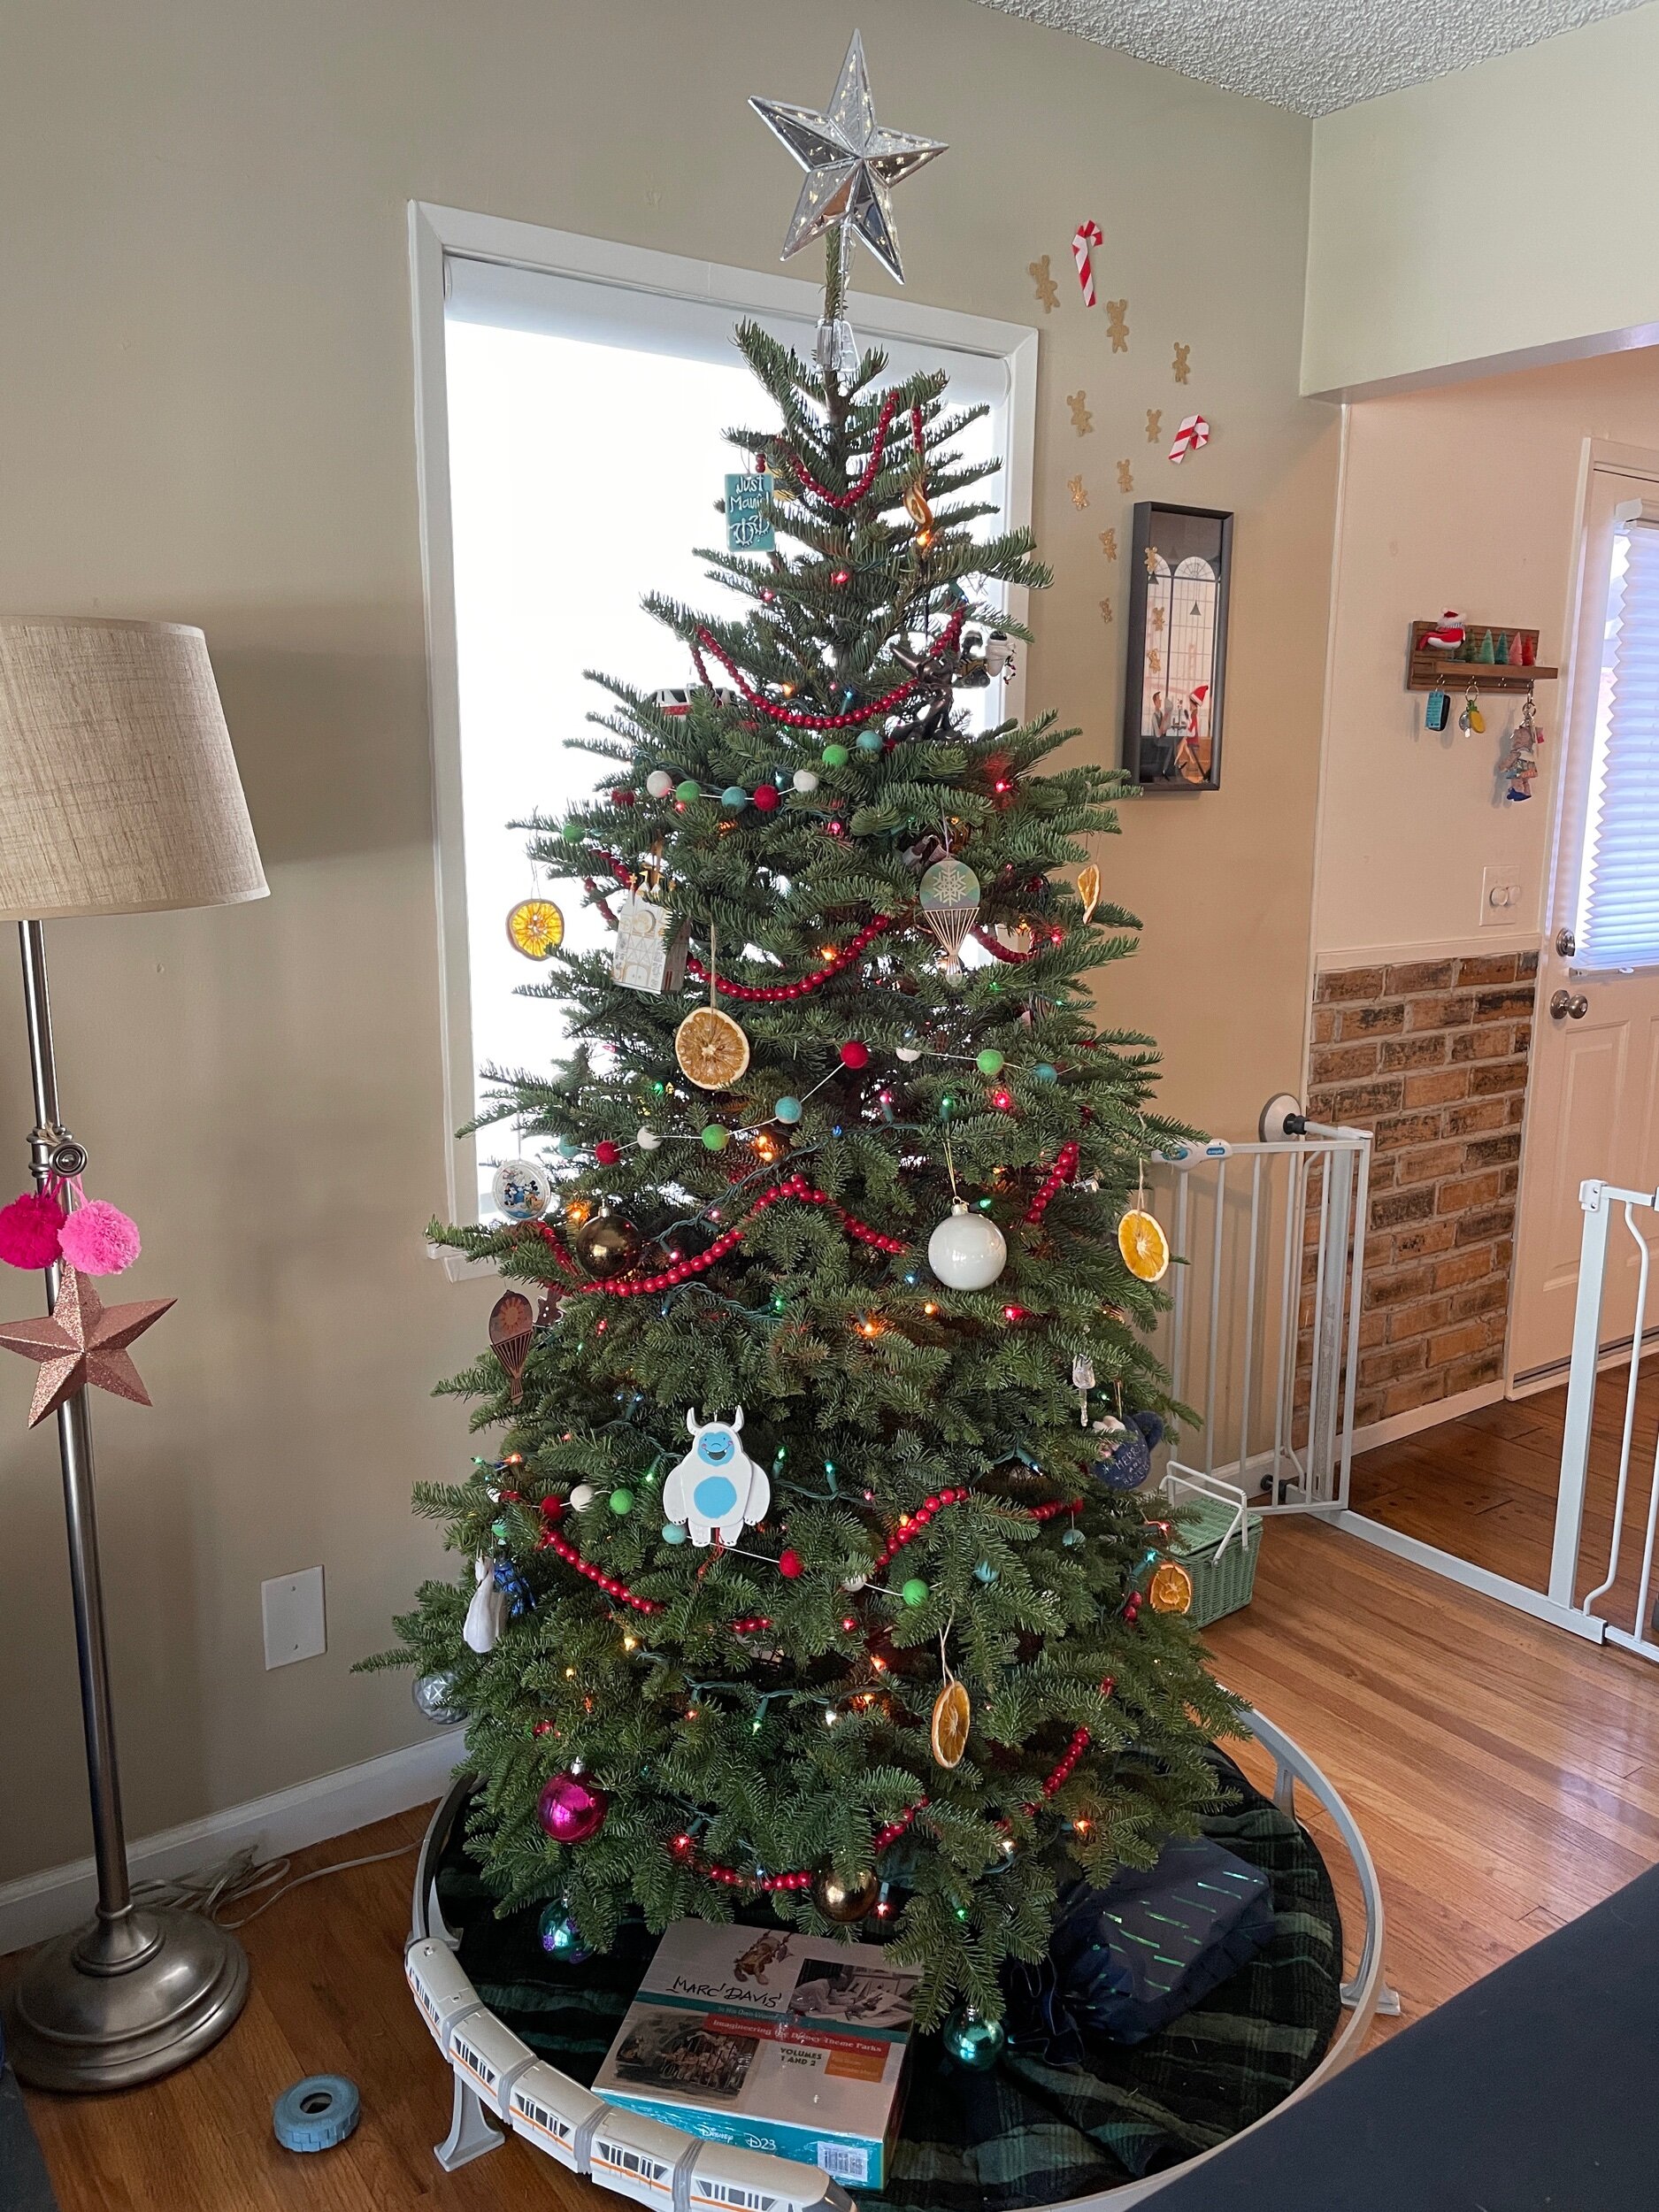
The reason this tree looks richer than its price tag is the texture triad: glossy red bead strands, matte dried orange slices, and wool plaid at the base. Three finishes in three materials, repeated at different heights, keeps your eye traveling around the tree instead of stopping at one sparkly spot. The silver star on top and the felt ball garland add two paler notes so the red never becomes a wall.
8. The Tiny Flocked Tree Topped With a Full-Size Santa Hat
This whole look comes in under $90. A 3-foot flocked tree runs $25 to $40 at Target or Walmart in late November, and a full-size Santa hat from a dollar store actually fits a mini tree’s top better than a mini hat does — that scale mismatch is what makes it look funny in a good way. Wrap gifts in kraft paper with red ribbon and one character sticker each; a roll of paper and ribbon is about $12. The Minnie plush you already own goes on the mantel, and thrifted snowglobes run $3 to $8.
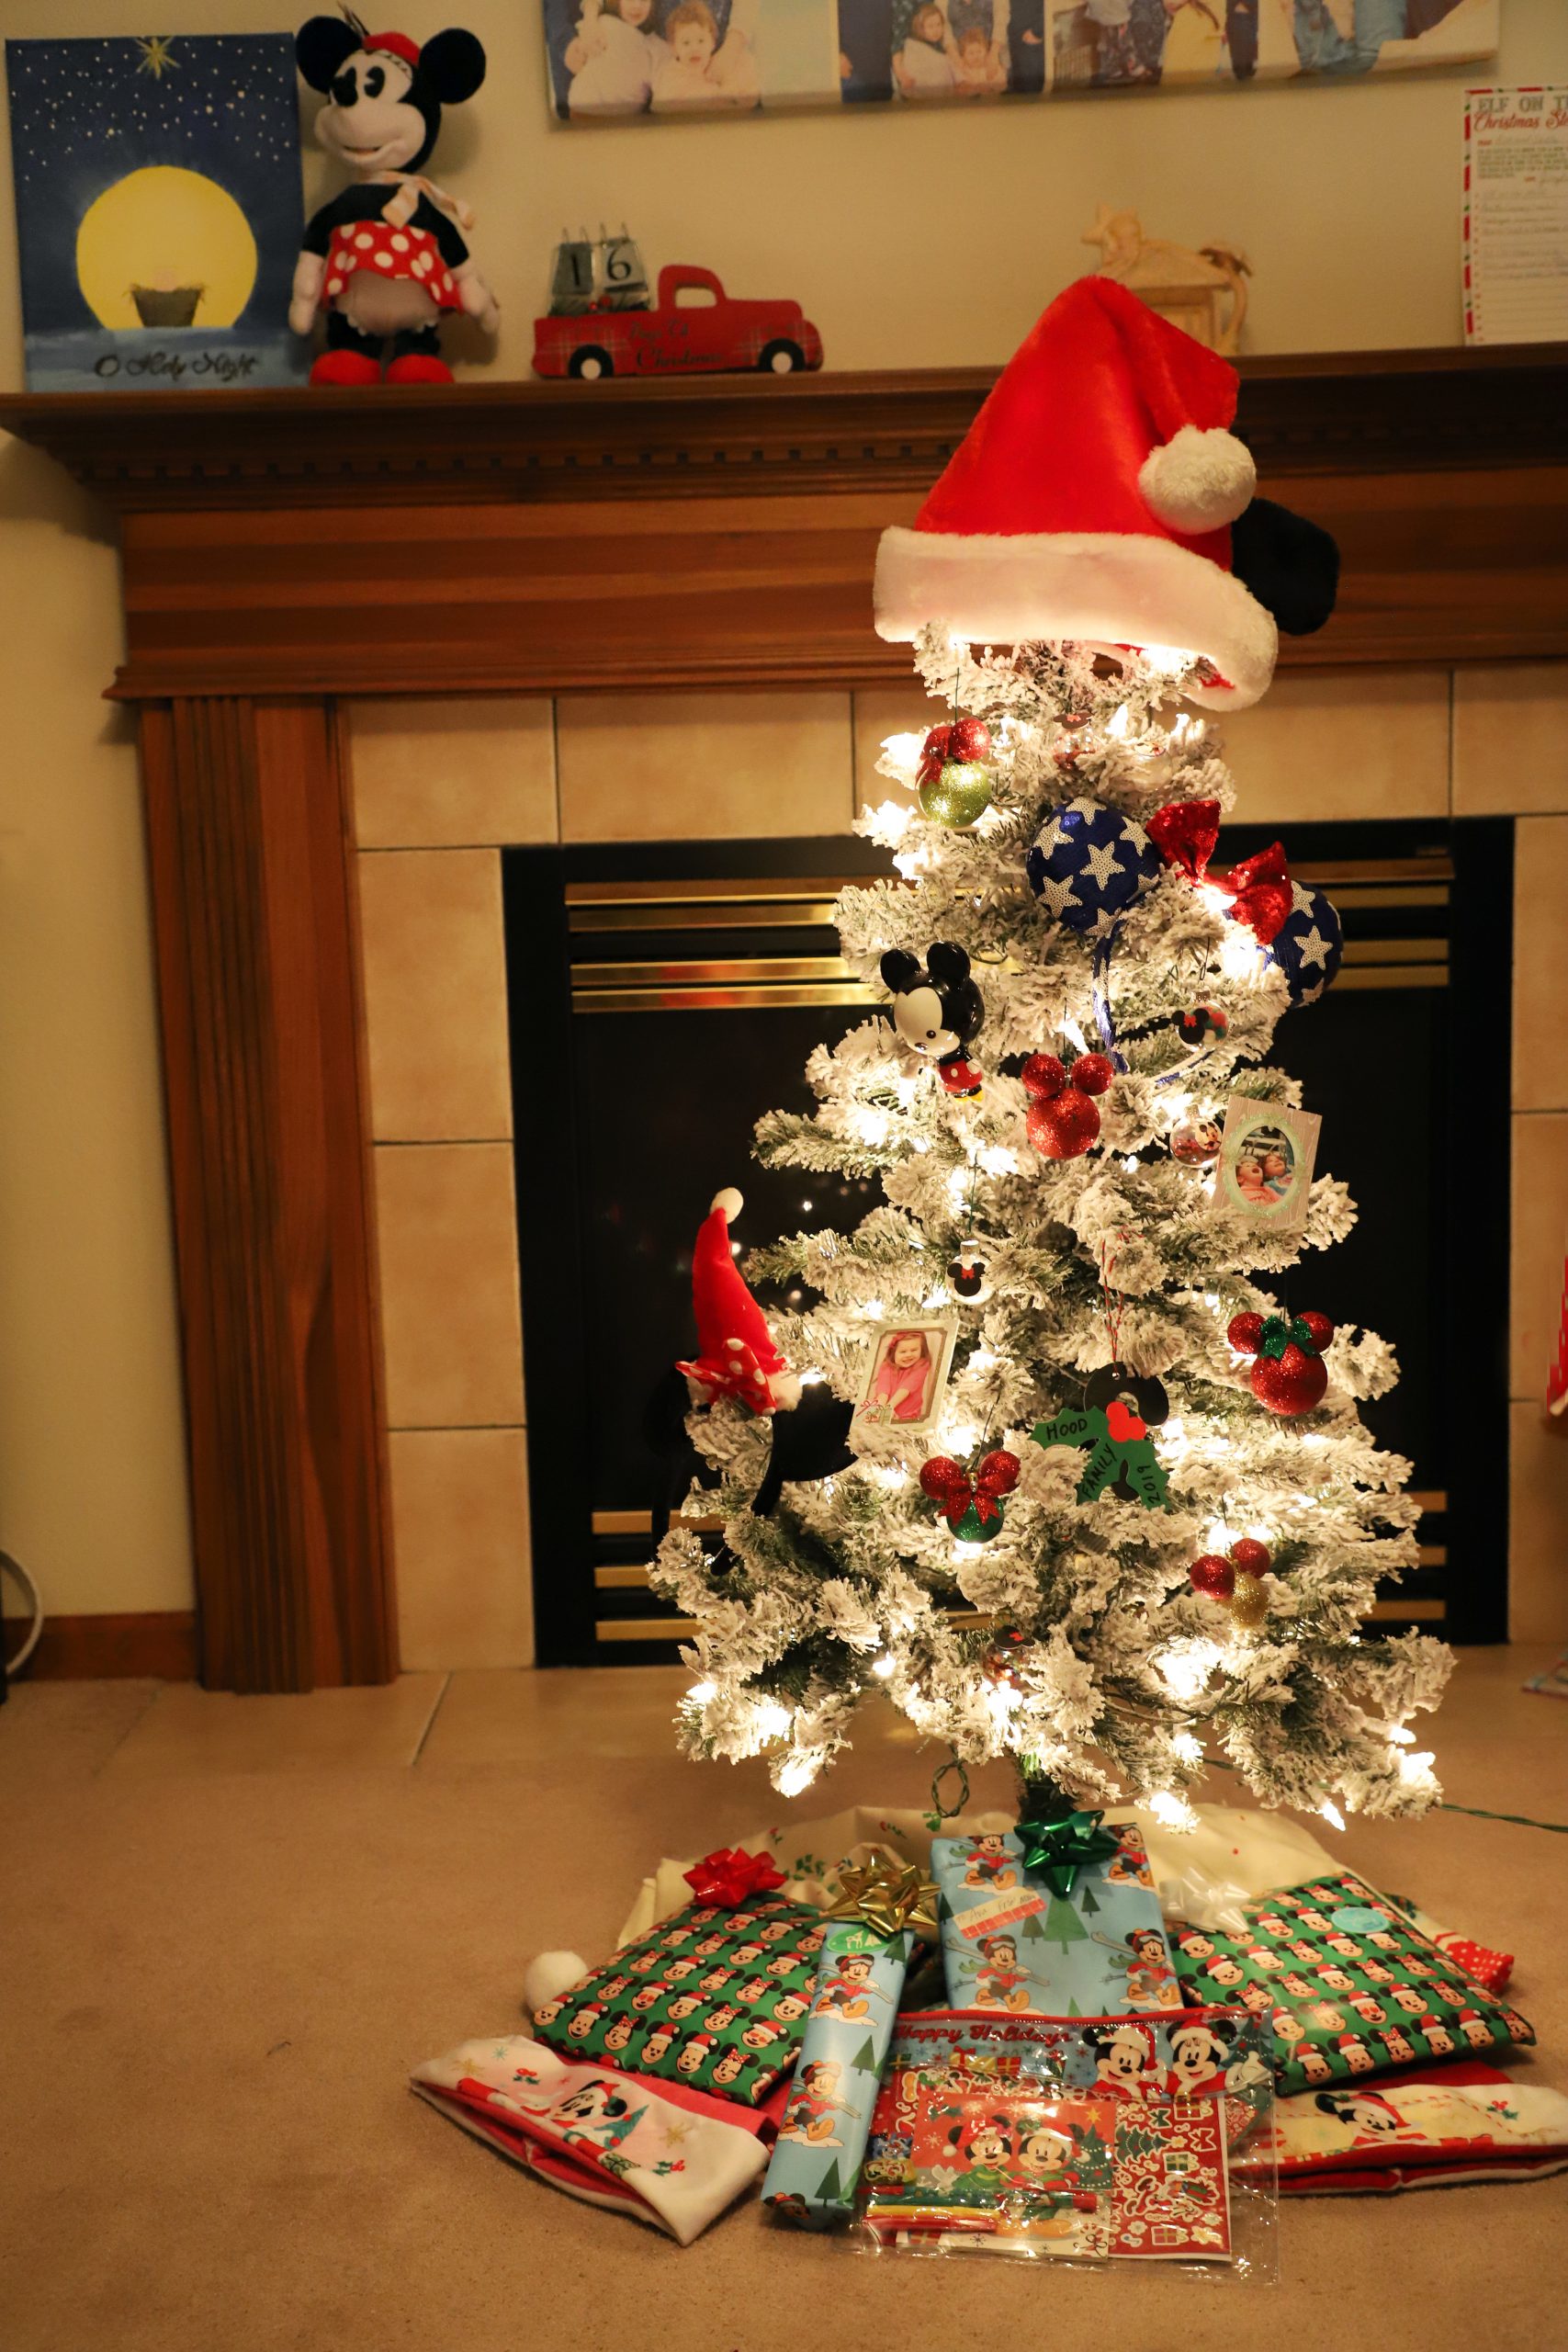
Flocked trees shed. Expect a dusting of white fibers every time you move one, and vacuum with a brush attachment rather than a beater bar, which grinds the flock into carpet fibers. Keep mini flocked trees away from heat vents and direct sun — both dry out the adhesive and cause bigger flakes. Realistically, a budget flocked mini lasts two to three seasons before it looks patchy enough to retire. If you want the snowy look without the mess, white-tipped artificial branches hold up far longer.
9. Five Vintage-Style Ornaments, Each a Different Silhouette
Display shaped ornaments in odd numbers, and leave at least three inches of breathing room between silhouettes — a stocking shape next to a star needs that gap or the outlines merge into a blob. Group by shape, not by character: rounds, then the stocking, then the tree, then the star. Keep them two inches back from shelf edges and no more than 4 inches tall if your shelf is under 12 inches deep, or they’ll read as clutter from across the room.

This works best on open shelving 24 to 36 inches wide with at least 10 inches of clearance per shelf — five ornaments fit comfortably, seven start to feel crowded. On a narrow 8-inch-deep shelf, cut it to three and let the background do more work. If you’re working with a full bookcase, use one shelf only and leave the others plain; spreading vintage ornaments across multiple shelves dilutes the whole effect.
10. One Giant Peppermint Mickey on the Floor — Yes, on Purpose
The palette is 70 percent candy — red and white in a hard spiral stripe — 20 percent pale blue from the floor, and 10 percent gold hardware. That blue is doing quiet work: peppermint red against a warm beige floor goes muddy, and against a cool floor it snaps into focus. Swap the light blue for a light gray rug and the formula still holds. Swap it for a deep rust carpet and you’ll want to trade the gold cap for brushed silver.

Scale is the entire idea. Set on a table, a giant peppermint Mickey looks like a mistake. Set on the floor at 14 to 18 inches tall, it becomes sculpture — something you walk around rather than something you decorate with. That’s also why the tree in the background is soft and unlit: the ornament is the subject. Shrink it to 6 inches on a shelf and you lose the joke and the presence. Cross-check the sizing logic in Idea #13 before you buy.
11. Sequin Minnie, a Treat on a Stick, and Red Glitter Up Close
The dense, layered tree is the biggest ornament trend going into 2026, and it started with charm-style jewelry, not Christmas. People want to touch the tree, not just look at it. Sequin finishes are the fastest-growing ornament texture on Pinterest right now because they catch string light in a way flat matte never will. And the look has staying power for one reason: it’s a styling technique, not a product. You can restyle the same tree every year just by changing how tightly you cluster.
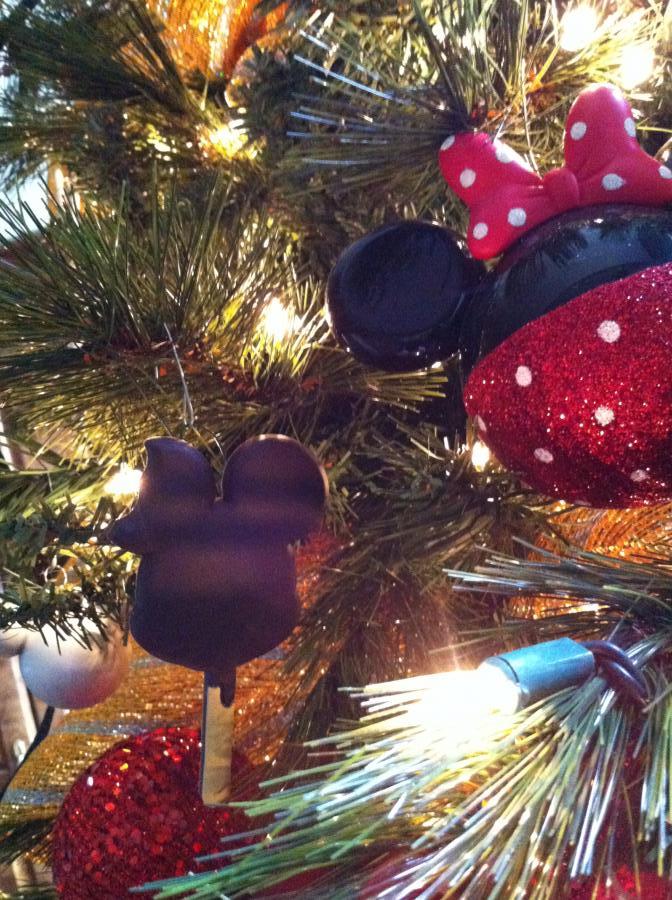
Build one dense cluster in about 15 minutes:
- Pick a 12-inch section of tree at eye level.
- Cut three 6-inch lengths of clear fishing line.
- Attach a large ornament first, then a medium, then a small, spacing them 2 inches apart.
- Tuck the cluster deep enough that the front piece sits about an inch inside the branch tips.
- Add one red glitter globe at the bottom of the cluster to catch light from below.
Materials: roughly $0 to $15 if you already have fishing line and hooks.
12. Red Mesh Ribbon and Gold Beads Woven Through the Branches
Mesh ribbon is a pet magnet — every strand of fur in your house will migrate to it. Before you store it, unwind slowly, shake it out over a bin, and wrap it around a cardboard tube rather than a spool; folding leaves permanent creases that show under lights. Gold bead garland sheds tiny flakes, so lay it in a zip bag and keep it off light upholstery. Neither lasts forever: expect two or three good seasons from budget mesh before the color dulls.
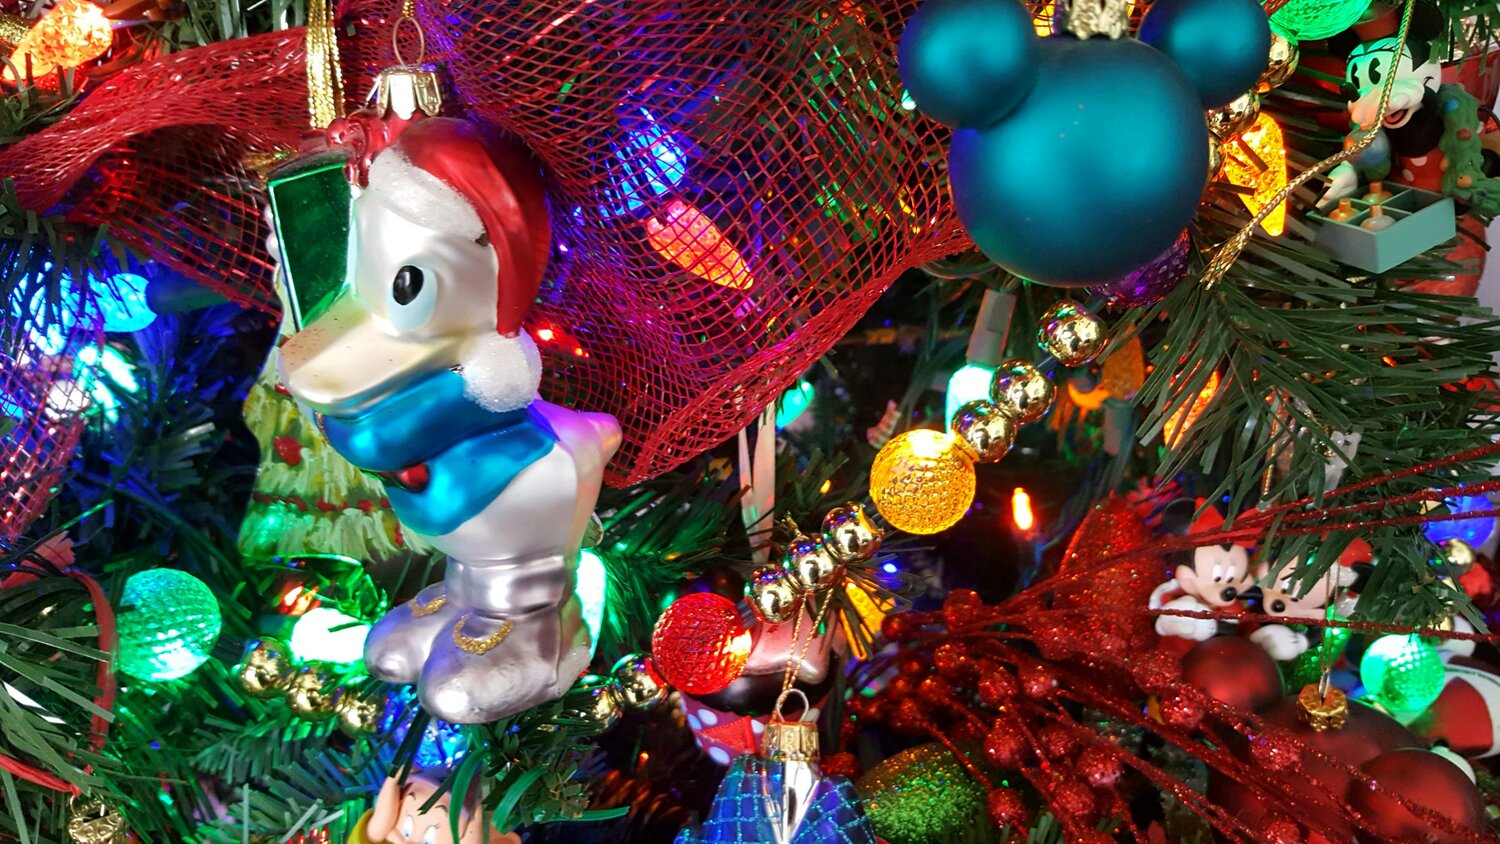
Multicolored lights plus bold character ornaments is a lot of competing color, and it works here only because the tree is fully loaded. If your room already has strong paint, patterned wallpaper, or a colorful rug, this exact tree will fight the room. Warm white bulbs are the fix — they let the red mesh and blue ornaments carry the color instead of the lights. Also budget for a second string, because color-heavy trees need more light to keep the deep branches from going black.
13. Matte Red Meets Glitter Red on a Single Mickey Ornament
A 6- to 8-inch Mickey ornament is tabletop scale — at home in a bowl or a shallow tray on a console. Anything 12 to 14 inches reads as a floor object or a hearth accent, and it needs about 18 inches of clear space around it or it looks wedged in. In a room with low ceilings, keep the oversized version on a console rather than the floor; floor placement wants more vertical air than an 8-foot ceiling comfortably gives. Compare with Idea #10, where the giant version is the whole point.

Making this yourself takes an evening and about $20. Buy three foam spheres — one 6-inch and two 3-inch — from a craft store, glue the small ones to the sides of the large one, and spray the whole assembly matte red. Once dry, brush the two smaller spheres with red glitter and reattach with a clear-drying adhesive so no spray bumps show. Finish with a gold plastic ornament cap and a loop of ribbon. The store version usually runs $30 to $60.
14. Framed Family Photos and Mickey Ear Headbands on a Snowy Tree
Run through this before you commit:
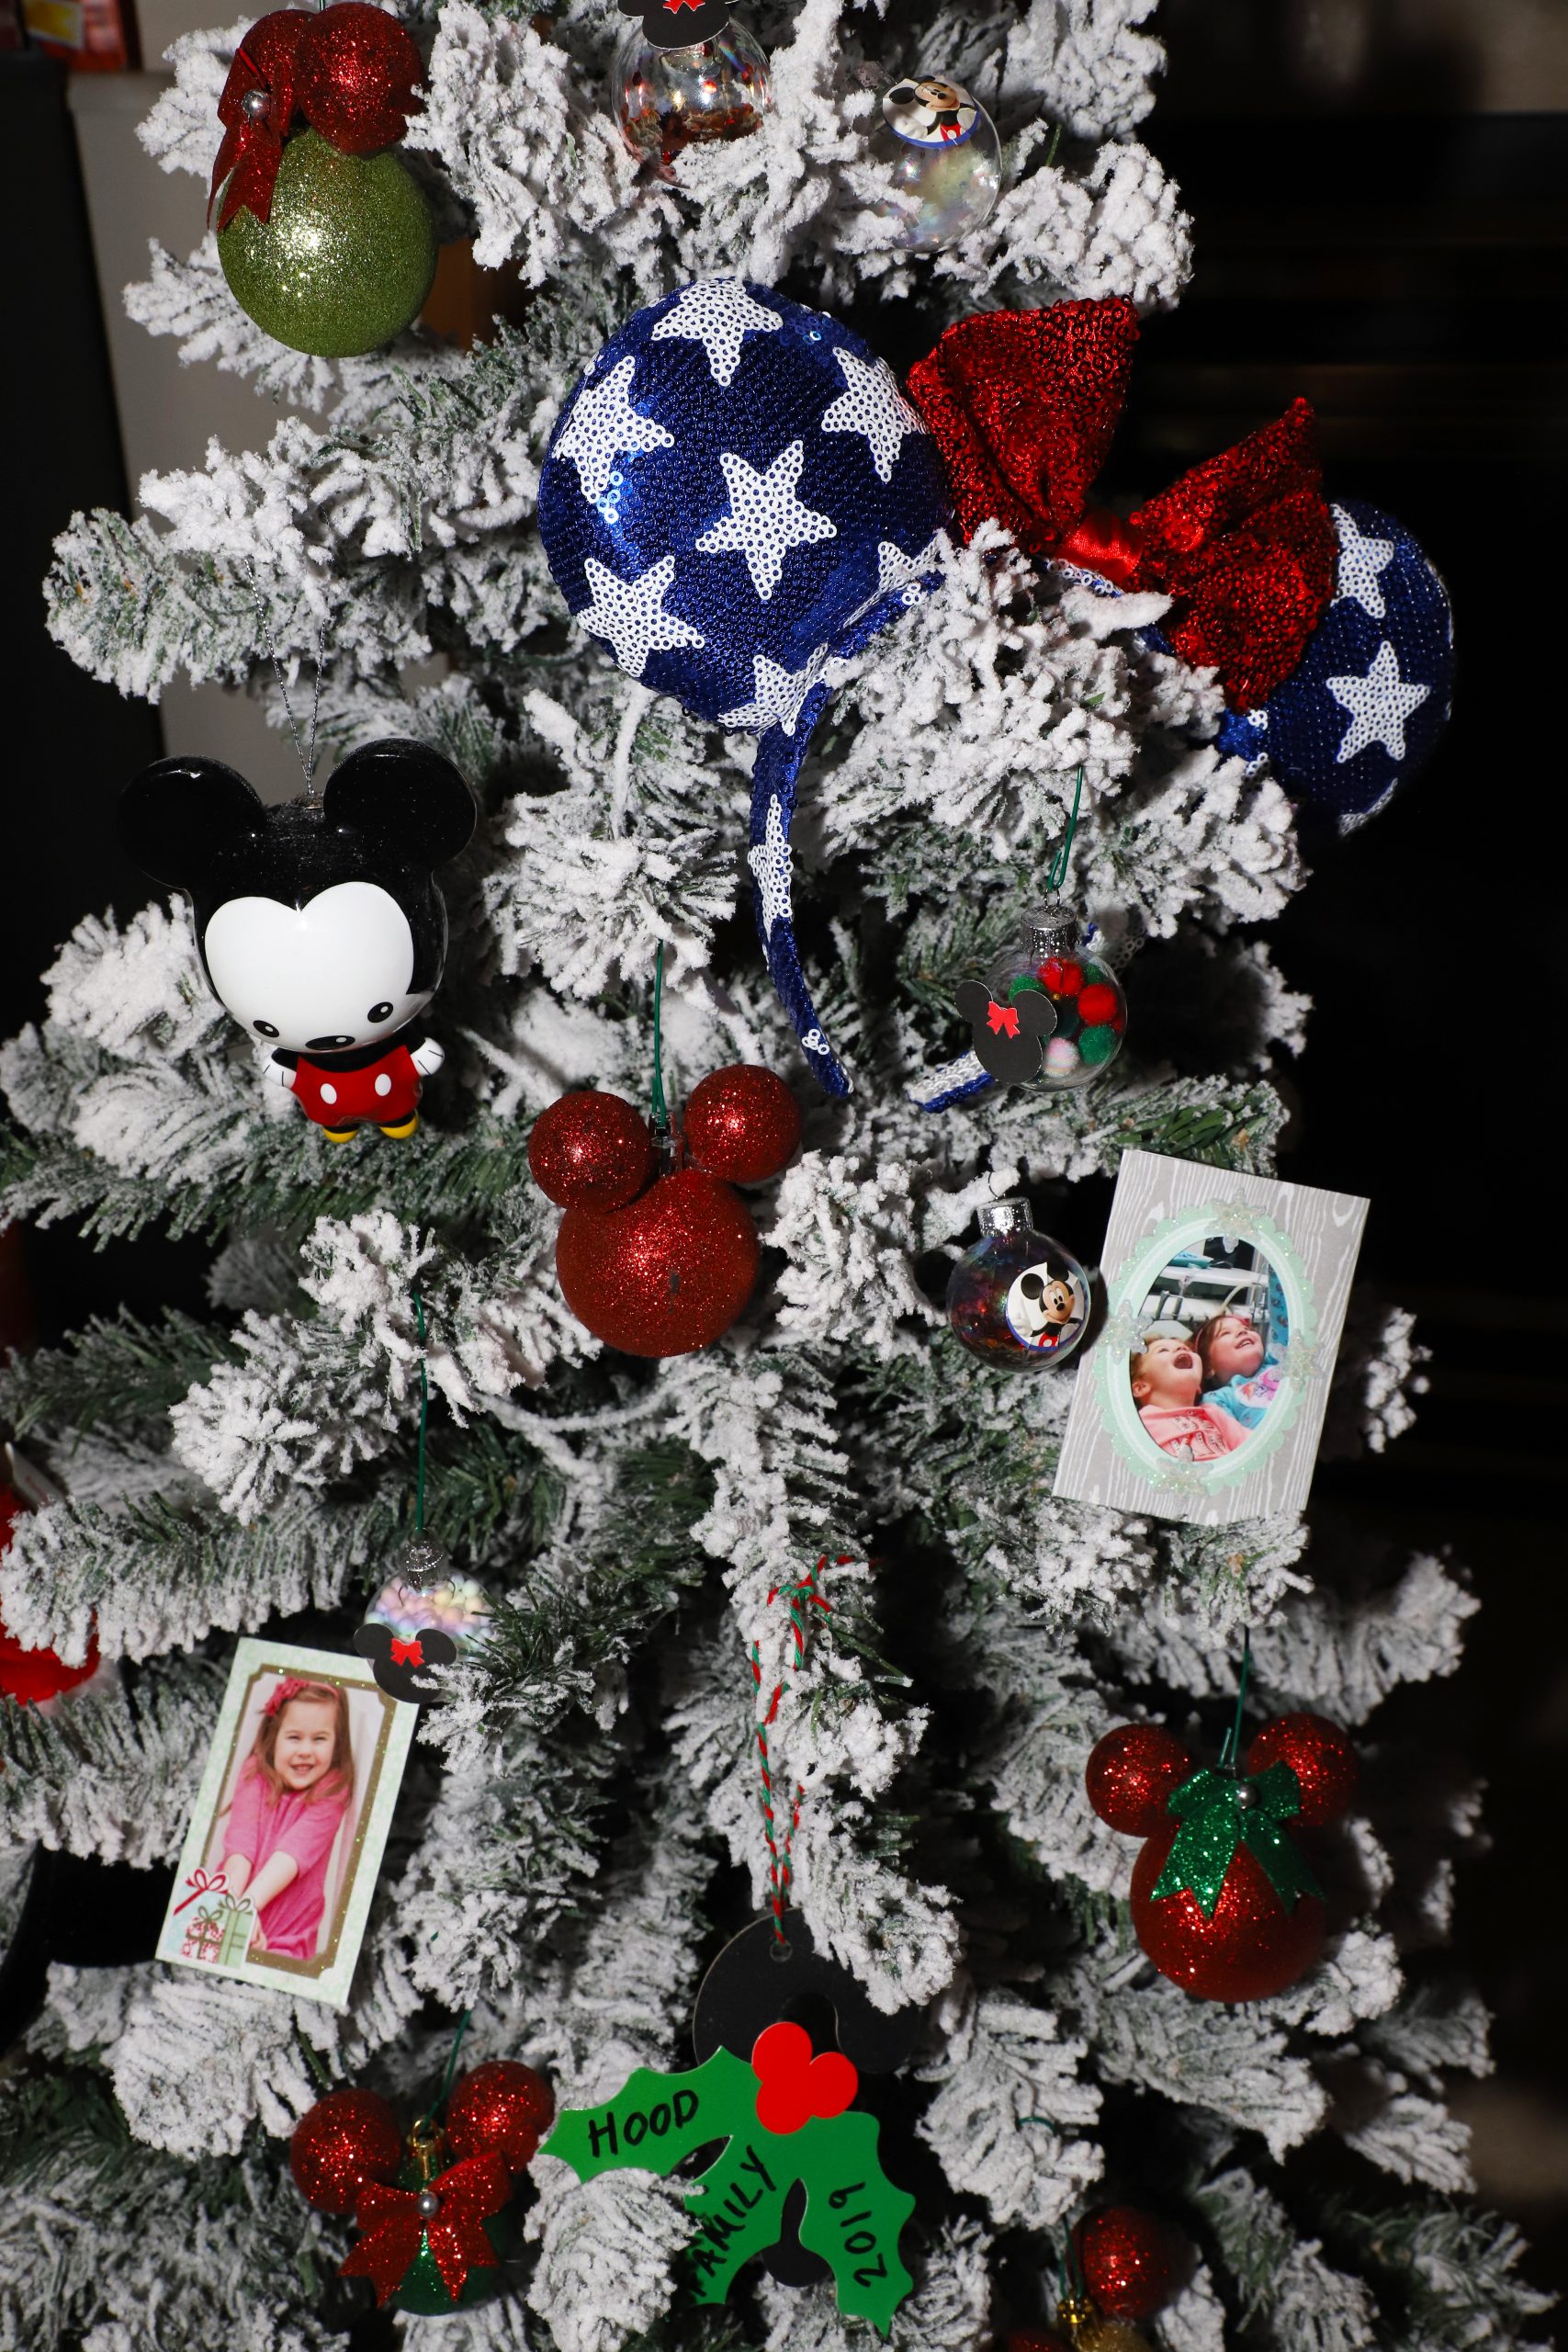
- Measure for clearance — flocked branches spread wider than standard ones, so leave 6 inches from the wall.
- Weigh your photo ornaments; anything over 3 ounces needs a wire hook and an inner branch.
- Check your existing strand temperature so the new string matches at 2700K.
- Confirm you have a spot to store the tree where flocking won’t transfer onto fabric.
Print photo ornaments at 2.5 by 3.5 inches on matte cardstock — never glossy, since glossy prints throw a reflection that kills the image under string lights. Laminate them with self-adhesive sheets, punch a single hole at the top, and thread a narrow ribbon. Keep the frames small and undecorated; the photo is the ornament. Aim for one framed photo for every 12 inches of tree height so the tree reads as a collection and not a photo wall.
15. Mickey and Minnie Riding Inner Tubes (Yes, Really)
Figurine ornaments are heavier than they look — most run 3 to 6 ounces, and a lightweight artificial branch will droop or snap under that. Hang anything over 3 ounces near the trunk on an inner branch, and use wire hooks instead of ribbon loops so you can bend them tight. Also think about viewing height: characters in inner tubes are meant to be seen from the side, so place them at seated eye level, roughly 40 to 48 inches off the floor, not near the top.
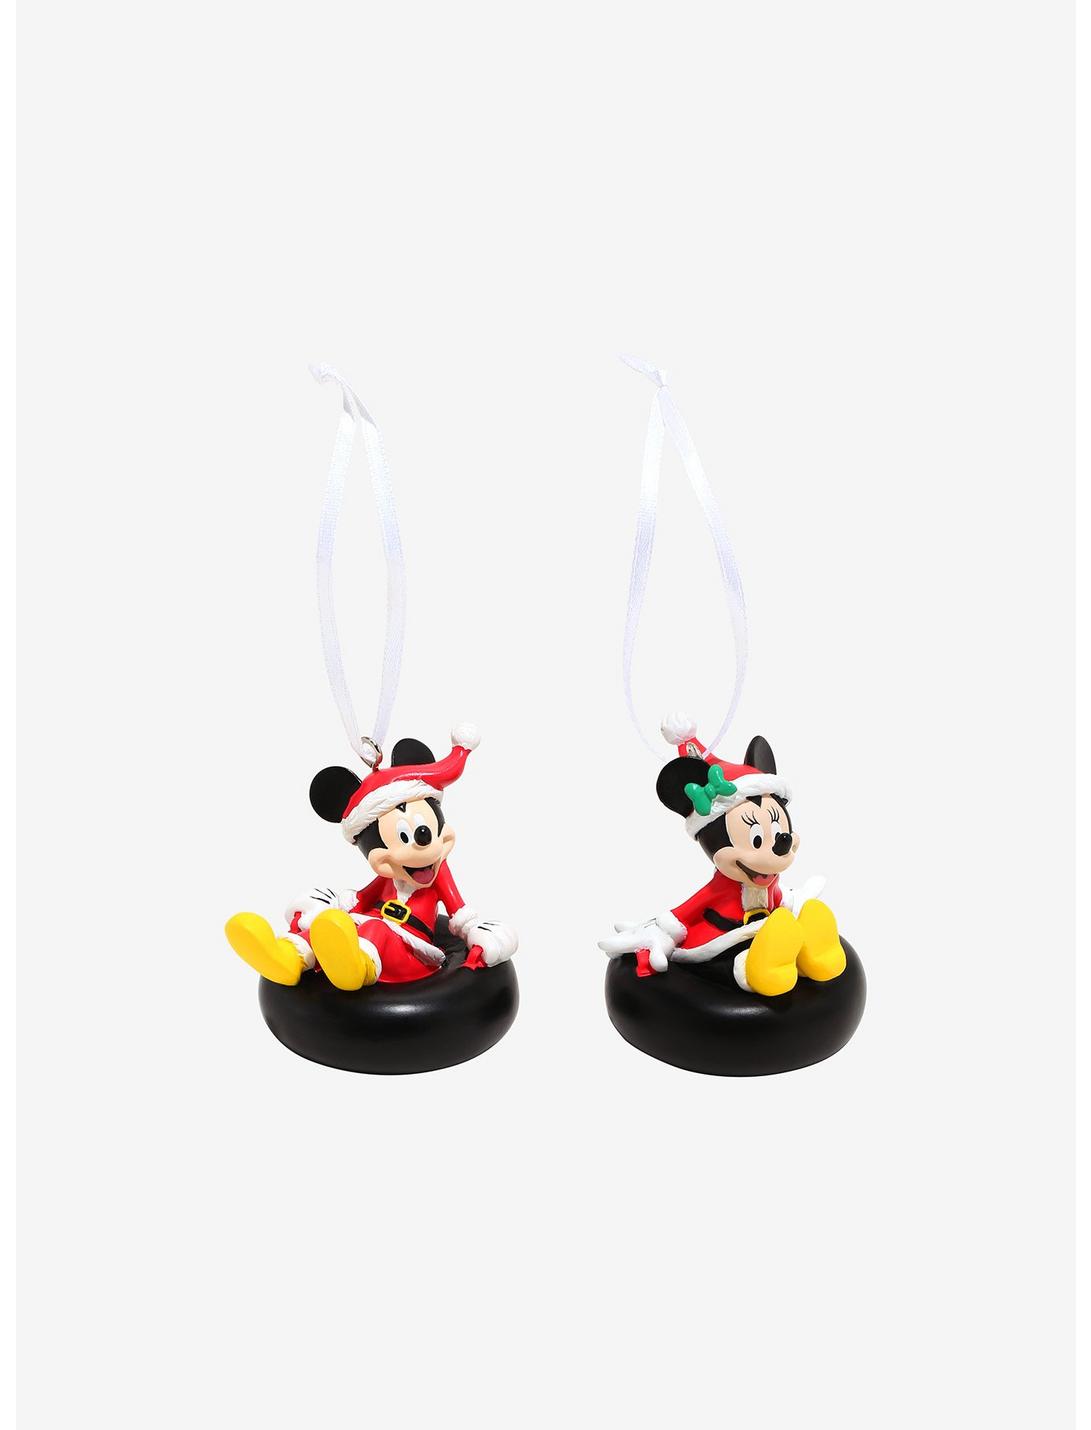
The glossy black inner tube is the secret. Everything else here is red, yellow, and white — bright and low-contrast against each other. That single black ring separates the figure from the white ribbon hanger and gives the whole ornament a graphic, almost vintage-toy look. The white ribbons then pull double duty, reading as part of the design instead of as hardware. Same reason a black frame makes a bright print look sharper.
16. Plaid Ribbons and Glass Characters, Hung Like Heirlooms
- Glass character ornaments: $12–$25 each
- Red berry garland, two strands: $18–$40
- Plaid ribbon, three rolls: $8–$15 each
- Warm white light strands: $12–$30
- Tree, 7 to 7.5 feet: $150–$600
- Total: roughly $215–$860
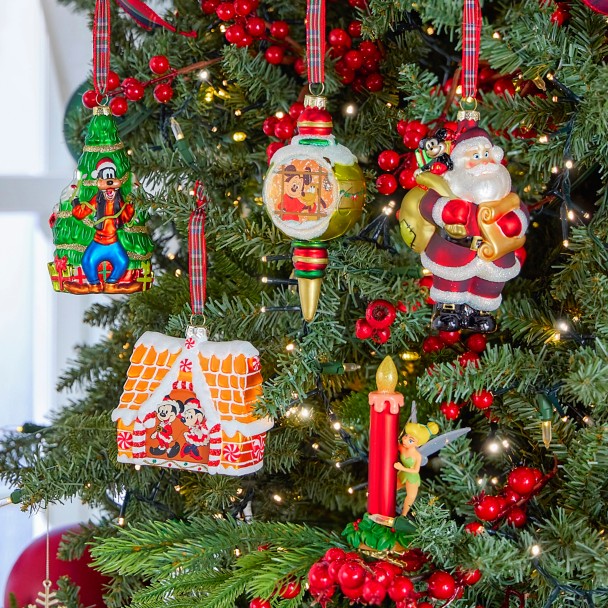
Budget alternative: buy two glass ornaments that actually mean something and fill the rest of the tree with plain red and gold balls from a discount store, hung on the same plaid ribbons. Ribbon does most of the visual work here, so $30 of ribbon can carry a $60 ornament collection.
The formula is 50 percent evergreen, 25 percent red berry and plaid, 15 percent gold, 10 percent glass character pieces. The garland is the structure — it’s what tells the eye this is a decorated tree rather than a tree with things on it. Keep the ratios and you can change everything else: swap plaid for ticking stripe and berries for wooden beads and it still holds. Push the glass past 20 percent and it starts to look like a display case.
17. A Haunted-Holiday Figurine Where Mickey Meets a Green Ghost
The shared wooden base is what turns two figurines into one piece of decor. Mickey and the ghost are sculpted onto the same plank, so they can’t be separated or spread apart — and that forces the eye to read them as a single narrative instead of two collectibles. Give it an 8-inch clear radius on the surface and don’t crowd it with candles or greenery. Break the pair up and you lose the joke entirely.
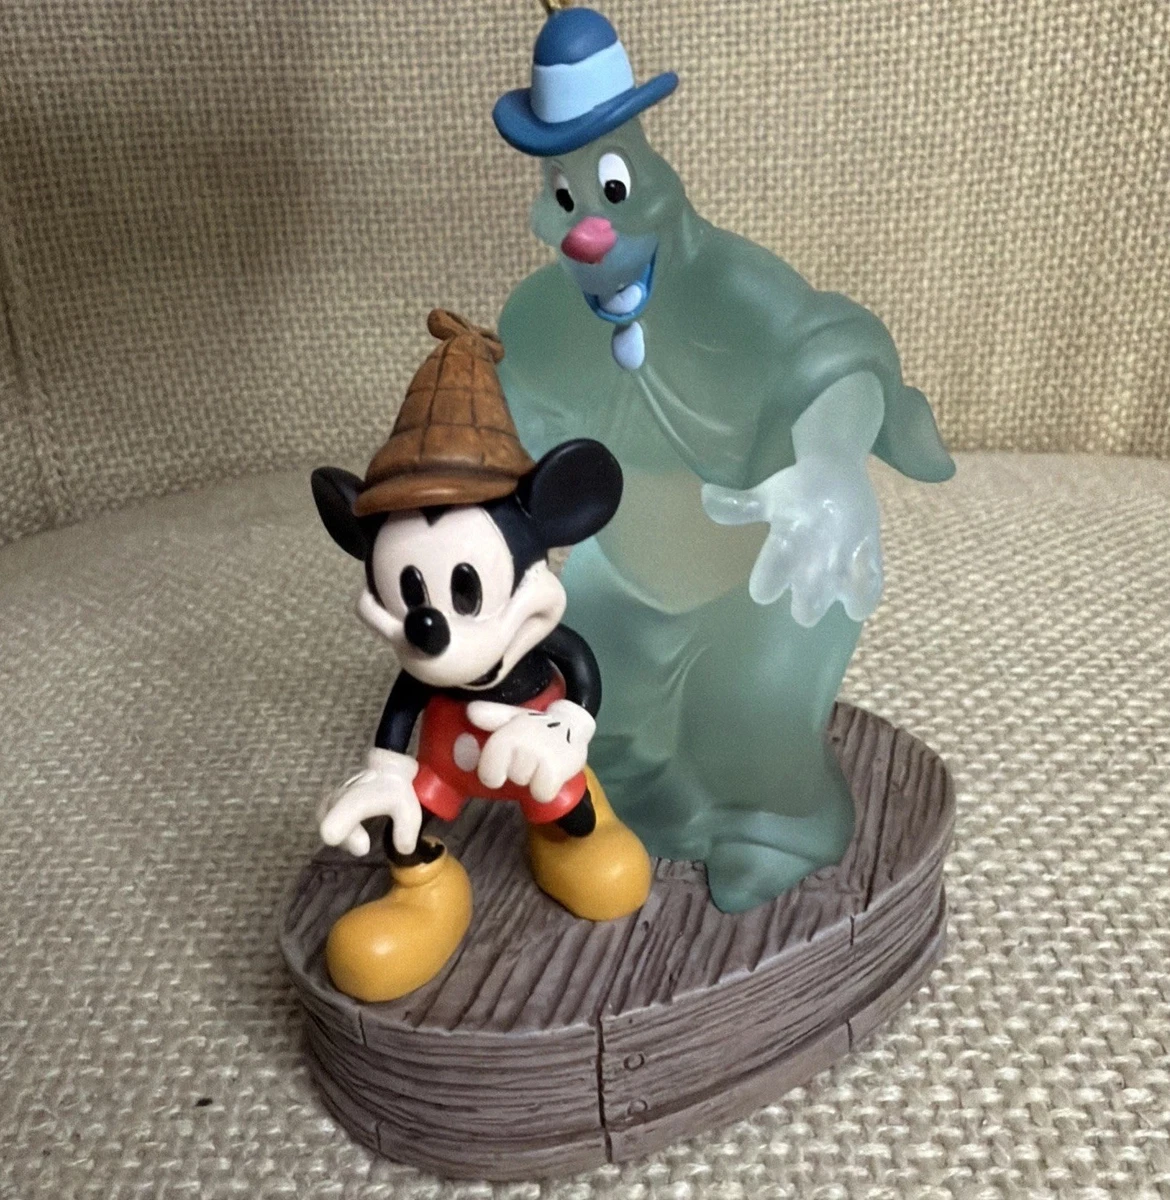
Build a proper vignette around it in 20 minutes:
- Clear a completely empty 16-inch section of a console or shelf.
- Set the figurine on a 2-inch riser so its base sits above the surface line.
- Lean a textured neutral fabric behind it — beige linen works with the wooden base instead of fighting it.
- Aim one small warm LED spotlight at it from the front left.
- Dust weekly with a dry, soft brush, and keep sprays away from the translucent figure.
18. Mickey Meets Stormtrooper: Giving Each Franchise Its Own Branch Zone
Fusion themes need zoning. Give each franchise its own 18- to 24-inch section of the tree — one zone for character figures, one for helmets, one for clear globes — and repeat those zones around the tree instead of scattering pieces randomly. Three zones of roughly equal size reads as intentional. Random mixing reads as a drawer of leftovers. Keep all the clear globe ornaments inside the same zone so the light diffuses evenly instead of creating one bright patch on the side facing the sofa.

Fillable clear ornaments are the cheapest way into this look. Craft stores sell them for a dollar or two each, and you can drop in a miniature figure, a pinch of faux snow, or a folded piece of ribbon and seal it. Twenty ornaments plus filler miniatures runs about $45 total — a fraction of what glass figural ornaments cost. Grab miniatures from a toy bin or party favor pack, and keep the hang loops short so heavy fillers don’t swing.
19. Candy-Cane Stripes in Red, Green, and Diamond Patterns
The formula here is 60 percent candy stripe, 25 percent solid gloss, 15 percent gold hardware. That solid gloss is what keeps a wall of stripes from becoming a headache — for every three striped ornaments, one plain red or plain green. Gold caps tie the group together across patterns. To shift the mood, keep the 60/25/15 split and change the base color: a blue-and-white stripe with silver caps reads frozen and coastal instead of candy shop.
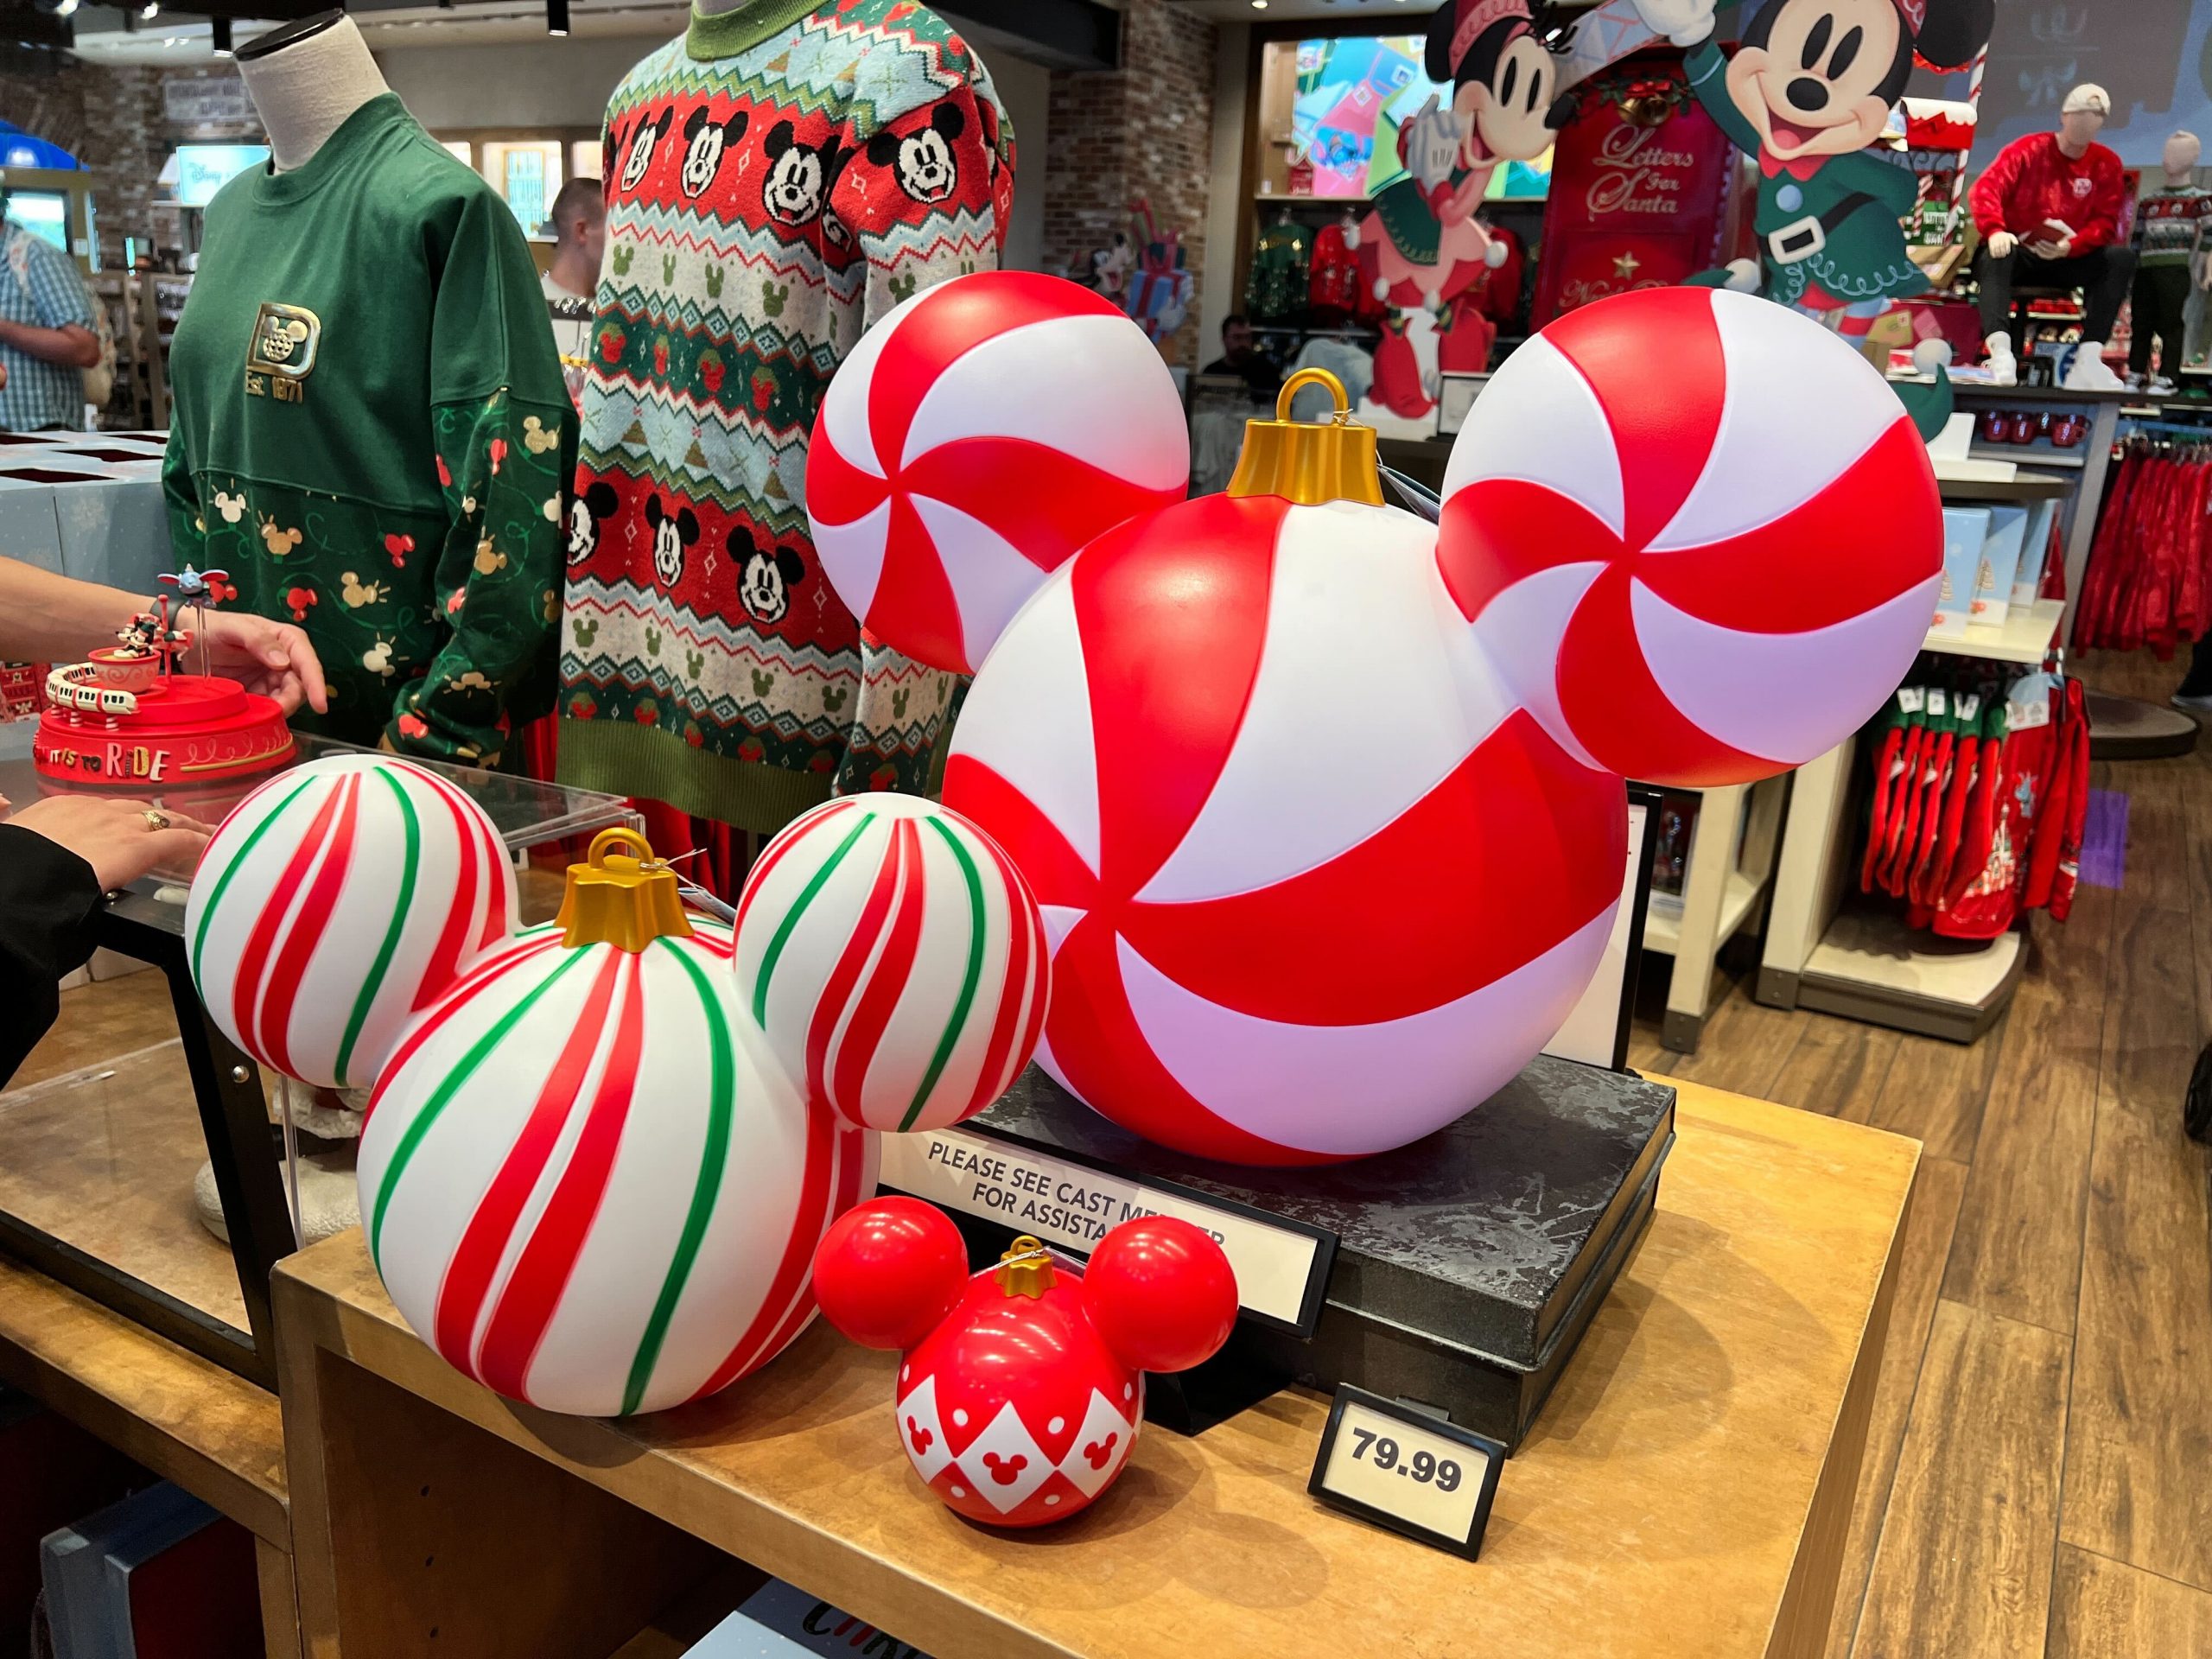
Group candy-stripe ornaments in threes or fives, sized 8 to 12 inches tall, on a surface at least 48 inches wide — a console, sideboard, or low shelf. Leave 4 inches between each piece; they’re graphic and they need negative space or the stripes collide. This setup works in entries and dining rooms of almost any size, but it wants a plain wall behind it. If your wall is patterned or busy, go neutral instead.
20. A Windowsill Wonderland of Faux-Fur Deer and Frosted Garland
An all-white palette has no color contrast to lean on, so it survives on texture and translucency instead. Here you get four: matte faux fur on the deer, glossy clear glass candle pillars, iridescent glass on the tree figurine, and frosted evergreen behind it all. Then the window does the last piece of work — daylight or evening light coming through the glass makes the whole sill glow from behind. Remove that backlight and the arrangement goes flat and chalky.
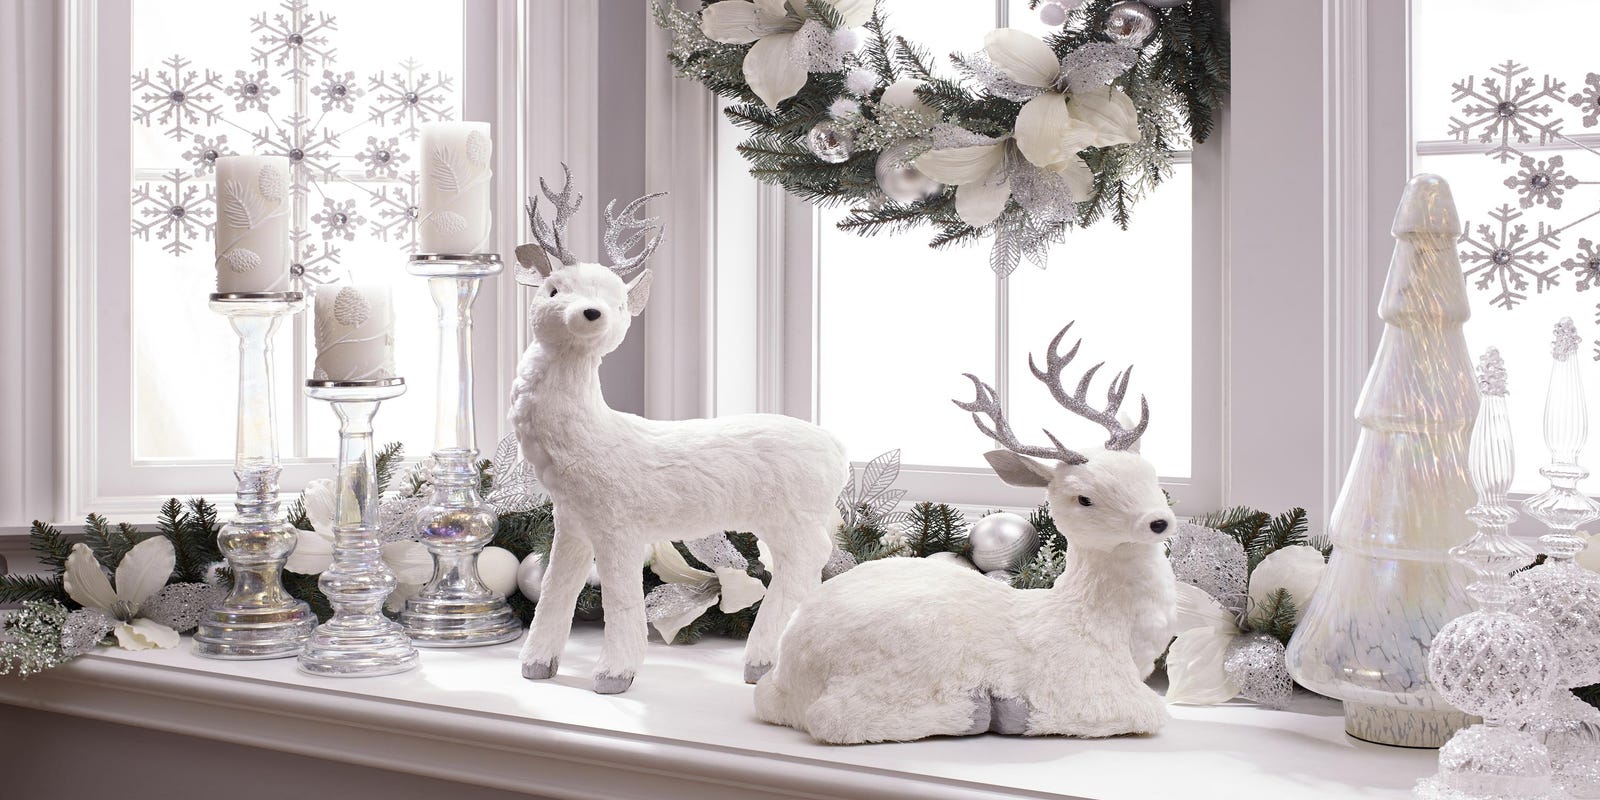
Candles on a windowsill next to a frosted garland is both a fire risk and a wax-drip risk. Switch to flameless LED pillars with a real flame shape; nobody notices the difference from across the room. Frosted garland and faux fur both hold dust, and windowsills are the dustiest 6 inches in the house, so plan on a monthly pass with a vacuum brush. West-facing windows fade white fabric fast — see the mistakes section for more on light temperature and placement.
21. Borrowing the Disney Store Display Trick for Your Console
Anything covered in glitter will shed glitter, permanently. Sparkly ear headbands leave a trail across a wooden table, so set them on a small tray with a felt liner and dust the tray rather than the ears. If you keep a holiday sweater on a mannequin or hanger as decor, brush it monthly with a garment brush and keep it out of direct sun — red dye fades to pink faster than you’d expect. Wipe the display table with a dry cloth, not spray polish, which can spot the wood finish.

The retail-display-as-home-decor look is peaking in 2026. People are copying store merchandising outright — risers, wrapped gift boxes, framed character art, clothing on stands — because it solves a real problem: how to show off a collection without it reading as toys on a shelf. A round wooden table and a few small decorated trees let you build a vignette at knee height that looks deliberate. It also adapts, which is why it will outlast the trend cycle.
Plug In the Lights and Let Mickey Take the Mantel
Start with the one idea that fits the space you actually have — a windowsill, a mantel, or a full corner — and let it grow from there. The best Disney Christmas decor never looks like a store aisle; it looks like a house that’s been collecting memories for years. Pin your three favorites now so you’re not scrolling at 11 p.m. in December.